The Birdhouse (Alternate Pattern) is a delightful and whimsical quilt design that brings the charm of birdhouses into your home. This pattern offers a fresh and creative twist on the traditional birdhouse motif, making it an excellent choice for quilters of all skill levels. Whether you are a beginner or an experienced quilter, this pattern provides an opportunity to express your creativity while making a beautiful and functional quilt.
In this article, we will explore the materials needed for the Birdhouse (Alternate Pattern), provide a step-by-step guide to help you create the quilt, and offer useful tips and ideas to personalize your project.
By the end of this guide, you’ll be equipped with all the knowledge you need to make your own charming birdhouse quilt.
1. Materials Needed for the Birdhouse (Alternate Pattern)
Before you begin creating your Birdhouse (Alternate Pattern) quilt, gather the following materials:
SEE OTHER FACE PATTERNS HERE!
- Fabric: Choose a selection of fabrics for your quilt. The Birdhouse (Alternate Pattern) typically involves using a mix of prints for the birdhouses, background fabric, and any additional details like trees, flowers, or clouds. Choose colors that fit the whimsical nature of the design, such as soft pastels, vibrant greens, blues, and yellows.
- Quilt Batting: Batting provides warmth and structure for your quilt. A medium-weight quilt batting is ideal for this pattern, as it offers the perfect balance between warmth and drape without adding too much bulk.
- Backing Fabric: You will need enough fabric to cover the back of your quilt. Choose a fabric that complements the front of the quilt or go with a solid fabric for a more subtle contrast.
- Quilt Binding: Quilt binding is used to finish the edges of your quilt. Select a fabric that complements the overall design of the quilt. You can go with a color that contrasts with the main quilt or use a neutral tone for a more cohesive look.
- Rotary Cutter and Cutting Mat: A rotary cutter and mat are essential tools for cutting your fabric pieces accurately. The rotary cutter allows you to make quick and precise cuts, saving time and ensuring uniformity.
- Quilting Ruler: A quilting ruler helps you measure and cut your fabric with precision. Using a non-slip quilting ruler ensures that your cuts are straight and even.
- Sewing Machine: A sewing machine is required for piecing together the blocks and assembling the quilt top. Make sure your machine is set to a quarter-inch seam allowance, as it’s the standard for quilting.
- Pins or Quilting Clips: Pins or quilting clips are essential for holding your fabric pieces together while you sew. They ensure that your pieces align properly and prevent any shifting during the stitching process.
- Iron and Ironing Board: Pressing your seams as you sew is crucial to achieving a neat and professional-looking quilt. An iron and ironing board are key to ensuring flat seams and a crisp finish.
- Thread: Choose a good-quality quilting thread that matches or contrasts with your fabric choices. Ensure the thread is strong enough to handle the weight of the quilt and will stand up to everyday use.
2. How to Create the Birdhouse (Alternate Pattern) Quilt Blocks
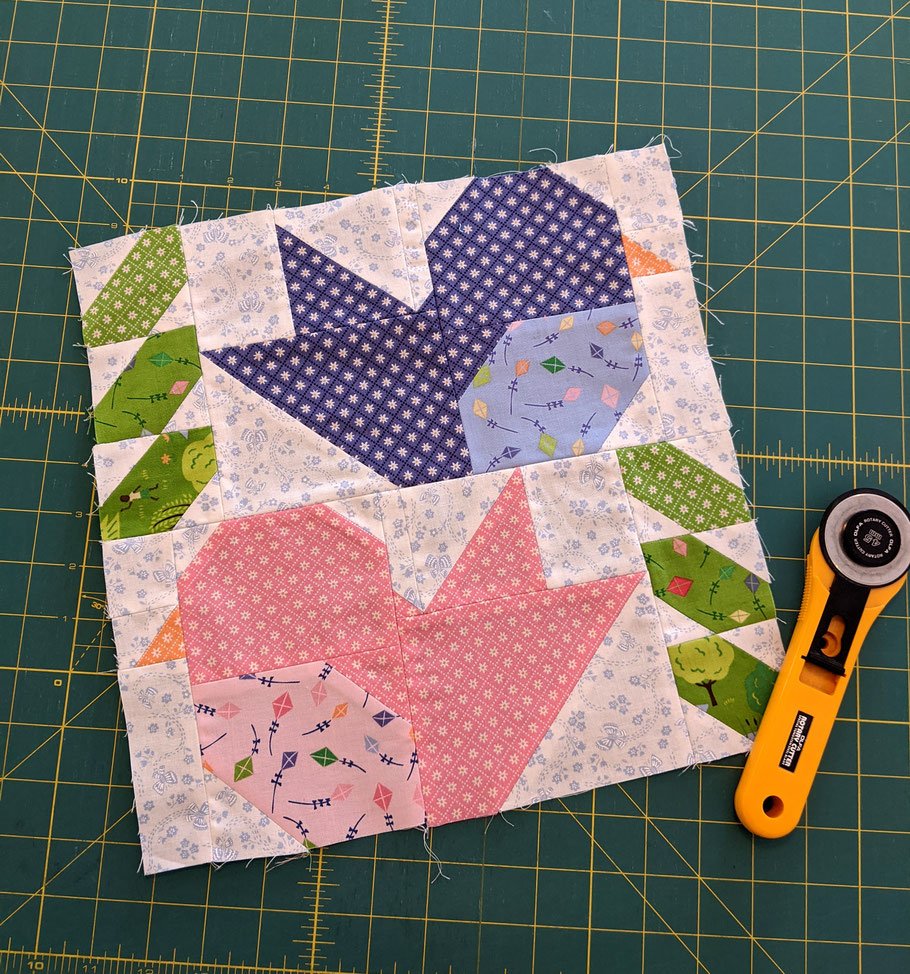
The Birdhouse (Alternate Pattern) quilt features a variety of blocks, with the central motif being the birdhouse. Each block is constructed by piecing together different fabric shapes. Here’s how to get started:
Step 1: Cutting Your Fabric
- Begin by cutting your fabric into the appropriate pieces as outlined in the pattern. You will need squares, rectangles, and triangles for the birdhouse shapes, as well as background fabric for the surrounding pieces.
- Be sure to measure your fabric carefully and use a rotary cutter and quilting ruler for precision. Accuracy is key in quilting, especially with patterns that feature small, detailed pieces like the birdhouse.
Step 2: Piecing the Birdhouses
- Step 2a: For the birdhouse blocks, you will create a house shape using rectangles and squares for the body of the birdhouse. The roof will typically be made from two triangles sewn together to form a point at the top.
- Step 2b: Add smaller fabric pieces for the door and windows of the birdhouse. These details will make your blocks more recognizable and add visual interest to your quilt.
- Step 2c: You can also include other elements, like a perch, tree branches, or clouds, depending on the version of the pattern you’re following. Feel free to personalize the design with additional embellishments, like appliqué or embroidery, to make the birdhouse even more charming.
Step 3: Assembling the Block
- Once you’ve pieced the components of the birdhouse, arrange them into the block layout. Pay close attention to alignment and matching seams for a clean, polished look.
- Sew the pieces together, starting with smaller sections like the roof and body of the birdhouse, then joining them to the background fabric.
Step 4: Pressing the Seams
- After piecing the blocks together, press all seams flat. Pressing helps to eliminate any wrinkles and ensures the blocks maintain their shape. Always press your seams toward the darker fabric or according to the pattern’s instructions.
Step 5: Repeat the Process
- Continue to create additional blocks, following the same process. The Birdhouse (Alternate Pattern) may include a variety of different blocks featuring different birdhouses or other elements like flowers, trees, or birds.
3. Assembling the Quilt Top
Once all of your blocks are completed, it’s time to assemble the quilt top. Here’s how to do it:
Step 1: Arrange the Blocks
- Lay out the blocks on a flat surface to determine your quilt layout. You can arrange them in a grid pattern or opt for a more staggered, asymmetrical arrangement, depending on your design preference.
- Make sure that the blocks are aligned properly and that the seams match up for a clean and professional finish.
Step 2: Sew the Rows
- Begin sewing the blocks together in rows. Pin or clip each block to its neighbor to ensure accurate alignment. After sewing each row, press the seams flat to avoid bulky seams in your quilt top.
Step 3: Join the Rows
- Once all the rows are completed, sew them together, row by row. Again, use pins or clips to keep the seams aligned, and press the seams after joining each row.
Step 4: Adding Borders (Optional)
- If you want to add a border around your quilt top, now is the time to do so. Measure and cut the border fabric and sew it to the edges of your quilt. A border can give the quilt a finished, framed appearance.
4. Quilting and Finishing the Quilt
Now that your quilt top is pieced together, it’s time to quilt it and add the finishing touches:
Step 1: Create the Quilt Sandwich
- Lay the quilt backing fabric flat on a large surface, then place the quilt batting on top. Finally, position the quilt top over the batting, ensuring that all three layers are smooth and aligned.
- Pin or clip the layers together to hold everything in place while you quilt.
Step 2: Quilt the Layers
- Use your sewing machine to quilt the layers together. You can choose from various quilting techniques, such as straight-line quilting, free-motion quilting, or even hand quilting if you prefer a more traditional approach.
- Make sure your quilting pattern complements the design of the Birdhouse (Alternate Pattern). Simple, geometric quilting designs may work well, or you can add more decorative quilting to enhance the overall look of the quilt.
Step 3: Bind the Quilt
- Once the quilt is quilted, trim any excess batting and backing fabric, leaving a half-inch border around the quilt top.
- Cut your binding fabric into strips and sew them together to form a continuous strip. Then, attach the binding to the edges of the quilt, folding it over to the back and hand-stitching or machine-stitching it in place.
🌟Join our exclusive Quilt broadcast list on Messenger! Receive the best patterns, tips, and updates directly in your inbox. Our team is ready to send you delightful content that will inspire your projects. Don’t miss this opportunity to stay updated and create amazing pieces. Join now and be part of this passionate quilt community!✨📩
FAQ – Frequently Asked Questions
- What skill level is the Birdhouse (Alternate Pattern) suitable for?
- The Birdhouse (Alternate Pattern) is suitable for quilters of all skill levels. The pattern offers simple piecing techniques for beginners, while also providing opportunities for more advanced embellishments and quilting techniques.
- Can I change the size of the quilt?
- Yes! You can make the quilt larger or smaller by adjusting the number of blocks or altering the size of the individual pieces. The pattern is flexible, and you can adapt it to fit your needs.
- What kind of fabric is best for the Birdhouse Quilt?
- Quilting cotton is the most common fabric choice for the Birdhouse (Alternate Pattern). However, you can also experiment with other fabric types, such as linen or flannel, to give your quilt a different texture.
- Can I add other decorative elements to the quilt?
- Absolutely! The Birdhouse (Alternate Pattern) can be personalized with additional elements like appliqué, embroidery, or even small fabric embellishments like buttons or ribbons.
- How do I keep my quilt blocks from becoming uneven?
- To ensure that your quilt blocks remain even, always measure and cut your fabric pieces carefully. Use a quarter-inch seam allowance and press your seams as you go to keep everything aligned.
- Can I make a smaller version of this quilt?
- Yes, you can make a smaller version of the quilt by reducing the size of the blocks or making fewer blocks overall. You could create a cute wall hanging or table runner by resizing the pattern.
Conclusion
The Birdhouse (Alternate Pattern) quilt is a fun and creative project that brings the charm of nature and birdhouses into your home. Whether you’re making it for yourself, as a gift, or for a special occasion, this pattern offers endless possibilities for customization and personal expression. We hope this guide has inspired you to start your own Birdhouse (Alternate Pattern) quilt.
Feel free to share your progress and tips, or ask any questions you may have in the comments below. We’d love to hear how your quilt turns out!


