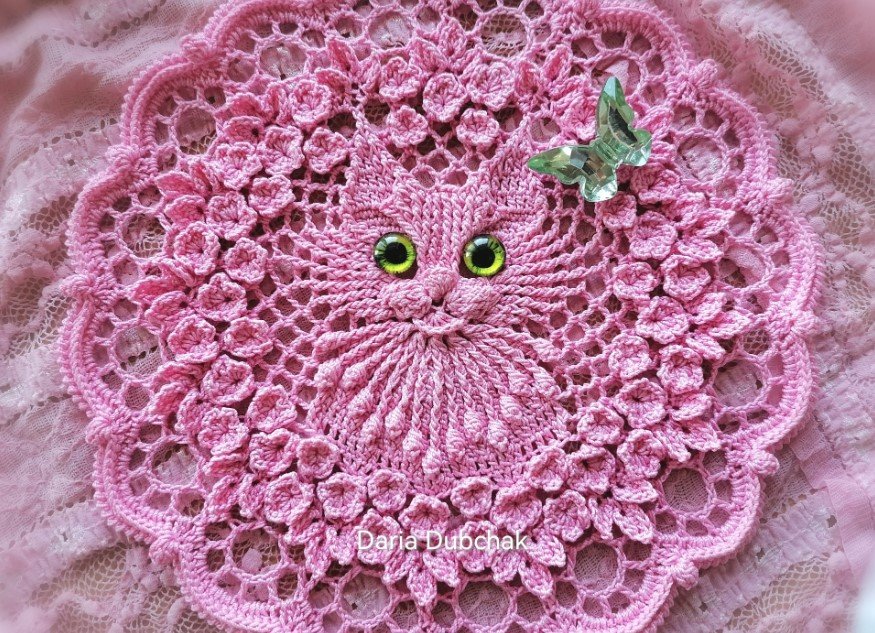
The Crochet Cat Napkin – Pattern is a whimsical and delightful project perfect for adding some personality and charm to your dining table. Whether you’re hosting a dinner party or simply want to bring a little more fun to your meals, this crochet napkin design is sure to impress your guests and make your table setting unique. With its adorable cat motif, this pattern blends practicality with creativity, making it an excellent project for crocheters of all skill levels.
In this article, we will walk you through the materials you’ll need, the step-by-step process to create the Crochet Cat Napkin, and helpful tips for personalizing your project.
Whether you’re new to crochet or have plenty of experience, this napkin pattern will provide a fun and satisfying challenge while resulting in a beautiful, functional piece.
1. Materials Needed for the Crochet Cat Napkin
Before you start your Crochet Cat Napkin project, gather the following materials to ensure that you have everything you need for a successful creation:
DISCOVER MORE FREE PATTERNS HERE!
- Yarn: Choose a yarn that is both durable and soft, as the napkin will be used for meals. Cotton yarn is ideal for this project because it is absorbent, easy to care for, and has a lovely texture. Choose a main color for the napkin (such as white or beige) and a contrasting color for the cat design (such as black, gray, or any color you prefer for the cat’s body and details).
- Crochet Hook: The appropriate size hook for your chosen yarn is essential. A 3.5 mm to 4.0 mm crochet hook is ideal for cotton yarn. If you prefer a looser or tighter fabric, adjust the hook size accordingly.
- Scissors: You’ll need a pair of sharp scissors to cut your yarn when finishing off the project.
- Tapestry Needle: A tapestry needle is necessary for weaving in the loose ends once your project is complete. It will also help with stitching the details of the cat, such as the eyes, nose, and whiskers.
- Stitch Markers: While not required, stitch markers can be very helpful to mark the beginning of each round, making the crochet process easier and more accurate.
- Measuring Tape: You may want to measure the size of your napkin as you work to ensure it is the desired dimensions.
- Optional – Buttons or Embellishments: If you want to add extra flair to your cat’s face or body, consider using small buttons for the eyes or a fabric bow for the cat’s neck.
2. Step-by-Step Instructions for the Crochet Cat Napkin
Now that you have your materials ready, let’s dive into the step-by-step instructions for creating the Crochet Cat Napkin.
Step 1: Create the Base Napkin
- Start by crocheting the main square napkin. This portion is simple and serves as the background for the cat motif.
- Foundation Chain: Begin by chaining 40 to 45 stitches, depending on how large you want your napkin to be. The size of the napkin can be customized, but a 40-45 stitch chain is ideal for a medium-sized napkin.
- Row 1: Turn the work and single crochet in each chain stitch across the row. Make sure to maintain even tension.
- Subsequent Rows: Continue crocheting in rows, working single crochet stitches across, until you have a square or rectangle that is approximately 12-15 inches in width and height, depending on your preference.
- Border (Optional): For a more polished look, you can add a simple border around the edges of your napkin by crocheting a round of double crochet or single crochet around the entire piece.
Step 2: Crochet the Cat Motif
Once the base napkin is complete, you can begin crocheting the Cat Motif. This section will be worked separately and then attached to the napkin.
- Head of the Cat:
- Begin by creating a magic ring (or adjustable loop) to form the cat’s head.
- Chain 1 and work 6 single crochet stitches into the magic ring. Pull the ring tight to close it.
- Work in rounds, increasing the stitches gradually. For example, in the second round, you can increase by 6 stitches to give the cat head a rounded shape.
- Continue working rounds until you reach the desired size for the head, making sure to regularly increase your stitches.
- Once you have the right size, fasten off the yarn and leave a long tail for sewing.
- Body of the Cat:
- Using the same method, create a small oval or circle to form the body of the cat. Make the body slightly larger than the head for a proportionate look.
- Similar to the head, increase the stitches gradually in rounds until the body reaches the desired size.
- Fasten off the yarn and leave a long tail for sewing.
- Ears:
- The ears are made by crocheting two small triangles. You can create these by chaining 6 stitches, then turning and working in rows to form a triangle shape.
- Once you’ve completed the triangles, fasten off the yarn and leave a tail for sewing.
Step 3: Attaching the Cat Motif to the Napkin
- Position the Cat Head, Body, and Ears on the napkin where you want them to appear. Use a tapestry needle and matching yarn to sew the pieces securely to the napkin. Make sure everything is evenly spaced and positioned for a balanced look.
Step 4: Adding the Cat’s Face
- Using a contrasting color of yarn, add details like the cat’s eyes, nose, and mouth. You can either embroider the face or use small crochet stitches to create the features.
- For the eyes, you can crochet small circles or use buttons to add a more realistic look.
- For the whiskers, use long stitches or thin yarn to create delicate lines extending from the cat’s nose.
- Optionally, crochet a small bow or collar around the cat’s neck for a decorative touch.
Step 5: Final Touches and Weaving in Ends
- Once the cat motif is securely attached and the face is embroidered, weave in any loose ends using your tapestry needle.
- Inspect the napkin to make sure everything is stitched down properly and that there are no loose threads.
3. Personalizing Your Crochet Cat Napkin
One of the best things about the Crochet Cat Napkin pattern is its versatility. Here are a few ideas to make your napkin even more personal and unique:
- Color Customization: While the classic cat colors are black, gray, or brown, you can crochet the cat in any color that suits your table setting. Try using soft pastels for a light and airy feel, or bold colors for a fun and modern look.
- Size Variations: If you want to make matching napkins for a set, simply adjust the size of your crochet napkin by adding more rows or making a larger foundation chain.
- Pattern Variations: Add different facial expressions to the cats or use a variety of cat breeds in the design for a playful and eclectic look.
- Embellishments: To make the napkins even more unique, consider adding small crochet flowers or other decorative elements around the cat design.
4. Care Instructions for Your Crochet Cat Napkin
To ensure that your Crochet Cat Napkin remains in good condition after use, follow these care instructions:
- Hand Wash or Gentle Machine Wash: Cotton yarn can be washed, but it’s always best to hand wash your crochet napkins to preserve their shape and texture. If you prefer to machine wash, use a gentle cycle with cold water.
- Air Dry: Lay the napkin flat to dry after washing to prevent any stretching or misshaping. Avoid using a dryer, as the heat can damage the yarn.
- Store Properly: When not in use, store your crochet napkins in a dry, cool place to keep them in good condition. Folding them neatly will help preserve their shape.
FAQ – Frequently Asked Questions
- Can I use other types of yarn for this project?
- Yes, while cotton yarn is ideal for napkins because of its absorbency, you can experiment with other yarns like linen or bamboo, which also have similar properties.
- How long does it take to make one napkin?
- The time it takes to crochet one Cat Napkin depends on your skill level, but on average, it should take about 3-5 hours to complete one napkin.
- Can I add other animal motifs to the napkin?
- Absolutely! You can modify the pattern to include other animal motifs like dogs, rabbits, or birds. Simply follow the same steps for creating the animal’s body, ears, and face.
- What if I’m new to crochet?
- If you’re new to crochet, don’t worry! The Crochet Cat Napkin pattern is beginner-friendly. Start by practicing basic stitches like single crochet and double crochet before attempting the motif.
- Can I use this pattern for other projects?
- Yes! The Crochet Cat Napkin motif can be used for various other projects like potholders, coasters, or even a cute cat-themed blanket.
- Can I crochet the napkin in a circular shape instead of a square?
- Yes! You can adjust the base of the napkin to create a circular shape by crocheting in the round. Just ensure the final size fits your table setting.
Conclusion
The Crochet Cat Napkin – Pattern is a fun and functional project that adds a whimsical touch to any table setting. Whether you’re hosting a cat-themed dinner party or simply want to brighten up your everyday meals, these adorable napkins will certainly make an impression. Follow the steps in this guide, and soon you’ll have a charming set of crochet cat napkins to enjoy.
We hope this pattern has inspired you to start creating! Feel free to share your thoughts and experiences in the comments below, and don’t forget to tell us how you’ve personalized your own Crochet Cat Napkin!


