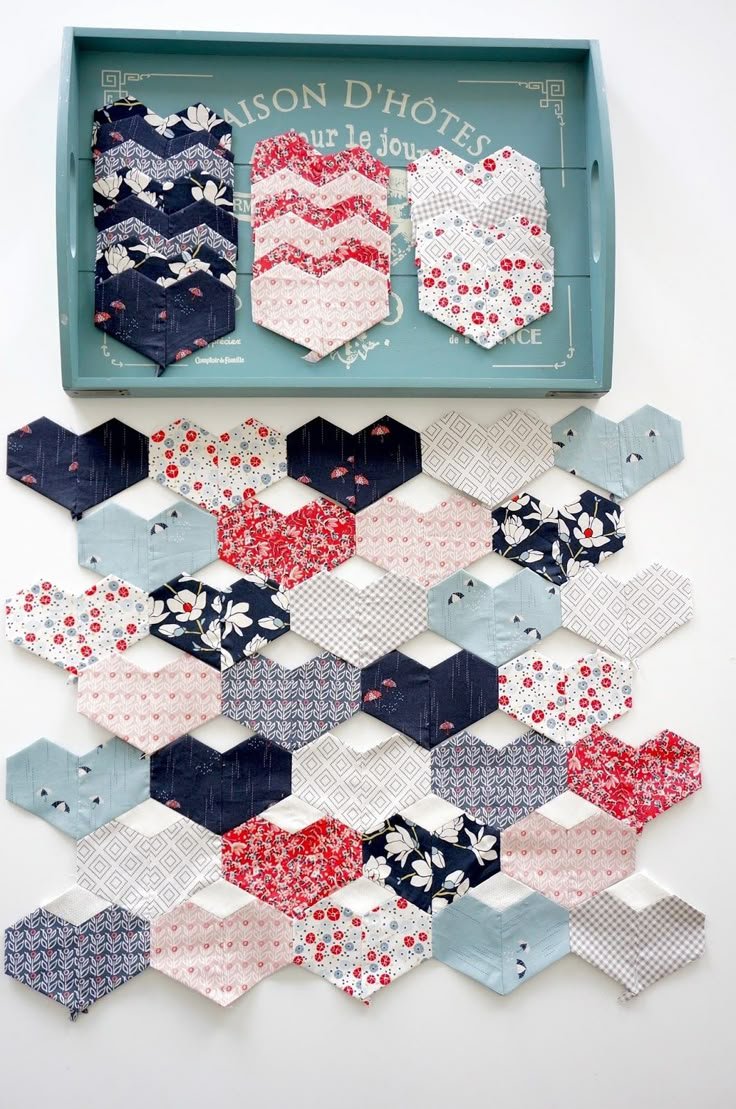
The Mini Heart Quilt – TUTORIAL is a sweet and simple quilting project that captures the joy of handmade love in every stitch. Whether you’re making it as a gift, a seasonal decoration, or a heartfelt project for yourself, this mini quilt brings warmth and charm to any space. With its small size and clear construction, it’s ideal for beginners and seasoned quilters alike.
From the very first cut of fabric, the Mini Heart Quilt – TUTORIAL brings together creativity, comfort, and the pleasure of working with color and shape. It’s the perfect pattern for Valentine’s Day, anniversaries, or simply to express affection through fabric. You can hang it on the wall, place it on a table, or give it as a handmade treasure to someone special.
In this article, you’ll learn everything you need to complete this lovely mini quilt—from the tools you’ll need, to step-by-step instructions, to customization ideas that let you make it uniquely yours.
1. Why the Mini Heart Quilt – TUTORIAL is Perfect for All Quilters
The Mini Heart Quilt – TUTORIAL is loved by quilters for its balance of simplicity and beauty. It’s a smaller project, which means less time commitment but plenty of opportunities to experiment with fabrics and layout.
SEE OTHER FACE PATTERNS HERE!
Because of its mini size, it’s great for using up scraps. Those small pieces you’ve saved from other quilt patterns? This is the time to use them. You only need small squares and strips to form the heart shapes.
The theme of hearts never goes out of style. Whether it’s for Valentine’s Day, a wedding, or simply to show appreciation, heart-themed quilts are always meaningful.
It’s a beginner-friendly project that doesn’t require complex piecing or intricate techniques. Even if you’ve never made a quilt before, you can start with this one confidently.
For experienced quilters, it’s a relaxing and fun way to play with color combinations or practice precision in small blocks.
And lastly, the finished quilt is simply adorable. Hang it in a hallway, above a desk, or give it as a gift—it always brings smiles.
2. What You’ll Need for Your Mini Heart Quilt – TUTORIAL
Before you begin, gather your materials. The Mini Heart Quilt – TUTORIAL doesn’t require a lot of supplies, which makes it even more appealing for a quick weekend project or last-minute handmade gift.
Fabric: You’ll need a mix of contrasting prints or solids. Choose light backgrounds and bold reds, pinks, purples, or even rainbow fabrics for the hearts. Fat eighths or scraps work great here.
Batting: A small piece of low-loft batting is enough to provide softness and structure to your quilt.
Backing: Pick a coordinating print or solid color. Since this is a mini quilt, you’ll need less than half a yard.
Binding: Scrappy or matching binding gives a polished finish. You’ll need about 1/4 yard.
Rotary cutter and ruler: Precision is key for crisp heart shapes, so make sure your tools are sharp.
Sewing machine: Straight stitching is all you need, making this beginner-friendly.
Iron: Pressing between steps keeps seams flat and helps with accurate piecing.
Thread and pins or clips: Standard sewing thread and pins will help hold your blocks together as you assemble the quilt.
3. How to Sew the Mini Heart Quilt – TUTORIAL
The process behind the Mini Heart Quilt – TUTORIAL is straightforward, using basic quilt construction techniques. Each heart is made from simple square and half-square triangle units.
Start by cutting 2.5″ or 3″ squares depending on how big you want each heart block. You’ll need two squares of your “heart” fabric and two background squares per block.
Create the top part of the heart by making two half-square triangles (HSTs). Pair one heart square with one background square, mark a diagonal line, stitch 1/4″ on each side, and cut along the line to get two HSTs.
Sew the HSTs together with a heart-colored square in between to form the top of the heart. This creates the curved shape of the heart’s top.
For the bottom of the heart, sew a row of two background squares with a heart-colored square in the center. This forms the point.
Join the two rows together, matching seams. Press your seams carefully for a smooth finish.
Make as many blocks as you like. Arrange them in rows or a grid. A layout of 3×3 (nine blocks total) works well for a mini quilt.
Sew your blocks together, add a border if desired, and layer with batting and backing. Quilt with straight lines or echo the heart shapes for added detail.
Finish with binding around the edges. Your mini quilt is ready to display or gift!
4. Creative Ideas to Customize Your Mini Heart Quilt
One of the best things about the Mini Heart Quilt – TUTORIAL is how customizable it is. With a little creativity, you can make each version feel unique and personal.
Use ombré fabrics to create a gradient effect from one heart to the next for a modern twist.
Add sashing between blocks in a contrasting color to separate and highlight each heart.
Try using low-volume prints for the background to add subtle texture without overpowering the heart blocks.
Make a scrappy heart quilt using all different reds or pinks for a charming patchwork look.
Add embroidery or small appliqué words like “Love” or initials to personalize the quilt even more.
Create a banner or wall hanging by sewing your hearts in a horizontal row and adding loops or ties at the top.
🌟Join our exclusive Quilt broadcast list on Messenger! Receive the best patterns, tips, and updates directly in your inbox. Our team is ready to send you delightful content that will inspire your projects. Don’t miss this opportunity to stay updated and create amazing pieces. Join now and be part of this passionate quilt community!✨📩
FAQ – Mini Heart Quilt – TUTORIAL
Is the Mini Heart Quilt good for beginners?
Yes! It uses basic piecing and half-square triangles. It’s a great first quilt project that builds foundational skills.
What size is a Mini Heart Quilt?
A typical mini heart quilt made with 3” finished blocks in a 3×3 layout is about 12”-14” square, depending on borders.
Can I make a larger quilt using this tutorial?
Absolutely! Just keep adding more heart blocks to make a throw, twin, or bed-sized quilt.
What type of fabric is best for this project?
Quilting cotton is ideal. Use a mix of prints and solids for contrast and visual interest.
Do I need to prewash my fabric?
It’s a good idea, especially with red or dark fabrics, to prevent bleeding when the quilt is washed.
Can I quilt by hand instead of machine?
Yes, this mini size is perfect for hand quilting. Use a hoop and choose simple stitches to outline the hearts.
Conclusion
The Mini Heart Quilt – TUTORIAL is a heartfelt, beginner-friendly quilt project that’s as fun to make as it is to gift. With its simple construction and beautiful design, it’s a perfect project for holidays, birthdays, or just because. Whether you’re sewing it for yourself or someone you love, it’s a creative expression of care and craftsmanship.
Have you tried making this quilt? We’d love to hear about your experience! Leave your honest thoughts and suggestions below so we can continue inspiring each other to keep quilting with joy. 🧵❤️


