If you’re looking to create a project that is both peaceful and beautiful, the Simply Serene Quilt – TUTORIAL is the perfect place to begin. This pattern lives up to its name—simple in construction yet serene in appearance. Whether you are a beginner or an experienced quilter seeking a calming design, this quilt is a satisfying and soulful project.
The Simply Serene Quilt emphasizes soothing color palettes, clean lines, and mindful sewing. It’s ideal for gifting, home décor, or even as a project to help you unwind. Designed to bring a sense of tranquility to your crafting process, this quilt balances structure and creativity.
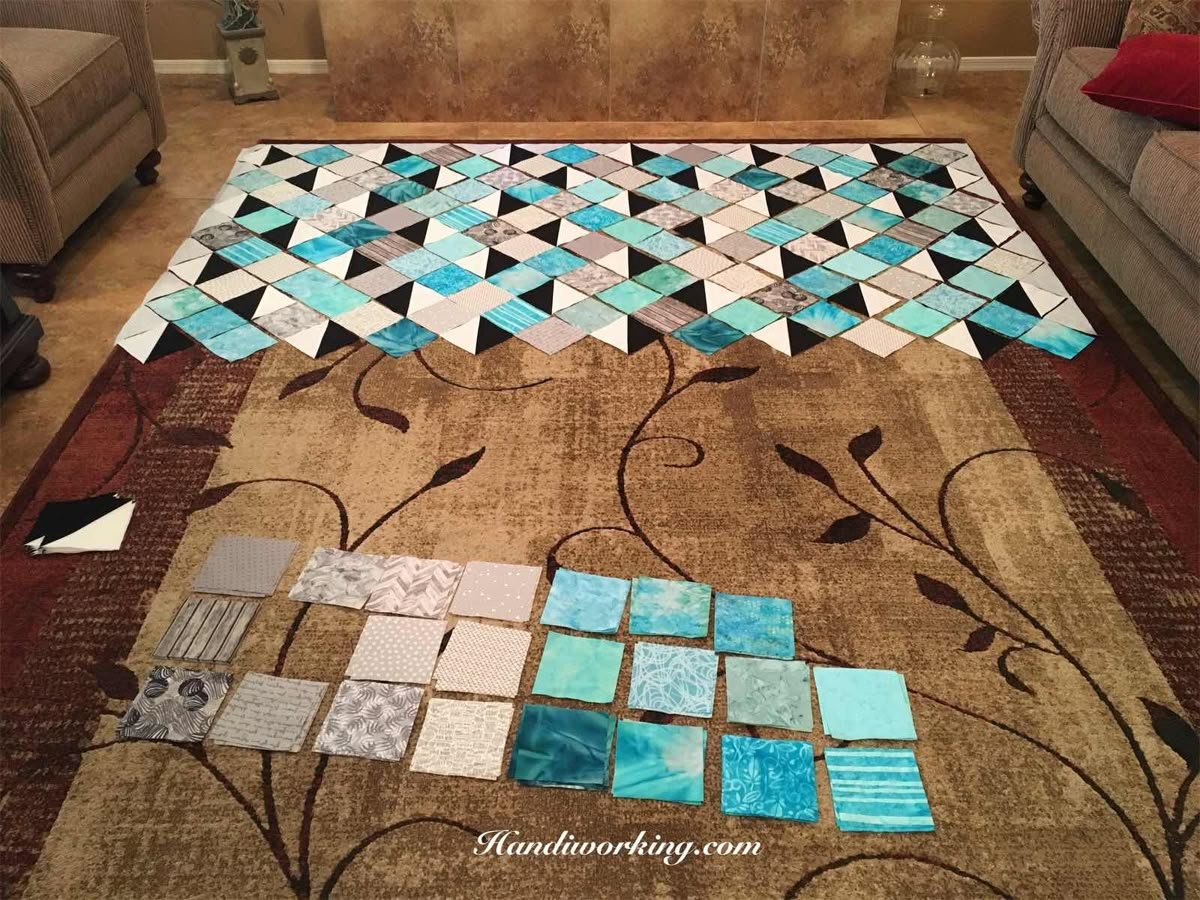
In this tutorial, you’ll learn how to make your own Simply Serene Quilt, including what fabrics to choose, how to cut and assemble blocks, and how to finish your quilt with love and care.
1. Why Choose the Simply Serene Quilt Pattern
There are many reasons quilters love the Simply Serene Quilt—from its clean layout to its meditative piecing process.
SEE OTHER FACE PATTERNS HERE!
First, it’s beginner-friendly. The blocks are easy to cut and sew, making it a great starting point for those new to quilting.
Second, it’s incredibly calming. The name “Simply Serene” reflects the entire experience of making this quilt—from choosing peaceful colors to stitching mindful rows.
Third, it’s versatile. You can make it in soft pastels for a nursery, modern neutrals for a living room, or vibrant tones for a more energetic look.
Fourth, it’s quick to finish. Because of its simple block construction and large shapes, you can complete this quilt over a few relaxed weekends.
Fifth, it’s fat quarter and scrap-friendly. The pattern works well with pre-cut fabric packs or leftovers from past projects.
Sixth, it’s perfect for gifting. Its calming design makes it ideal for baby showers, housewarmings, or self-care gifts for friends and family.
The Simply Serene Quilt – TUTORIAL invites you to slow down, enjoy the creative process, and produce a meaningful piece of fabric art.
2. Materials and Tools You’ll Need
To make the Simply Serene Quilt, you’ll need the following materials. The amounts can be adjusted based on the desired size (baby, throw, or twin):
Fabric:
-
8 to 12 fat quarters (or equivalent yardage) in a cohesive color palette
-
1 yard of background fabric (e.g., white, cream, or gray)
-
½ yard for binding
-
1½ to 2 yards for backing
-
Optional: low-loft batting for a soft finish
Notions & Tools:
-
Rotary cutter and mat
-
Acrylic quilting ruler
-
Fabric scissors
-
Pins or sewing clips
-
Sewing machine with a ¼” foot
-
Thread in coordinating color
-
Iron and ironing board
Keep in mind that the Simply Serene Quilt pattern looks best with soft transitions or minimal contrast between fabrics. Think ombré shades, tone-on-tone prints, or low-volume modern prints.
3. Step-by-Step Quilt Construction
Follow these steps to assemble your Simply Serene Quilt. The design is made of rectangular or square blocks laid out in a staggered or grid format.
Step 1: Choose and Cut Your Fabrics
-
From your fat quarters, cut several rectangles measuring 6½” x 9½”.
-
From your background fabric, cut rectangles measuring 3½” x 9½” to act as spacers.
-
Make sure you cut an even number of pieces so they balance in your layout.
Step 2: Arrange Your Layout
-
On a flat surface or design wall, begin laying out the blocks in rows.
-
Alternate patterned fabric blocks with background pieces.
-
For a serene flow, avoid placing similar fabrics too close together. Aim for visual balance.
Step 3: Sew Blocks into Rows
-
Use a ¼” seam allowance for all sewing.
-
Sew each block to its neighbor in a row. Press seams toward the darker fabric or open.
-
Complete all rows before moving on.
Step 4: Join Rows Together
-
Stagger the start of every other row by inserting a half-block or trimming as needed to create a flowing effect.
-
Pin and sew rows together, matching seam intersections.
-
Press the quilt top thoroughly.
Step 5: Add Batting and Backing
-
Create a quilt sandwich: backing fabric (wrong side up), batting, and quilt top (right side up).
-
Baste with safety pins or spray adhesive to keep layers in place.
Step 6: Quilting and Binding
-
Use simple quilting lines to maintain the serene aesthetic—straight lines or gentle curves work beautifully.
-
Trim the edges, attach your binding, and sew it in place (by hand or machine).
Congratulations! Your Simply Serene Quilt is now ready to bring warmth and calm to any room.
4. Customizing the Simply Serene Quilt
One of the joys of the Simply Serene Quilt pattern is how easily you can make it your own.
Color Story
Choose a theme like ocean blues, sunset pastels, or forest greens to guide your palette. This adds cohesion and intention to your finished quilt.
Scrappy Version
Use leftover fabrics from other quilts for a zero-waste, scrappy version that still feels peaceful thanks to the structured layout.
Sashing and Borders
Add narrow sashing between blocks or a border around the edge to change the scale and make the quilt larger.
Monochrome Magic
Stick to one color family—like all blues or all grays—for a subtle, minimalist effect.
Texture Play
Mix cotton with linen or textured prints for a tactile experience. These additions enhance both look and feel.
Themed Quilts
Use novelty prints or seasonal colors to make a holiday-themed version, or even a memory quilt using old shirts or linens.
The Simply Serene Quilt – TUTORIAL is just the beginning—what you make of it is up to your imagination.
FAQ – Simply Serene Quilt Tutorial
Is this quilt suitable for beginners?
Yes! The design is very straightforward, with basic straight-line piecing. It’s perfect for first-time quilters.
How long does it take to complete?
With a weekend or two of focused sewing, most quilters can finish the quilt top easily. Quilting and binding may take an additional day or two.
What size should I make it?
You can adapt the pattern to any size. Start with a baby quilt (around 36″ x 45″) or go up to a throw or twin size by adding more rows.
Do I need a special sewing machine?
No. Any domestic sewing machine with a straight stitch and a ¼” presser foot will work fine.
Can I quilt it by hand?
Absolutely! Hand quilting adds a personal touch, especially for a project meant to feel peaceful and personal.
What if my blocks don’t line up perfectly?
That’s okay! The relaxed look of this quilt forgives minor imperfections. Press carefully and enjoy the process.
Conclusion
The Simply Serene Quilt – TUTORIAL is more than just a pattern—it’s a mindful journey through fabric and design. From its soft aesthetic to its beginner-friendly steps, this quilt invites you to slow down, focus on beauty, and create something truly comforting.
Whether you’re sewing for yourself or someone special, this quilt brings a sense of peace from the very first stitch to the final snip of thread.
Have you made the Simply Serene Quilt? We’d love to hear your thoughts! Leave your feedback, share your fabric choices, or offer suggestions below—your voice helps inspire other quilters to join in the serenity. 🧵💙