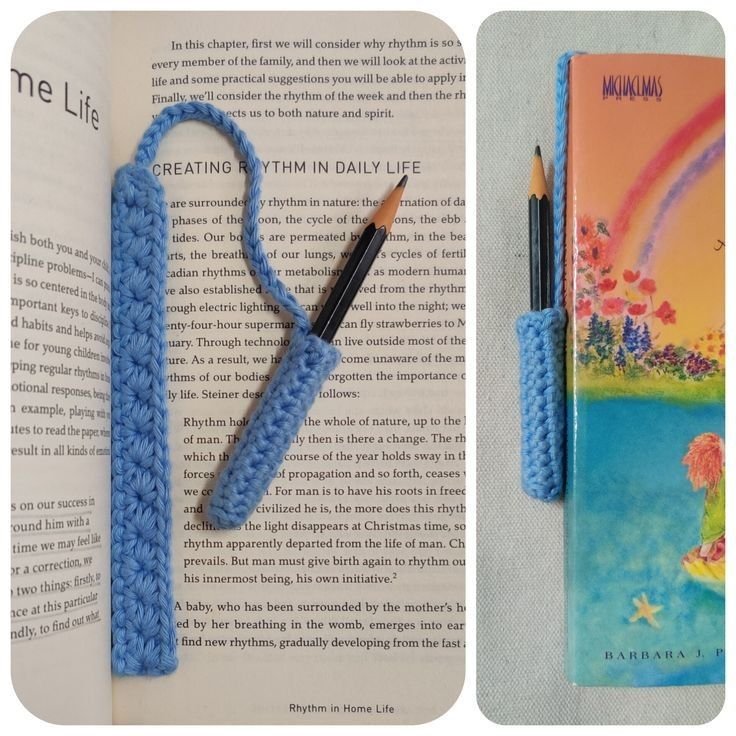
Crocheting is a craft that combines creativity, relaxation, and practicality. And what could be more practical than making your own beautiful bookmark to accompany your favorite books?
The Simple and Easy Bookmark crochet pattern is a small yet delightful project that’s perfect for beginners and seasoned crocheters alike. It’s quick to make, requires minimal yarn, and can be customized to suit your style.
Whether you’re making one for yourself, as a gift for a book lover, or to sell at craft fairs, this pattern is a must-try. In this tutorial, you’ll learn step-by-step how to crochet a simple and elegant bookmark, along with tips for adding your own personal touch.

1. Why Crochet a Bookmark?
There’s something truly special about handmade bookmarks. While you could easily use a piece of paper or a store-bought bookmark, crocheted bookmarks add a warm, personal touch to your reading experience. Here’s why they’re worth making:
DISCOVER MORE FREE PATTERNS HERE!
-
Quick and beginner-friendly – This is a small project that can be completed in less than an hour.
-
Great stash buster – Perfect for using up leftover yarn from other projects.
-
Highly customizable – You can choose any color, stitch pattern, or embellishment.
-
Thoughtful gift – Makes a heartfelt present for teachers, friends, or family members who love reading.
-
Portable project – Easy to carry and work on anywhere, whether at home, in a park, or during travel.
Beyond the practical reasons, crocheting bookmarks is simply fun. You can experiment with textures, edging styles, and even add beads or tassels to make each one unique.
2. Materials and Tools Needed
Before starting your Simple and Easy Bookmark, gather the following supplies:
Yarn
-
A lightweight yarn (cotton is ideal) works best. Cotton yarn keeps the bookmark thin and flat, which is important for fitting inside books without damaging the pages.
-
You can use solid colors, variegated yarns, or even metallic threads for a unique look.
Hook
-
Use a crochet hook size recommended for your yarn, typically between 2.5mm to 4mm for bookmarks. A smaller hook creates a tighter stitch, which helps the bookmark keep its shape.
Other Tools
-
Scissors – for trimming yarn.
-
Tapestry needle – for weaving in ends.
-
Optional: Beads, ribbon, or charms for decoration.
Tip: If you plan to make several bookmarks, try experimenting with different yarn and hook combinations to achieve different textures and sizes.
3. Step-by-Step Instructions for the Simple and Easy Bookmark
This pattern is perfect for beginners and follows a straightforward process.
Step 1: Start with a foundation chain
-
Chain between 25 and 40 stitches, depending on how long you want your bookmark to be. Keep in mind that cotton yarn may stretch slightly over time.
Step 2: Choose your stitch
-
For a classic and easy look, use single crochet (sc) or half double crochet (hdc) across each row.
-
Work 1 stitch into each chain across, then turn your work.
Step 3: Continue crocheting rows
-
Crochet rows until your bookmark reaches your desired width (usually 3–5 rows is enough for a slim bookmark).
-
Remember to keep your tension consistent so the edges remain straight.
Step 4: Add edging (optional)
-
For a decorative touch, work a round of slip stitches or shell stitch edging around the bookmark.
-
You can also use a contrasting color for the edging to make it pop.
Step 5: Finish off
-
Once you’re happy with your bookmark’s size and look, fasten off your yarn and weave in any loose ends using the tapestry needle.
Step 6: Add embellishments (optional)
-
Attach a small tassel, bead, or ribbon to one end of the bookmark.
-
You can also crochet a small flower or heart motif and sew it onto the top for extra charm.
4. Tips for Customizing Your Bookmark
The beauty of this crochet project is that you can make it as simple or elaborate as you want. Here are some ideas for personalizing your bookmark:
-
Color blocking: Use two or more colors in horizontal stripes for a playful look.
-
Stitch variation: Try using puff stitches, granny stripes, or filet crochet for different textures.
-
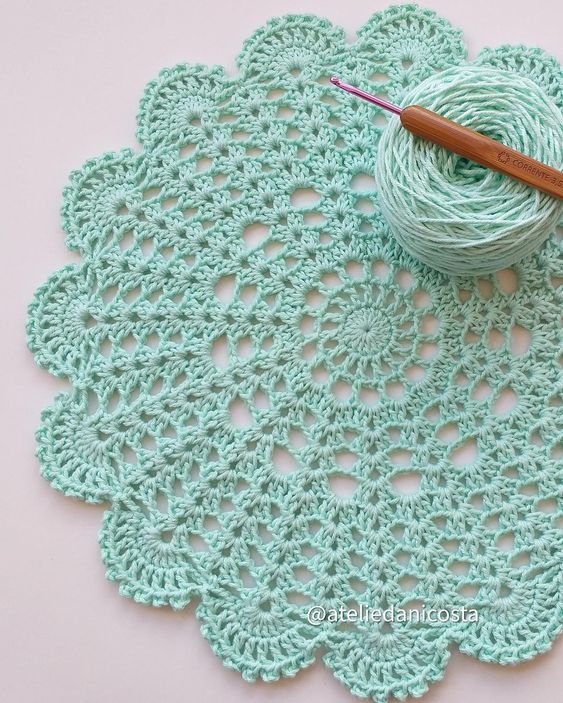
Lace-style bookmarks: Use a finer thread and smaller hook for a delicate, vintage-inspired design.
-
Holiday themes: Choose red and green for Christmas, orange and black for Halloween, or pastel shades for Easter.
-
Gift sets: Make matching bookmarks with handmade book sleeves for a thoughtful present.
If you’re planning to sell your bookmarks at markets or online, consider making them in themed collections—such as floral, minimalistic, or literary-inspired designs—to appeal to different customer tastes.
Final Thoughts
The Simple and Easy Bookmark crochet pattern is the perfect project for anyone who wants to create something beautiful and functional without spending hours on a large piece. It’s a great way to practice stitches, experiment with color, and produce a handmade item that will be cherished.
With minimal materials and endless customization possibilities, this project is ideal for crocheters at all levels. Whether you make one for yourself, as a gift, or for sale, each bookmark will carry the personal touch of your craftsmanship.
VIDEO TUTORIAL:
So grab your hook, pick your favorite yarn, and start crocheting your very own bookmark today. Happy crocheting! 🧶📖


