How to Assemble the Bunny Applique Pattern is a charming quilt tutorial that brings softness, creativity, and storytelling into fabric. From the very first steps, How to Assemble the Bunny Applique Pattern invites quilters to work with gentle shapes and thoughtful details that transform simple pieces of fabric into an expressive and heartwarming bunny design.
Appliqué quilting has a special place in the quilting world because it allows makers to create images and characters with emotion and personality. The How to Assemble the Bunny Applique Pattern is especially loved for its playful yet delicate look, making it perfect for seasonal quilts, children’s projects, or anyone who enjoys adding character to their quilting work.
In this article, we will focus entirely on How to Assemble the Bunny Applique Pattern, explaining the inspiration behind the design, fabric preparation, assembly process, and creative ways to use the finished appliqué. Everything is written in a natural, humanized way so you can feel confident and inspired throughout the process.
The How to Assemble the Bunny Applique Pattern is not just about technique, but about creating a quilt element that feels warm, joyful, and handmade.
DISCOVER MORE FREE PATTERNS HERE!
1. Inspiration and Design Concept of the Bunny Applique Pattern
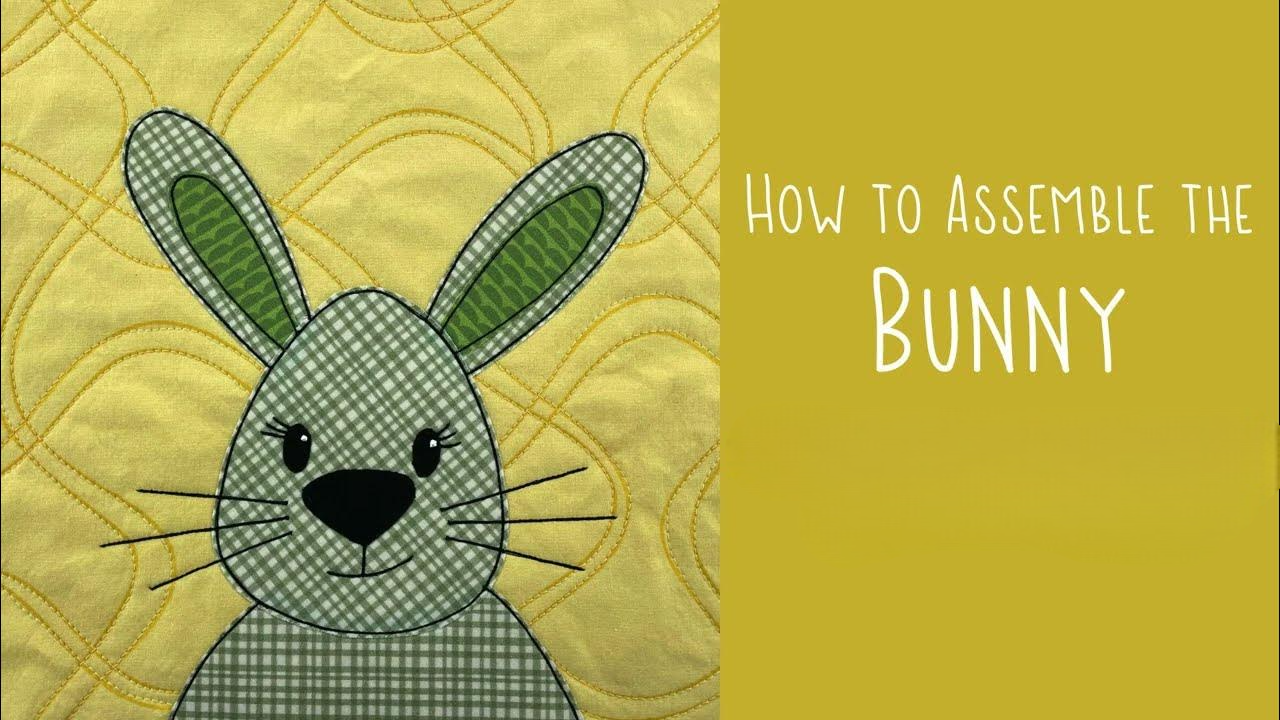
The How to Assemble the Bunny Applique Pattern is inspired by softness and innocence.
Bunny shapes often symbolize gentleness and comfort.
The design usually features rounded ears and simple facial details.
Clean lines help the appliqué stand out on any background.
The pattern works well with both modern and traditional quilts.
The How to Assemble the Bunny Applique Pattern brings personality into quilting.
2. Fabric Preparation and Applique Materials
Fabric choice is essential for How to Assemble the Bunny Applique Pattern.
Cotton fabrics are ideal for smooth stitching.
Soft pastel colors are commonly used for bunnies.
Background fabric should contrast gently with the appliqué.
Fusible web helps secure shapes before stitching.
Proper preparation makes How to Assemble the Bunny Applique Pattern easier.
3. Step-by-Step Assembly Process
The How to Assemble the Bunny Applique Pattern starts with cutting shapes.
Each piece represents a part of the bunny.
Shapes are positioned carefully on the background.
Edges are stitched using preferred appliqué methods.
Details like eyes and nose are added last.
This process makes How to Assemble the Bunny Applique Pattern satisfying and clear.
4. Creative Uses for the Bunny Applique Pattern
The How to Assemble the Bunny Applique Pattern works beautifully in quilts.
It’s perfect for baby and children’s quilts.
Great for Easter-themed projects.
Works well on pillows and wall hangings.
Can be used as a quilt block centerpiece.
The How to Assemble the Bunny Applique Pattern adapts to many ideas.
FAQ – How to Assemble the Bunny Applique Pattern
Is this pattern suitable for beginners?
Yes, it uses simple shapes and basic appliqué techniques.
What size is the bunny appliqué?
Sizes vary depending on the project layout.
Can I hand stitch the appliqué?
Yes, hand or machine stitching both work well.
Do I need special tools?
Basic quilting and appliqué supplies are enough.
Can I customize the bunny’s look?
Absolutely, fabric choices change the personality.
Is this pattern good for gifts?
Yes, it adds a sweet and personal touch.
Conclusion
How to Assemble the Bunny Applique Pattern is a delightful quilt tutorial that combines creativity, softness, and thoughtful design. In this article, we explored the inspiration behind the bunny motif, discussed fabric preparation, explained the assembly process, and shared creative ways to use the finished appliqué. This pattern is perfect for quilters who enjoy adding character and warmth to their projects.
PATTERN VIDEO:
If you enjoyed learning about How to Assemble the Bunny Applique Pattern, leave your honest opinion and share your suggestions. Your feedback helps inspire new ideas and keeps the quilting community creative and connected.