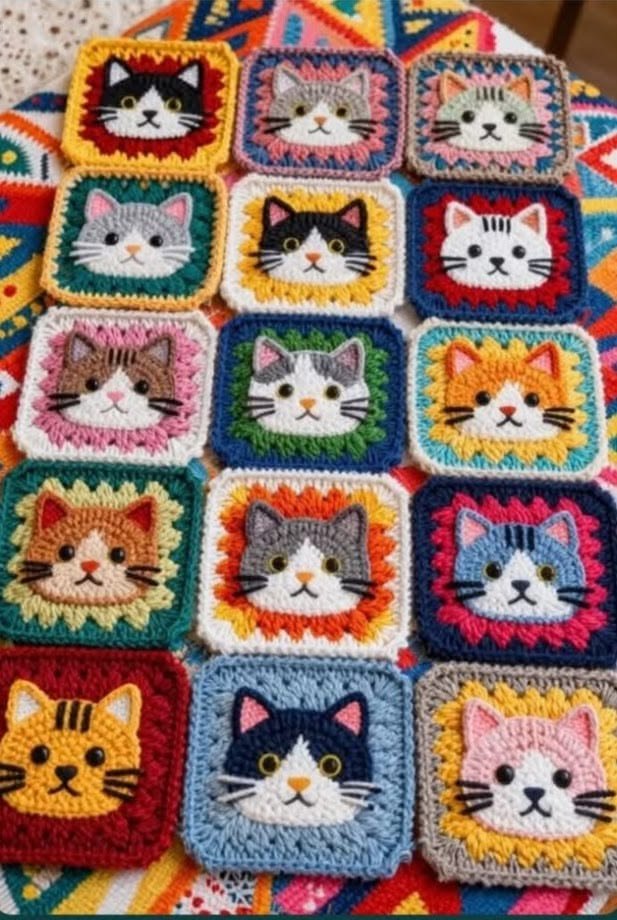
The Adorable Cat Crochet – TUTORIAL is the perfect project for anyone who loves cute handmade creations. Whether you’re crafting for children, decorating your home, selling at craft fairs, or simply enjoying a relaxing crochet session, this charming cat design is guaranteed to bring smiles.
From tiny amigurumi kittens to decorative appliqués and plush cuddly toys, crochet cats are incredibly versatile. They can be simple enough for beginners or detailed enough for experienced crocheters who enjoy shaping, embroidery, and expressive features.
In this complete guide, you’ll learn how to approach the pattern step by step, choose the best yarn and materials, assemble the pieces properly, and add finishing touches that make your crochet cat truly adorable.
1. Understanding the Structure of an Adorable Crochet Cat
The Adorable Cat Crochet – TUTORIAL is often created using amigurumi techniques, which involve crocheting in continuous rounds to form soft, stuffed shapes. Most crochet cat patterns include the following components:
DISCOVER MORE FREE PATTERNS HERE!
Head
Body
Ears
Legs or paws
Tail
Facial details
The head is usually slightly larger than the body for a cute, cartoon-inspired look. The ears are small triangles sewn to the top of the head. The tail adds balance and personality.
Basic stitches typically used include:
Single crochet
Increase stitches (2 single crochets in one stitch)
Invisible decrease
Slip stitch
Chain stitch
Because amigurumi relies on tight stitches, maintaining consistent tension is important to prevent stuffing from showing through.
Most crochet cats are worked in spiral rounds without joining at the end of each round. Using a stitch marker helps track your progress accurately.
Understanding this structure before starting makes the process smoother and more enjoyable.
2. Choosing Yarn, Colors, and Materials
The materials you choose greatly affect the final appearance of your crochet cat.
Yarn Type
Worsted weight yarn is beginner-friendly and produces a soft, cuddly texture.
Cotton yarn creates a more structured finish with crisp stitch definition.
Velvet or plush yarn gives a super soft toy-like appearance.
Hook Size
Use a hook slightly smaller than recommended on the yarn label. This creates tight stitches, which are essential for stuffed projects.
Stuffing
Polyester fiberfill is lightweight and holds shape well.
Safety Eyes or Embroidery
Safety eyes provide a polished, professional look. For baby-safe versions, embroider the eyes instead.
Color Ideas
Classic gray kitten with white paws
Orange tabby with embroidered stripes
Black cat with bright green eyes
Pastel pink or cream for a whimsical style
Calico mix using multiple yarn colors
You can also personalize your cat with tiny accessories like bows, scarves, or miniature sweaters.
Before starting, gather all materials so the project flows smoothly from beginning to end.
3. Step-by-Step Construction Guide
Breaking the Adorable Cat Crochet – TUTORIAL into manageable steps makes it easier to follow.
Step 1: Crochet the Head
Start with a magic ring. Work single crochet stitches in increasing rounds to form a sphere. Continue evenly for several rounds, then decrease gradually. Insert safety eyes before fully closing and stuffing the head.
Step 2: Crochet the Body
Begin similarly with a magic ring. Increase until the desired width is reached. Continue straight rounds, then stuff firmly and decrease to close.
Step 3: Make the Ears
Crochet small triangles using single crochet rows or rounds. Leave long tails for sewing.
Step 4: Create the Tail
Chain the desired length and work single crochet back along the chain, or crochet in rounds for a thicker tail.
Step 5: Attach Pieces
Sew the head securely to the body. Attach ears evenly spaced on top. Sew the tail to the back of the body.
Step 6: Add Facial Features
Embroider a small triangular nose and whiskers using black or pink yarn. A simple curved line creates a smiling mouth.
Take your time during assembly. Proper placement of eyes, ears, and facial details dramatically affects the final expression.
4. Creative Variations and Personalization Ideas
Once you’ve mastered the basic crochet cat, there are many ways to customize your design.
Mini Keychain Version
Use thinner yarn and a smaller hook to create tiny cats perfect for keychains or bag charms.
Sleeping Cat Pose
Flatten the body slightly and embroider closed eyes for a peaceful sleeping look.
Striped Tabby Effect
Use color changes or surface crochet to add stripes.
Seasonal Accessories
Add a tiny Santa hat for winter.
Crochet a small flower crown for spring.
Create a pumpkin-themed cat for fall décor.
Pocket-Sized Comfort Toy
Make a small version for children to carry as a comfort companion.
Professional Tips:
Keep stitches tight to prevent gaps
Stuff gradually to avoid lumps
Pin pieces in place before sewing
Use matching thread for invisible seams
Block lightly if needed for shaping
These small adjustments make your crochet cat look polished and professionally finished.
Frequently Asked Questions (FAQ)
Is this pattern beginner-friendly?
Yes. If you know basic single crochet, increases, and decreases, you can complete this project.
How long does it take to make one crochet cat?
Depending on size and experience, it usually takes between 2 to 4 hours.
What is the best yarn for amigurumi?
Cotton yarn is popular for its structure, but acrylic works well for soft plush toys.
Can I make this without safety eyes?
Yes. Embroidered eyes are safer for young children.
How do I keep the head from wobbling?
Sew securely and consider inserting a small piece of dowel or extra stuffing for stability.
Conclusion
The Adorable Cat Crochet – TUTORIAL is a delightful project that combines creativity, relaxation, and charm. Whether you’re making a gift, decorating a nursery, or expanding your handmade collection, this sweet crochet cat is sure to bring joy.
With simple stitches, thoughtful assembly, and a touch of personality, you can create a handmade piece that feels both special and heartwarming.
Have you ever made a crochet animal before? Share your favorite yarn colors or creative ideas in the comments. Your inspiration might help another crocheter create their next adorable companion.