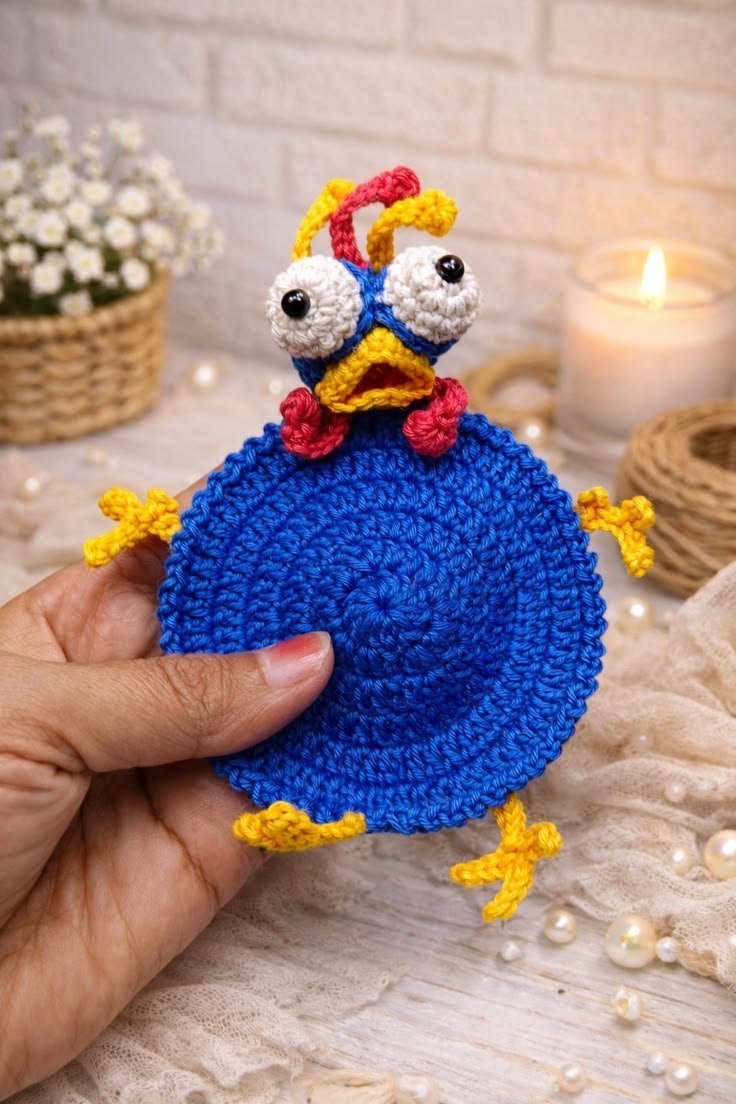
Cute Little Duck coaster – tutorial is a fun and adorable crochet project that allows you to create a charming duck-shaped coaster perfect for decorating your table. By following the Cute Little Duck coaster – tutorial, you can craft a practical and playful piece that brings a touch of joy to your home or makes a delightful handmade gift.
One of the most appealing aspects of the Cute Little Duck coaster – tutorial is its cute and cheerful design. The soft shape, bright colors, and small details make this coaster stand out while still being highly functional. It’s a perfect project for those who enjoy combining creativity with everyday usefulness.
In this complete Cute Little Duck coaster – tutorial, you will learn how to select materials, crochet the base shape, add duck features, and finish your coaster with a polished look. This guide is suitable for beginners and intermediate crocheters who want to create something both decorative and practical.
1. Materials Needed for Cute Little Duck Coaster
The first step in the Cute Little Duck coaster – tutorial is gathering all the materials needed for a smooth crochet process.
Cotton yarn is highly recommended because it is absorbent and durable.
DISCOVER MORE FREE PATTERNS HERE!
Choose yellow yarn for the duck body and orange for the beak.
A crochet hook that matches your yarn weight is essential for consistent tension.
You will need scissors and a yarn needle for finishing.
Black yarn or embroidery thread can be used for the eyes.
Optional stitch markers can help keep track of rounds.
2. Crocheting the Base Shape
The foundation of the Cute Little Duck coaster – tutorial is creating the main body of the duck.
Start with a magic ring to form the center.
Work in rounds using single crochet stitches.
In the Cute Little Duck coaster – tutorial, even increases help shape the round body.
Continue crocheting until you reach the desired size.
Maintain consistent tension to keep the piece flat.
This step forms the base of your duck coaster.
3. Adding Duck Features
The next stage in the Cute Little Duck coaster – tutorial is adding the features that bring the duck to life.
Crochet a small beak using orange yarn.
Attach the beak securely to the front of the coaster.
In the Cute Little Duck coaster – tutorial, placement of features is key to achieving a cute look.
Embroider the eyes using black thread.
You can also add small wings using simple stitches.
These details give your coaster its unique personality.
4. Finishing and Customizing Your Coaster
The final stage of the Cute Little Duck coaster – tutorial focuses on finishing touches and personalization.
Weave in all loose ends carefully for a clean finish.
Light blocking can help define the shape.
You can add a decorative border if desired.
In the Cute Little Duck coaster – tutorial, customization allows you to create different variations.
Experiment with colors or add accessories like a tiny bow.
Once completed, your duck coaster is ready to use or gift.
FAQ – Cute Little Duck Coaster – Tutorial
Is this pattern suitable for beginners?
Yes, the Cute Little Duck coaster – tutorial is beginner-friendly.
What yarn is best for coasters?
Cotton yarn is ideal because it is absorbent and durable.
How long does it take to complete?
Each coaster can be made in under an hour.
Can I customize the design?
Yes, you can adjust colors and features.
Do I need to block the coaster?
Blocking is optional but recommended for a neat finish.
Is this a good gift idea?
Absolutely, it makes a cute and thoughtful handmade gift.
Conclusion
The Cute Little Duck coaster – tutorial is a simple yet delightful crochet project that combines creativity with functionality. It allows you to create a decorative piece that is both useful and full of personality.
In this tutorial, you learned how to select materials, crochet the base, add charming duck features, and finish your coaster with care. Each step contributes to a fun and well-crafted result.
Projects like the Cute Little Duck coaster – tutorial show how crochet can transform simple yarn into playful and practical creations that brighten your home.
If you enjoyed this tutorial, feel free to leave your honest opinion and share your suggestions. Your feedback helps inspire more creative crochet ideas and patterns.