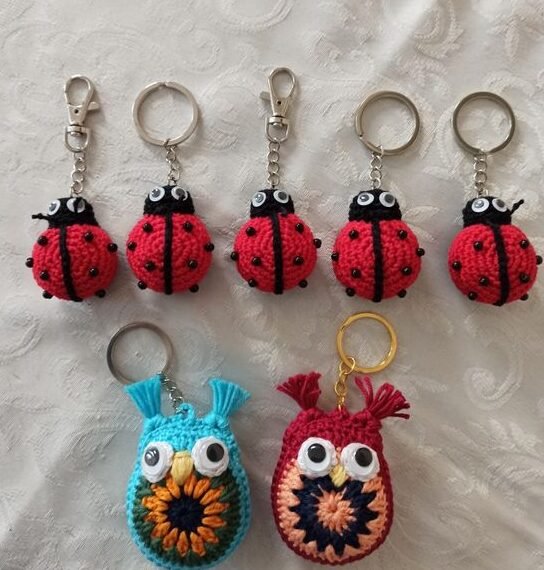
Amigurumi, the Japanese art of knitting or crocheting small stuffed creatures, has gained widespread popularity across the globe for its charm and versatility.
Among the plethora of amigurumi creations, the amigurumi bear stands out as a timeless classic, capturing hearts with its adorable appearance and cuddly demeanor.
In this article, we present a free pattern to create your own amigurumi bear, providing step-by-step instructions and tips to bring this lovable companion to life.

Understanding Amigurumi
Before delving into the intricacies of crafting an amigurumi bear, it’s essential to grasp the basics of amigurumi creation. Typically, amigurumi is crafted using yarn and a crochet hook, although some variations may incorporate knitting techniques.
The art form involves working in continuous rounds to create three-dimensional shapes, such as animals, dolls, or inanimate objects. With amigurumi, the possibilities are limited only by one’s imagination, making it a delightful hobby for crafters of all skill levels.

Materials Needed
To embark on your amigurumi bear-making journey, gather the following materials:
Yarn: Choose a soft, durable yarn in the color of your preference. Acrylic or cotton yarn in worsted weight is commonly used for amigurumi projects.
Crochet Hook: Select an appropriate crochet hook size based on the thickness of your yarn. A hook size slightly smaller than recommended for the yarn helps create a tight, firm fabric.
Stuffing: Use polyester fiberfill or another suitable stuffing material to fill your amigurumi bear, giving it a plump and cuddly texture.
Safety Eyes: Opt for safety eyes specifically designed for amigurumi projects. Alternatively, you can embroider eyes using yarn if safety eyes are unavailable.
Yarn Needle: A yarn needle with a large eye is essential for sewing together pieces and weaving in ends.
Scissors: Keep a pair of sharp scissors handy for cutting yarn and trimming excess.

Free Pattern: Amigurumi Bear
Body:
Magic Ring: Start with a magic ring, then work six single crochet (sc) stitches into the ring. Pull the ring tight to close.
Increase Rounds: In the next round, work two single crochet stitches into each stitch around (12 stitches). Repeat this pattern in the following round to increase to 24 stitches.
Continuation Rounds: Crochet one single crochet stitch in each stitch around for several rounds until the body reaches the desired length.
Decrease Rounds: To shape the top of the body, work decreases by crocheting two single crochet stitches together throughout the round until the opening is small enough to close.
Fasten Off: Cut the yarn, leaving a tail for sewing, and fasten off.

Head:
Magic Ring: Begin with a magic ring and crochet six single crochet stitches into the ring. Pull the ring tight to close.
Increase Rounds: Increase stitches in the same manner as for the body until you have 24 stitches.
Continuation Rounds: Crochet several rounds with one single crochet stitch in each stitch to form the head.
Fasten Off: Leave a long tail for sewing, cut the yarn, and fasten off.
Arms and Legs (Make Four):
Magic Ring: Create a magic ring and work six single crochet stitches into the ring.
Increase Rounds: Increase stitches until you have eight stitches.
Continuation Rounds: Crochet several rounds with one single crochet stitch in each stitch to form the limbs.
Fasten Off: Leave a tail for sewing, cut the yarn, and fasten off.
Ears (Make Two):
Magic Ring: Start with a magic ring and crochet six single crochet stitches into the ring.
Increase Rounds: Increase stitches until you have eight stitches.
Continuation Rounds: Crochet one single crochet stitch in each stitch around for two rounds.
Fasten Off: Leave a tail for sewing, cut the yarn, and fasten off.

Assembly:
Stuffing: Begin by stuffing the body, head, arms, legs, and ears lightly with polyester fiberfill, ensuring they are plump but not overfilled.
Positioning: Attach the limbs to the body using the yarn tails and a yarn needle, positioning them evenly around the base of the body.
Facial Features: Attach safety eyes securely between rounds on the head, leaving several stitches between them. Embroider a nose and mouth using black yarn or embroidery floss.
Ears: Sew the ears onto the sides of the head, slightly angled for a whimsical look.
Finishing Touches: Weave in any remaining yarn tails and trim excess to complete your amigurumi bear.
Creating an amigurumi bear is a gratifying experience that allows crafters to unleash their creativity while producing a delightful handmade treasure.
With this free pattern and the guidance provided, you can embark on your amigurumi adventure with confidence, bringing joy to yourself and those fortunate enough to receive your charming creation.
Whether as a gift for a loved one or a cherished addition to your own collection, your amigurumi bear is sure to be cherished for years to come. Happy crocheting!


