Chicken Crochet Pattern is a delightful and versatile project that allows crocheters to create charming handmade pieces inspired by farm life. Whether you want to design a cute amigurumi toy, a decorative kitchen accessory, or a seasonal centerpiece, this pattern offers endless creative opportunities. The beauty of the Chicken Crochet Pattern lies in its adaptability — you can make realistic hens, fluffy chicks, or whimsical cartoon-style chickens depending on your style.
In this complete Chicken Crochet Pattern guide, you will learn the essential construction techniques, recommended materials, step-by-step assembly instructions, and creative variations to personalize your project. This tutorial is suitable for beginners who are comfortable with basic stitches and experienced crocheters looking to refine their shaping skills.
If you have been searching for a clear and detailed Chicken Crochet Pattern, this article will walk you through every stage of the process, from forming the body to attaching the final decorative details. Let’s begin crafting your adorable crochet chicken.
1. Understanding the Structure of the Chicken Crochet Pattern
The foundation of a successful Chicken Crochet Pattern starts with mastering basic amigurumi techniques. Most crochet chickens are worked in continuous rounds, which creates a smooth and seamless body shape.
DISCOVER MORE FREE PATTERNS HERE!
The project typically begins with a magic ring. This technique allows you to tighten the center completely, preventing holes and ensuring a clean finish at the base of the chicken.
Gradual increases are used in the first few rounds to expand the body evenly. Consistent spacing between increases helps maintain a symmetrical shape.
Once the desired width is achieved, you continue crocheting without increases. This builds height and gives the chicken its rounded body form.
Decreases are then introduced to close the shape. If making a stuffed chicken, fiberfill is added before completing the final stitches.
Separate pieces such as wings, beak, comb, and tail feathers are crocheted individually and sewn onto the body. These details define the personality of your finished piece.
2. Materials and Tools for the Chicken Crochet Pattern
Choosing the right materials makes a significant difference in the final result of your Chicken Crochet Pattern. Cotton yarn is often preferred for its durability and excellent stitch definition.
Acrylic yarn is another popular option because it is soft, affordable, and available in a wide range of colors. It works well for decorative chickens and children’s toys.
Most patterns recommend medium-weight (worsted weight) yarn, especially for beginners. It is easy to handle and creates a sturdy structure.
A slightly smaller crochet hook than suggested on the yarn label is typically used. This ensures tighter stitches, preventing stuffing from showing through.
Essential tools include stitch markers, a yarn needle for sewing pieces together, scissors, and polyester fiberfill stuffing.
For toy versions, consider using embroidered facial features instead of plastic safety eyes if the item is intended for young children.
3. Step-by-Step Instructions for the Chicken Crochet Pattern
To start the Chicken Crochet Pattern, create a magic ring and work the first round of single crochet stitches inside the ring. Pull the tail tight to close the center securely.
In the following rounds, increase evenly by adding two stitches into specific stitches around the circle. This helps the body expand smoothly.
After reaching the desired width, continue crocheting evenly for several rounds without increases. This forms the main body structure.
Begin decreasing gradually to shape the top of the chicken. Insert stuffing before closing the opening completely.
Next, crochet small oval shapes for the wings and attach them securely to each side of the body using a yarn needle.
Finish by crocheting and attaching the beak, comb, and tail feathers. These finishing elements bring your Chicken Crochet Pattern to life with personality and charm.
4. Creative Variations and Customization Ideas for the Chicken Crochet Pattern
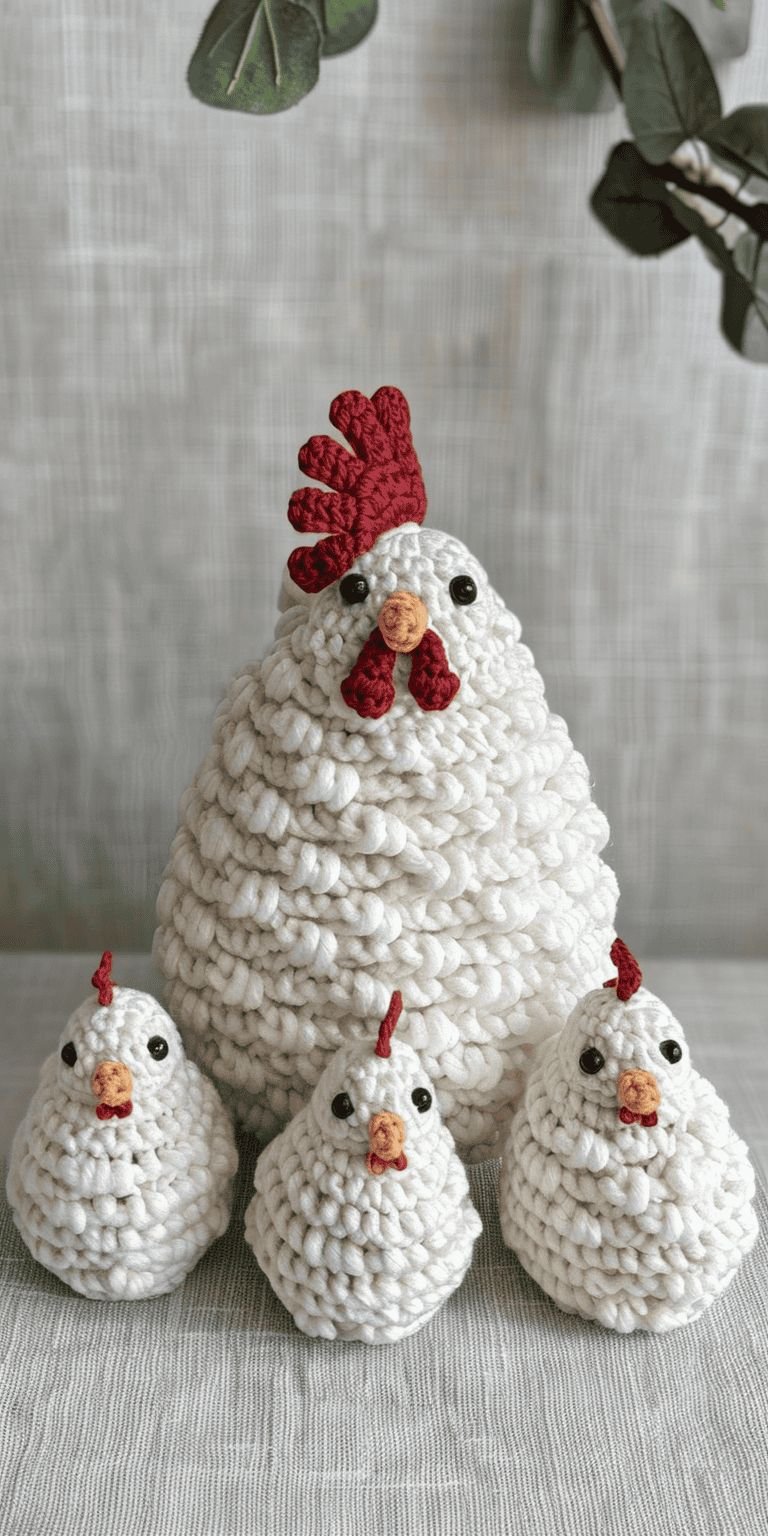
One of the most enjoyable aspects of the Chicken Crochet Pattern is its versatility. You can create realistic hens using neutral tones like white, brown, or soft gray.
For a playful version, use bright and pastel colors. These are especially popular for spring décor or Easter-themed decorations.
Experiment with textured stitches such as bobble stitches to mimic feather details. This adds dimension and visual interest to your design.
You can also adapt the basic chicken shape into practical items like egg cozies, keychains, or small decorative baskets.
Changing yarn weight significantly affects the final size. Chunky yarn produces larger statement pieces, while lightweight yarn creates miniature collectibles.
Adding small accessories such as bows, tiny scarves, or embroidered expressions can personalize each chicken and make it unique.
FAQ About Chicken Crochet Pattern
Is the Chicken Crochet Pattern beginner-friendly?
Yes, as long as you are comfortable with single crochet stitches and working in the round, this pattern is suitable for beginners.
How long does it take to make a crochet chicken?
A small chicken can take between 2 to 4 hours, depending on skill level and detail complexity.
What yarn works best for this project?
Cotton yarn offers structure, while acrylic provides softness and color variety.
How do I keep my stitches tight?
Use a smaller hook and maintain consistent tension to prevent gaps.
Can I sell items made from this pattern?
Yes, you can typically sell finished handmade items you create. Always respect copyright when using written patterns.
How do I clean a crochet chicken?
Hand washing gently with mild detergent and air drying flat is recommended.
Can I make a flat chicken appliqué instead?
Absolutely. You can adapt the pattern to create flat shapes for blankets, bags, or wall hangings.
How can I adjust the size?
Simply change the yarn weight and hook size to create larger or smaller versions.
Conclusion
In this complete Chicken Crochet Pattern guide, you learned how to construct a crochet chicken from start to finish. From understanding the amigurumi structure and selecting the right materials to assembling detailed features and exploring creative variations, each step contributes to a charming final piece.
This versatile project allows you to experiment with color, texture, and size while developing essential crochet skills. Whether you create realistic barnyard hens or colorful decorative chicks, the possibilities are endless.
Now we would love to hear from you. Have you tried making a crochet chicken before? Do you prefer realistic styles or playful designs? Leave your honest opinion and suggestions below — your feedback helps inspire future crochet tutorials and creative ideas!

