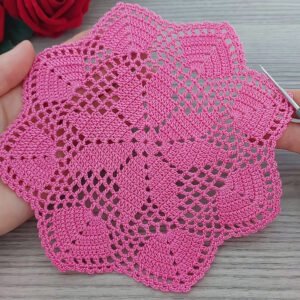
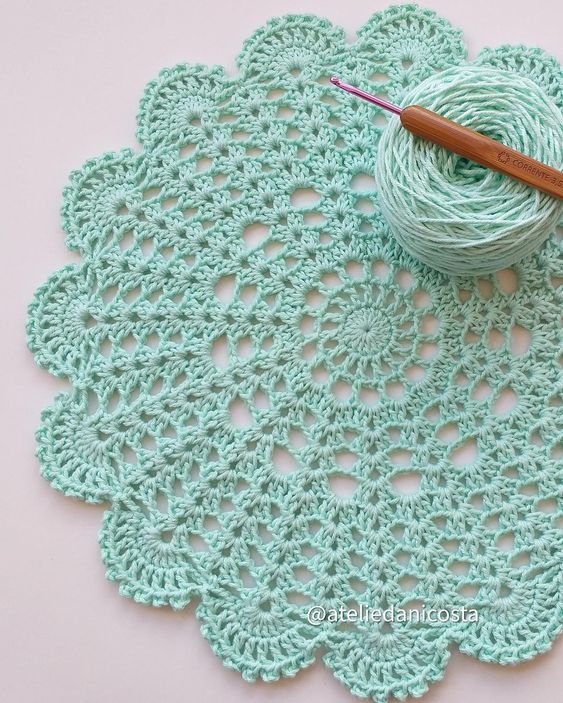
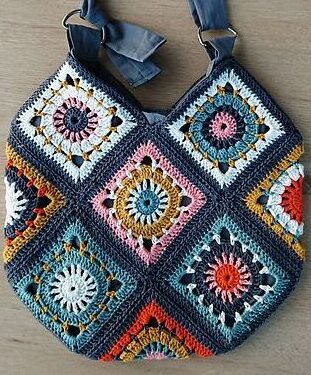
Crochet flowers are a beautiful and versatile addition to any crochet project. From home décor to accessories, the circular flower crochet pattern adds a pop of color and texture wherever it goes.
In this tutorial, we’ll guide you through a step-by-step process to create a gorgeous circular crochet flower.
Designed with beginners and intermediate crocheters in mind, this guide will take you through each stage of the project, including the specific materials you’ll need, stitches to use, and finishing touches. So, let’s get those crochet hooks ready!

Materials You Will Need
Before starting your circular flower crochet project, gather all the materials you’ll need to make the process smooth and enjoyable. The right materials ensure your crochet flower turns out vibrant, durable, and easy to work with.
DISCOVER MORE FREE PATTERNS HERE!
First, you’ll need a crochet hook that’s suitable for the yarn weight you’re using. For most medium-weight yarns, a 4mm (G-6) crochet hook works well. Using a smaller hook for finer yarn or a larger one for thicker yarn can affect the size and structure of your flower.
The yarn choice is crucial as well. A medium-weight, 100% cotton yarn works best for a sturdy and defined flower shape. Cotton yarns are available in a range of colors, so you can mix and match hues to achieve the flower style you want. Lastly, have a pair of scissors and a tapestry needle on hand for weaving in ends once your flower is complete.
Creating the Foundation Ring
To start your circular flower crochet, begin by creating a foundation ring. This ring will serve as the center of your flower and anchor the petals around it.
Start by making a slip knot on your hook, then chain 4 stitches. Join the end of the chain to the first chain with a slip stitch to form a ring. This ring will be the base where you’ll crochet your first round of stitches to start forming the flower shape.
In the center of the ring, crochet 12 double crochet (DC) stitches. The double crochet stitches will provide a stable base, giving your flower a full and defined look. Join the last double crochet with a slip stitch to the top of the first double crochet, closing the round. You should now have a small circular base that will act as the flower’s core.
Adding the First Layer of Petals
Once the foundation ring is complete, it’s time to create the first layer of petals for your circular crochet flower. This layer will add depth and texture, giving your flower a realistic and beautiful appearance.
To form each petal, start by chaining 3 stitches. In the next stitch, crochet 3 double crochet stitches. Chain 3 again, then slip stitch into the next stitch on the foundation ring. Repeat this process around the ring until you have a petal in each stitch. Typically, this will give you about 6-8 petals for this first layer.
Each petal should fan out slightly from the base, creating a circular shape around the foundation ring. Once you complete the final petal, slip stitch to the base of the first petal to close the round. This creates a cohesive first layer, which forms the initial structure of your circular flower crochet.
Adding Additional Petal Layers
To give your circular flower crochet a fuller and layered appearance, add additional rounds of petals. These new rounds should be slightly larger than the previous ones to create a blossoming effect.
For the second layer, work into the spaces between the petals of the first round. Begin each petal with a chain 4, followed by 4 double crochets in the same space. Chain 4 again and slip stitch into the next space. Continue this pattern around the flower, ensuring each petal is slightly larger than those in the first round.
You can add a third layer using similar techniques but with even more double crochets (like 5 or 6 per petal) to make the outer petals wider. This layered effect enhances the flower’s dimension, making it look more complex and natural. Finish this round with a slip stitch to secure it.
Finishing Touches and Weaving in Ends
Once you’ve completed your desired number of petal layers, it’s time to add finishing touches to ensure your circular flower crochet looks polished and professional. Proper finishing makes your project durable and aesthetically pleasing.
Using a tapestry needle, weave in any loose yarn ends from the center and outer rounds. Weaving them securely helps prevent unraveling over time, especially if the flower will be handled frequently or washed. Trim any excess yarn close to the stitches, taking care not to cut too close.
If you want to make your flower look even more intricate, you can add a bead or button at the center, sewing it securely to create a focal point. This small addition can make your crochet flower stand out, adding a touch of elegance. You may also lightly steam block your flower to flatten it if needed, but be cautious if using synthetic yarn as it can melt under heat.
Using Your Circular Flower Crochet in Projects
With your crochet flower complete, you may be wondering how to use it in other crochet projects. These flowers are versatile and can be applied to a variety of craft items, from clothing to home décor.
For a quick and easy application, attach your flower to a headband or hat. Simply sew it on with a few stitches around the edges, or use a glue gun for a no-sew option. This makes for an adorable embellishment that’s perfect for gifts or personal use.
Another idea is to use your crochet flowers to create a table centerpiece. Attach multiple flowers to a crocheted or fabric base, arranging them in a circular pattern to mimic a bouquet. This decorative piece will add color and texture to any room, bringing a handmade charm that’s sure to impress guests.
Why Crochet Circular Flowers?
Creating circular crochet flowers is not only fun but also incredibly rewarding. These flowers are versatile, making them ideal for embellishing all kinds of items, from bags to blankets. Adding a circular flower to a crochet project is a fantastic way to enhance its design and personalize it with your choice of colors and styles.
Circular flowers are also beginner-friendly, as they use basic crochet stitches, but they still offer a sense of achievement. Each layer of petals builds on the previous one, allowing you to develop your crochet skills while seeing immediate results.
Beyond their beauty, these flowers are reusable and eco-friendly. By using sustainable materials like cotton yarn, you can create flowers that not only look good but are also gentle on the environment. So, crocheting circular flowers is an excellent choice for anyone interested in green crafting.
Conclusion
In this Circular Flower Crochet Tutorial, we’ve explored the process of creating beautiful, multi-layered flowers using simple crochet techniques. From gathering materials to finishing touches, this guide provides everything you need to make a stunning crochet flower. With just a few rounds of crochet and some basic stitches, you can craft an intricate flower that brings a handmade touch to any project.
Whether you’re a beginner or a seasoned crocheter, making these flowers is a delightful way to practice your skills and add a pop of color to your creations. So pick up your crochet hook, choose your favorite yarn, and start crafting these lovely circular flowers today! With this guide, you’ll be creating beautiful crochet flowers in no time. Happy crocheting! 🌸🌷


