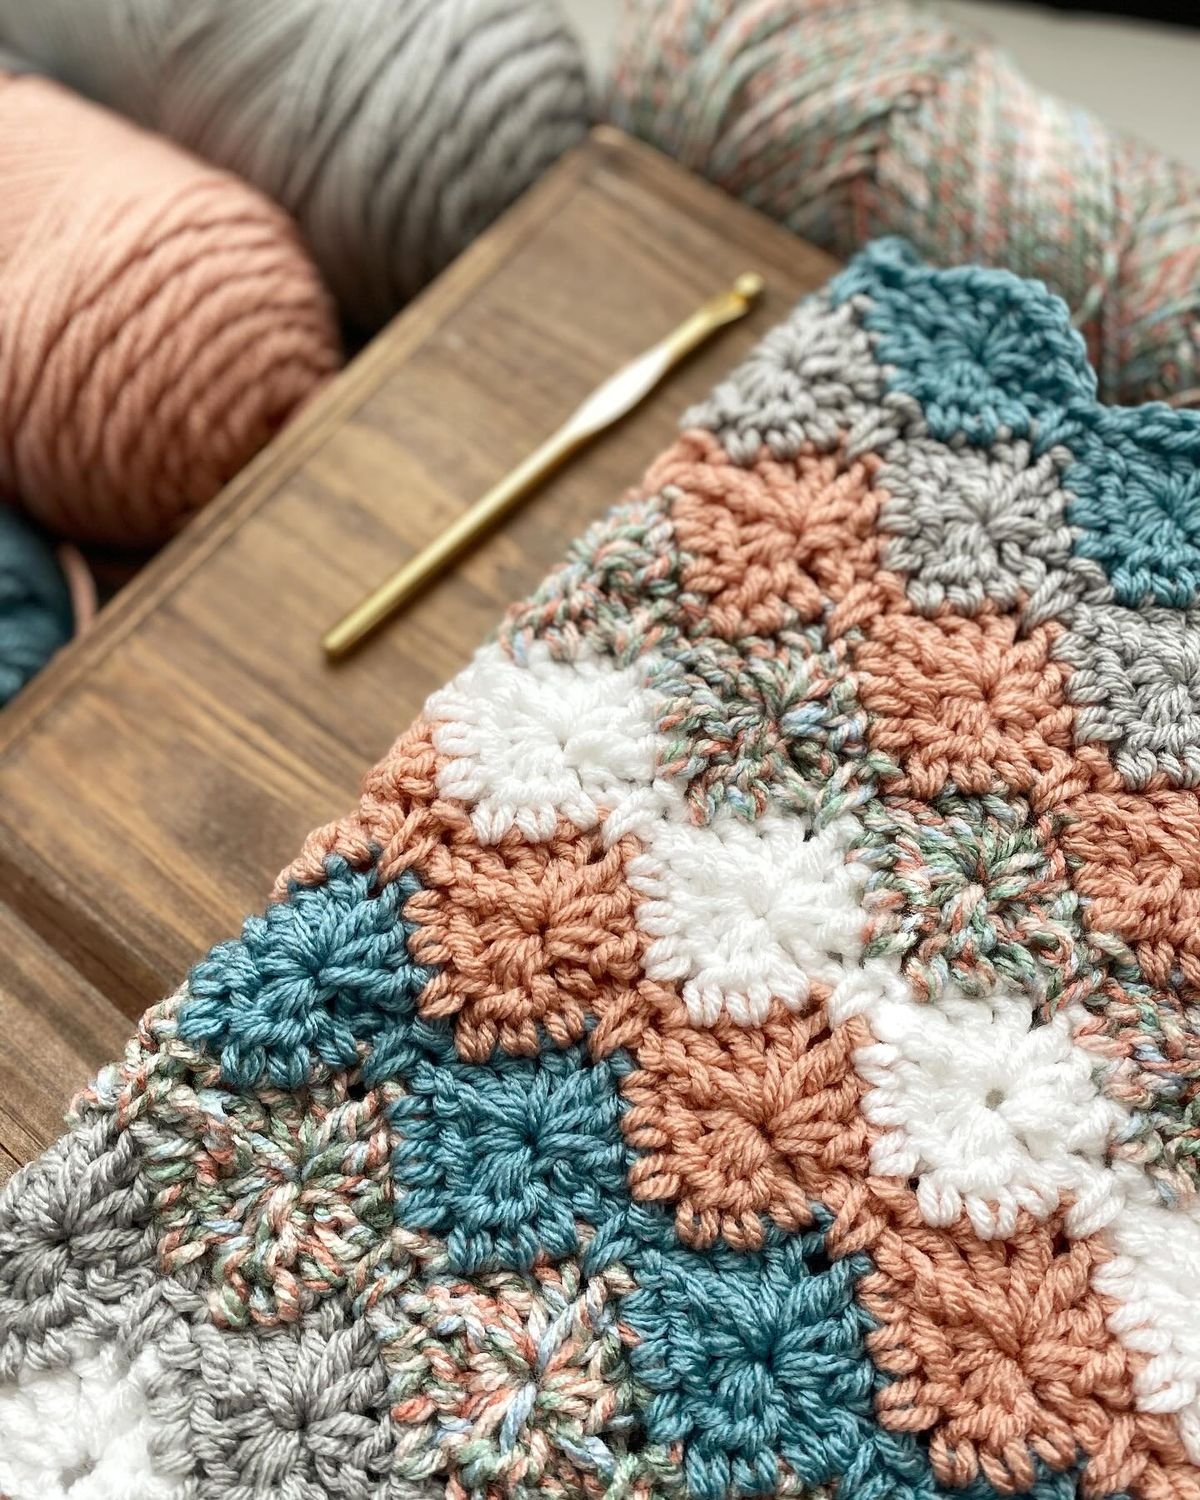
If you’re looking for a fun and visually appealing stitch pattern, the Crochet Catherine Wheel Stitch – TUTORIAL is the perfect place to start. This classic technique creates a beautiful circular, almost floral texture that adds depth and charm to any project. Known for its eye-catching wheels and waves, it’s ideal for everything from blankets to scarves and decorative cushions.
The Crochet Catherine Wheel Stitch – TUTORIAL may look intricate at first glance, but it’s built from basic stitches arranged in a clever sequence. It’s a fantastic way to introduce vibrant color combinations or gradient yarns, as each “wheel” is framed by contrasting rows that highlight its structure.
Whether you’re new to intermediate-level crochet or an experienced hook artist looking for something fresh, this tutorial will guide you step-by-step through the stitch pattern. You’ll learn how to start, how to repeat the rows correctly, and how to adjust for different types of projects using this unique and textured stitch.

1. What is the Crochet Catherine Wheel Stitch – TUTORIAL
The Crochet Catherine Wheel Stitch – TUTORIAL introduces a versatile stitch that combines shell-like motifs and decreases to form circles that resemble spinning wheels. Here’s what you should know about its fundamentals:
DISCOVER MORE FREE PATTERNS HERE!
This stitch creates a pattern of full “wheels” lined up in horizontal rows, making it perfect for bold striping or gradient effects.
It’s worked in multiples of 10 stitches plus 1, with a 4-row repeating sequence that balances puffed shells and tight decreases.
The stitch is reversible, although one side often displays the wheel texture more prominently, making it the “right” side.
You can use one color throughout, but alternating colors between rows really enhances the look of each wheel segment.
This stitch creates a dense fabric, so it’s great for warm projects like throws, baby blankets, or winter wear.
It requires some focus when starting, but once the pattern is established, it becomes rhythmic and relaxing to crochet.
2. Materials and Preparations for the Crochet Catherine Wheel Stitch – TUTORIAL
Before diving into the Crochet Catherine Wheel Stitch – TUTORIAL, it’s essential to choose the right yarn and tools to achieve the best results. The right materials make a noticeable difference in the clarity and definition of your stitches.
Yarn: Choose a smooth, medium-weight yarn like worsted (category 4) or DK (category 3). Cotton or acrylic works well to emphasize the pattern.
Colors: To make the wheels pop, use at least two contrasting colors. This will give you the signature circular wheel look across your rows.
Hook: Use the hook size recommended for your yarn. Typically, a 4.5mm or 5mm hook works well with worsted weight.
Tapestry needle: Helpful for weaving in ends, especially if you’re using multiple colors and changing them frequently.
Scissors: You’ll be switching colors often, so keep scissors handy to trim yarn ends cleanly as you go.
Stitch markers (optional): If you’re working on a larger project, stitch markers can help you track the beginning of your row or pattern repeats.
3. How to Crochet the Catherine Wheel Stitch – Step-by-Step Tutorial
Now for the fun part—let’s walk through the Crochet Catherine Wheel Stitch – TUTORIAL together! The pattern involves a sequence of shells and decreases to form the circular motif.
Step 1: Foundation Chain
Start by chaining a multiple of 10 + 1 extra chain. For example, chain 31 for a small swatch.
Step 2: Set-Up Row (Row 1)
Single crochet in the second chain from the hook. Skip 3 chains, work 7 double crochets in the next chain, skip 3 chains, single crochet in next. Repeat across.
Step 3: Row 2 – Base for Next Wheels
Chain 3 (counts as a double crochet), work a decrease over the next 7 stitches. Chain 3, single crochet in the top of the wheel from the row below, chain 3, work a 7 double crochet decrease across the next shell. Repeat.
Step 4: Row 3 – New Wheels
Change colors if desired. Chain 1, single crochet in the first stitch. Skip 3 stitches, work 7 double crochets into the single crochet from the row below, skip 3 stitches, single crochet in the top of the decrease. Repeat across.
Step 5: Row 4 – Repeat of Row 2
This row is worked the same as Row 2, forming the valleys between the wheels and setting up the next row of shells.
Step 6: Continue the Pattern
Repeat Rows 3 and 4 to continue building rows of wheels stacked atop each other. Change colors every two rows for a vivid striped look.
4. Projects You Can Make with the Crochet Catherine Wheel Stitch – TUTORIAL
The Crochet Catherine Wheel Stitch – TUTORIAL opens the door to a variety of colorful and cozy crochet projects. Its texture and structure make it perfect for both practical and decorative pieces.
Make a baby blanket using soft pastel yarns. The wheels create a playful texture babies love to touch.
Create a statement scarf by using bold contrasting colors. The design gives the illusion of floating mandalas across the fabric.
Craft cushion covers for your living room or bedroom. They’ll add an instant splash of texture and artistic detail.
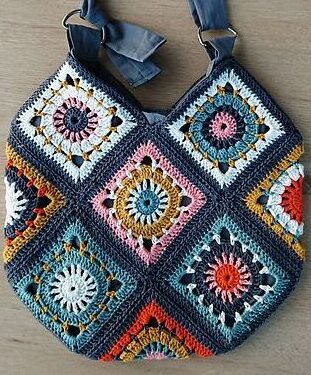
Design a crochet bag with firm yarn. The stitch density provides a strong body, making it great for totes or market bags.
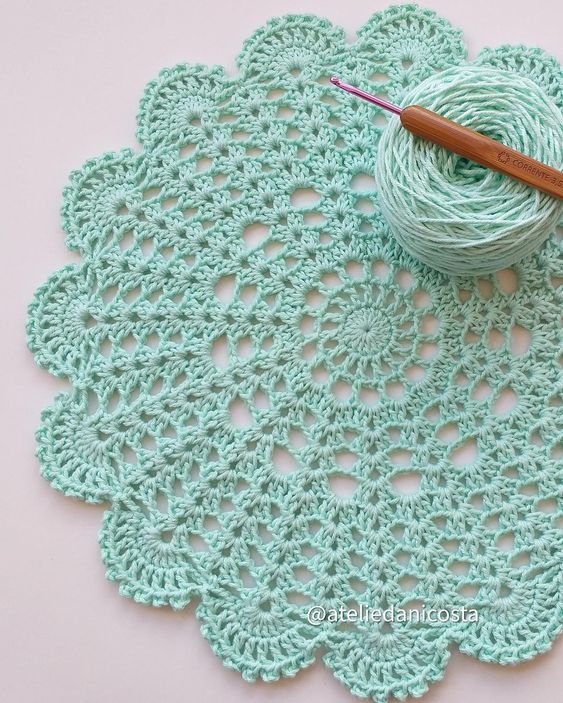
Use it for placemats or table runners. In cotton yarn, the stitch lies flat and serves beautifully as decor for the dining area.
Even crochet jackets or ponchos can benefit from this stitch for visual impact. Just use it as a panel or border to break up simple stitches.
FAQ – Crochet Catherine Wheel Stitch – TUTORIAL
Is the Catherine Wheel Stitch beginner-friendly?
It’s suitable for adventurous beginners or intermediate crocheters. Once the pattern is memorized, it becomes very enjoyable to repeat.
Can I use just one color for this stitch?
Yes, but using at least two contrasting colors highlights the wheel shapes better and makes the pattern more dynamic.
Why are my wheels looking uneven?
Make sure you’re consistent in your stitch count, especially the 7-double-crochet shells and the decreases. Counting and tension are key.
Does this stitch use a lot of yarn?
Yes, because of the dense texture and the multiple stitches used per motif. Be sure to have extra yarn on hand, especially when using multiple colors.
Can this stitch be used in circular projects?
It’s primarily used in flat rows, but with some adaptation and increases, creative crocheters have used it in circular projects or spirals.
Do I need to block my finished item?
Blocking helps even out the wheels and makes the edges straighter, especially if you plan to sew pieces together or add borders.
Conclusion
The Crochet Catherine Wheel Stitch – TUTORIAL is a stunning and rewarding pattern to add to your repertoire. With its unique visual appeal, rich texture, and adaptable structure, it’s no wonder this stitch has remained a favorite among crocheters worldwide. From blankets to accessories and beyond, your creations will burst with personality and charm using this design.
VIDEO TUTORIAL:
We’d love to hear what you think! If you try out the Crochet Catherine Wheel Stitch, please leave your honest feedback and any suggestions for future tutorials in the comments. Your voice helps us bring even more inspiring and helpful patterns to life. Happy crocheting! 🧶💫


