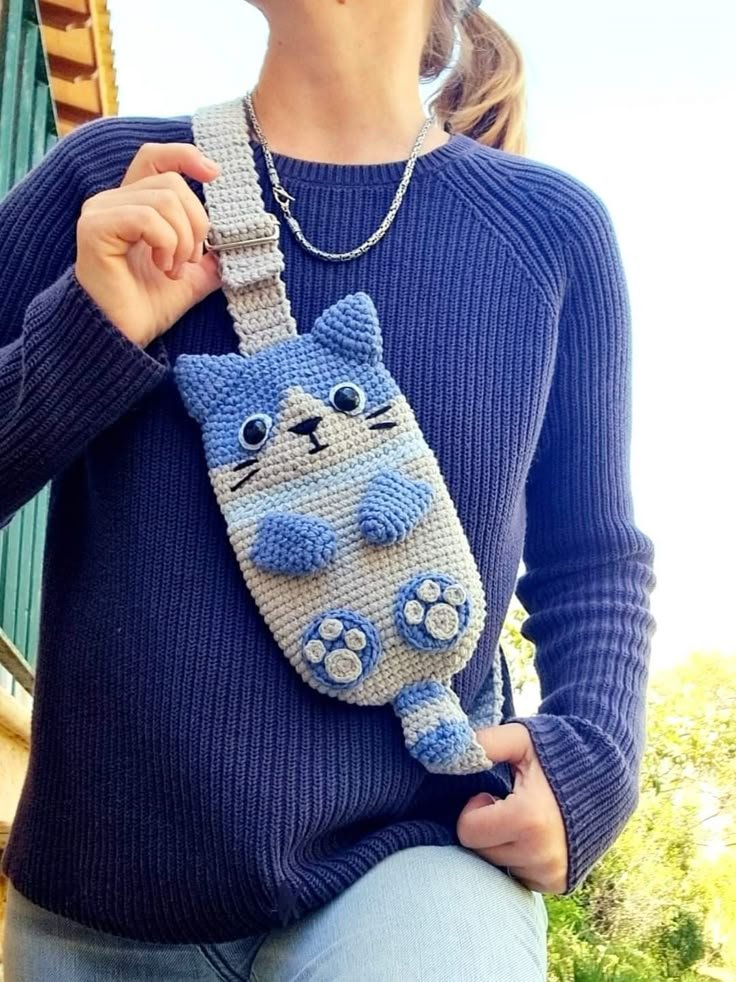
If you’re a fan of crocheting and enjoy cute, heartwarming projects, then a Crochet Kitty Holding a Heart Bag might be the perfect challenge for you! This adorable handmade item is taking the crochet world by storm, blending the cuteness of kitties with the sweet symbolism of a heart. Whether you’re a seasoned crochet artist or just starting, this project is bound to bring joy to your creative journey.
Creating a Crochet Kitty Holding a Heart Bag can be a great way to combine several aspects of crafting. Not only does it allow you to practice your crocheting skills, but it also gives you an opportunity to create a functional accessory that can be gifted or used for yourself. The charm of a kitty holding a heart is universal, making this crochet piece popular among people of all ages.
Crocheting the Crochet Kitty Holding a Heart Bag involves more than just stitching yarn together. It requires a mix of creativity, patience, and some basic crochet techniques. If you’re looking to learn how to create this delightful item, you’re in the right place. In this article, we’ll break down the process step by step, from gathering the right materials to putting the finishing touches on your crochet projec
1. Materials You’ll Need for a Crochet Kitty Holding a Heart Bag
Before you begin crocheting your Crochet Kitty Holding a Heart Bag, it’s essential to gather all the necessary materials. Proper preparation will make the entire process smoother and more enjoyable. Here’s a list of what you’ll need to get started:
DISCOVER MORE FREE PATTERNS HERE!
- Yarn: Choose soft, comfortable yarn for the main body of the kitty and the heart. Cotton yarn is a great choice as it’s gentle on the hands and easy to work with. For the kitty’s body, you may want to select neutral colors like gray, white, or cream. For the heart, vibrant red or pink yarns will create a striking contrast.
- Crochet Hook: Select a crochet hook that fits the yarn you’re using. For most standard yarns, a 4mm (G-6) crochet hook should suffice.
- Fiberfill or Stuffing: This is what will give your kitty a three-dimensional form. Choose high-quality fiberfill to ensure your project maintains its shape.
- Safety Eyes or Buttons: These will give your kitty its cute, lively expression. You can use safety eyes or small buttons, depending on your preference.
- Stitch Markers: These are helpful for keeping track of rounds and stitch count as you crochet.
- Tapestry Needle: For sewing parts of your kitty together, you’ll need a tapestry needle to ensure secure and neat seams.
2. Step-by-Step Guide to Crocheting the Kitty’s Body
Now that you have your materials ready, it’s time to start crocheting the kitty’s body. Follow these steps carefully to create a well-proportioned, cute kitty.
- Begin with a Magic Ring: To start, create a magic ring and crochet six single crochet (sc) stitches into the ring. Pull the ring tight to close it up. This forms the base of your kitty’s body.
- Increase Stitches: In the next round, you’ll increase the number of stitches to make the body wider. Crochet two single crochets in each stitch around the ring to double the size.
- Continue in Spiral Rounds: Work in a spiral, continuing to increase the stitches in the following rounds. This will gradually give the kitty its round, soft shape.
- Stuff the Body: As you reach the desired size for the kitty’s body, start adding fiberfill or stuffing. This will give the body its firm structure.
- Finish the Body: Once the body is the right size and stuffed adequately, decrease the number of stitches and close the top of the body with a final stitch.
- Sew on the Ears: Once the body is complete, create small triangles to form the ears. Attach them to the top of the body to give your kitty its signature look.
3. Crafting the Heart Bag
The Crochet Kitty Holding a Heart Bag wouldn’t be complete without the heart! This part of the project involves creating a small, three-dimensional heart that your kitty will hold. Follow these steps to crochet the heart:
- Create the Heart Shape: Start by crocheting a chain and working in rows to shape the heart. Use increases and decreases strategically to give the heart a natural shape.
- Stuff the Heart: As with the body of the kitty, you’ll need to stuff the heart to give it a nice shape and volume. Make sure not to overstuff it, as the heart should remain soft and squishy.
- Attach the Heart: Position the heart so that your kitty can hold it comfortably in its paws. Use a tapestry needle to securely attach the heart to the kitty’s paws, ensuring it stays in place.
- Final Touches on the Heart: Once attached, make sure the heart is securely positioned and adjust the kitty’s paws as needed to give it a natural, holding position.
4. Personalizing Your Crochet Kitty Holding a Heart Bag
To make your Crochet Kitty Holding a Heart Bag even more special, consider adding some personal touches. These little details can elevate your project and give it a unique flair.
- Add a Bow or Ribbon: To make your kitty even more adorable, add a bow or ribbon around its neck. This small accessory will complement the heart bag and add an extra layer of charm.
- Embroider a Smile: Give your kitty a cute smile with some simple embroidery. Use black yarn to stitch a smile on its face, adding to the cuteness factor.
- Create Accessories: You could add little accessories like a flower or a scarf to make your kitty stand out. The possibilities are endless!
- Experiment with Different Yarn Colors: If you want to create a variation of this project, consider using different yarn colors. A black kitty, for example, would be striking with a red heart, or you could use pastel yarns for a more subtle look.
- Add Pockets or Zippers: Since this project involves making a bag, you could add a small zipper to create a functional pocket inside the heart bag.
- Use Glitter or Metallic Yarn: For an added touch of sparkle, use metallic or glitter yarn for the heart, which will make the bag shine when held under light.
FAQ – Frequently Asked Questions
Q1: What skill level do I need to create a Crochet Kitty Holding a Heart Bag?
A: This project is suitable for intermediate crocheters, but beginners can try it with some patience and practice. The main techniques involved are single crochet, increases, and decreases.
Q2: Can I use different types of yarn for this project?
A: Yes! You can use any yarn you prefer, but soft cotton yarn is recommended for both the kitty and the heart. You could experiment with different textures for a unique result.
Q3: How long does it take to finish the Crochet Kitty Holding a Heart Bag?
A: Depending on your skill level, this project may take anywhere from 3 to 6 hours to complete. It’s a fun, weekend project for crocheters of all levels.
Q4: Can I wash my Crochet Kitty Holding a Heart Bag?
A: It’s best to hand wash your crochet project with mild soap and warm water. Avoid putting it in the washing machine to prevent damage.
Q5: How can I make the bag functional for carrying items?
A: To make the bag more practical, you can add a small zipper or button closure and create a small interior pocket. You can also make the bag larger if you want more space.
Q6: Where can I find patterns for similar crochet projects?
A: Many free and paid crochet patterns for similar projects are available on popular craft websites like Ravelry, Etsy, and Pinterest. You can easily adapt patterns for different animals and shapes.
VIDEO TUTORIAL:
Conclusion
In this article, we’ve explored the charming process of creating a Crochet Kitty Holding a Heart Bag, from gathering materials to personalizing your project. By following the steps carefully, you can create a cute, handmade piece that’s perfect for gifting or personal use. Remember to take your time, enjoy the process, and don’t forget to add your personal touch to make the project your own.
If you have any thoughts, questions, or suggestions, we’d love to hear from you! Leave your sincere feedback below and let us know how your crochet journey went. Happy crocheting!


