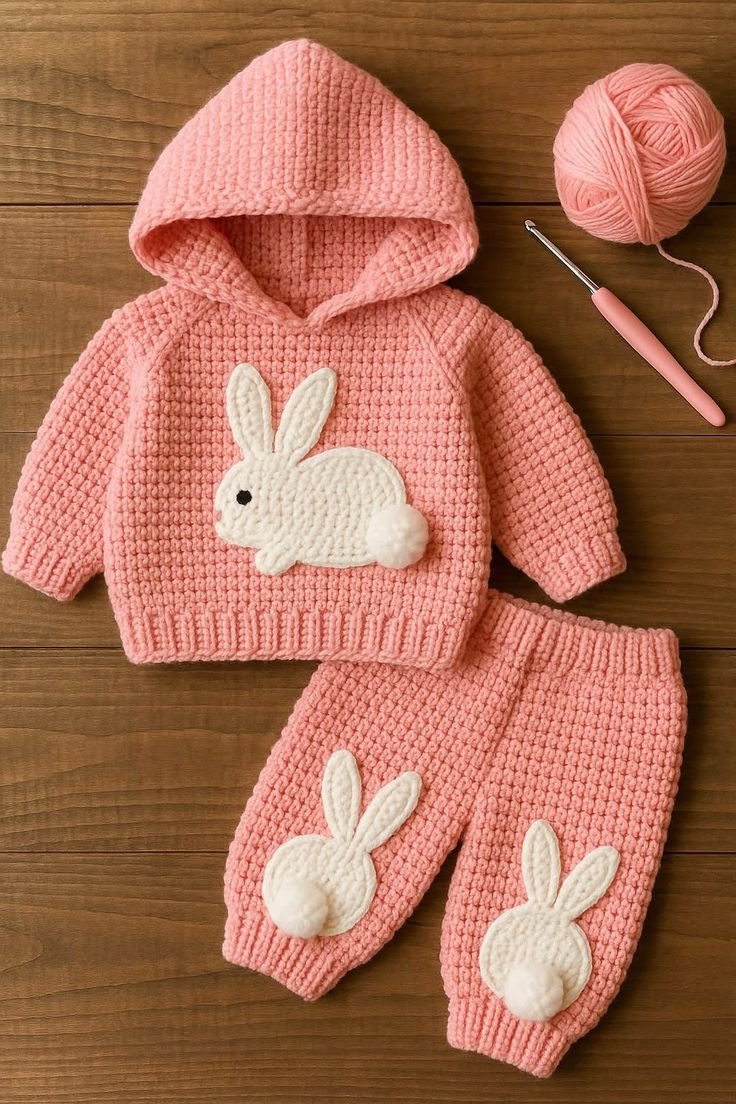
Creating something special and handmade for the little ones in your life is one of the most heartwarming things a crafter can do. In this Crochet Set for Children – Tutorial, we’ll walk through everything you need to know to crochet an adorable, cozy, and practical set for kids — including hats, scarves, mittens, and even small accessories. Whether you’re an experienced crocheter or a beginner looking to make something meaningful, this guide will help you design a delightful and durable crochet set perfect for everyday wear or as a thoughtful gift.
A handmade crochet set not only keeps children warm but also gives them something uniquely theirs. You can customize colors, sizes, and patterns to suit their personality and style. Plus, making a crochet set is a great project for using up leftover yarn while exploring new stitches and textures.
Throughout this Crochet Set for Children – Tutorial, we’ll cover how to choose the right yarn, how to measure for a perfect fit, and how to crochet each piece with care. By the end, you’ll have a complete handmade set that’s soft, cute, and full of love — the kind of gift any child would cherish.
1. Choosing the Right Yarn and Tools
The first step in this Crochet Set for Children – Tutorial is selecting the proper materials. Choosing the right yarn ensures the finished items are soft, durable, and safe for sensitive skin. Look for acrylic, cotton, or bamboo-blend yarns, as they are lightweight, washable, and gentle on the skin.
DISCOVER MORE FREE PATTERNS HERE!
Soft pastel tones, bright colors, or playful variegated yarns work beautifully for children’s crochet projects. You can also mix and match colors to create stripes, patterns, or cute character-inspired designs. Always check the yarn label for washing instructions — children’s clothes need to be easy to clean!
When it comes to tools, a medium-sized crochet hook (like 4.0 mm or 5.0 mm) is perfect for most yarns used in children’s projects. You’ll also need a yarn needle for weaving in ends, stitch markers, and scissors. If you’re making multiple items, keep your tension consistent for a uniform look.
Safety is essential when crafting for kids. Avoid small decorative buttons or loose embellishments that could be choking hazards. Instead, opt for securely sewn appliqués, embroidery, or crocheted details.
Taking time to prepare quality materials ensures your crochet set will not only look adorable but also last through playtime, washing, and daily adventures. The right yarn and tools are the foundation of every successful project!
2. Making the Crochet Hat
Now that you have your materials, it’s time to start with the hat — one of the most essential parts of this Crochet Set for Children – Tutorial. Begin by making a magic ring and crocheting in the round. The hat can be made using simple stitches such as single crochet (sc) or half double crochet (hdc), depending on your desired texture.
As you build the hat, increase evenly until it reaches the child’s head circumference. Then continue working in rounds without increases to achieve the desired length. You can finish the edge with a ribbed border using front post and back post double crochets for a snug fit.
If you want to make the hat extra fun, consider adding a pom-pom on top or crocheted animal ears. Kids love playful details, and these small touches make the project even more charming.
For colder months, line the inside of the hat with fleece for extra warmth and softness. You can hand-sew the lining using simple stitches, making sure the fabric stretches slightly to maintain comfort.
Adding color stripes or small crocheted motifs, such as hearts or stars, will make your hat stand out even more. You can match it with the rest of the set for a coordinated look.
Once complete, you’ll have a cozy, cute hat that fits perfectly and keeps your child warm and stylish throughout the season.
3. Crocheting the Scarf and Mittens
Next in our Crochet Set for Children – Tutorial, we’ll create a matching scarf and mittens to complete the set. The scarf is a simple yet fun piece to make. You can crochet it using basic stitches like half double crochet or double crochet rows, alternating colors to form stripes or a gradient effect.
The length of the scarf can vary depending on the child’s age — a shorter scarf for toddlers and a longer one for older children. To make it extra cozy, use a soft stitch pattern such as the waffle or moss stitch for added texture and warmth.
Now for the mittens! Start by crocheting a small cuff using ribbed stitches, then work upward in the round to form the body of the mitten. Leave an opening for the thumb and finish it separately. Use a snug gauge to ensure the mittens stay in place but remain comfortable to wear.
You can personalize the mittens with a crocheted flower, small bow, or character face. These details make the project more playful and child-friendly. For extra safety, connect the two mittens with a crocheted chain so they don’t get lost during outdoor play.
If you prefer, you can also make fingerless gloves instead of mittens — perfect for older kids who love to use their fingers freely. Experimenting with different patterns lets you make a set that perfectly fits your child’s personality and comfort needs.
By the end of this section, your little one will have both style and warmth, thanks to your creativity and skill.
4. Finishing Touches and Assembly
In this final part of the Crochet Set for Children – Tutorial, it’s time to put everything together and give your project the finishing touches. Before assembling, make sure each piece is blocked and shaped properly. Blocking helps smooth out stitches and gives your crochet work a neat, professional appearance.
Lay out the hat, scarf, and mittens together to ensure color coordination and balanced proportions. If you want, you can add a matching crochet bag or headband to complete the set — small additions that make the project even more special.
Add embellishments carefully, such as crocheted flowers, stars, or initials. These can be securely sewn on to personalize each piece. Embroidery is another great way to decorate without adding detachable elements.
Don’t forget to weave in all yarn ends neatly using a yarn needle. Trim any excess yarn to prevent unraveling. Once done, check for loose stitches and reinforce them for durability.
You can also wrap your crochet set in a handmade gift bag or box for gifting. Adding a tag that says “Handmade with Love” brings an extra touch of warmth.
Completing a crochet set for children is a rewarding project that combines creativity, love, and functionality. It’s a beautiful way to craft something that will keep little ones cozy and happy.
FAQ
1. What type of yarn is best for children’s crochet sets?
Soft, washable yarns like acrylic, cotton, or bamboo blends are best for children’s crochet projects because they are gentle on the skin and easy to maintain.
2. How do I size the crochet hat and mittens correctly?
Measure the child’s head and hands before starting. Most patterns include size charts for different age groups, but you can always adjust by adding or removing stitches.
3. Can I make this set using leftover yarn?
Absolutely! Mixing leftover yarns can create fun, colorful designs while being eco-friendly.
4. How do I wash crochet sets for children?
Use mild detergent and cold water. Hand washing or using a gentle machine cycle helps preserve the stitches and colors.
5. Is this project suitable for beginners?
Yes! This Crochet Set for Children – Tutorial uses basic stitches, making it perfect for beginners or anyone wanting a quick, rewarding project.
Conclusion
In this Crochet Set for Children – Tutorial, you’ve learned how to create a complete handmade set for kids — from selecting the perfect yarn to crafting hats, scarves, and mittens with love. Each piece is customizable, comfortable, and made to last.
Whether you’re gifting it or making it for your own child, this crochet project is sure to bring warmth and smiles. Try it out, and don’t forget to leave your honest opinion and suggestions — your feedback helps inspire even more creative crochet tutorials for everyone to enjoy!

