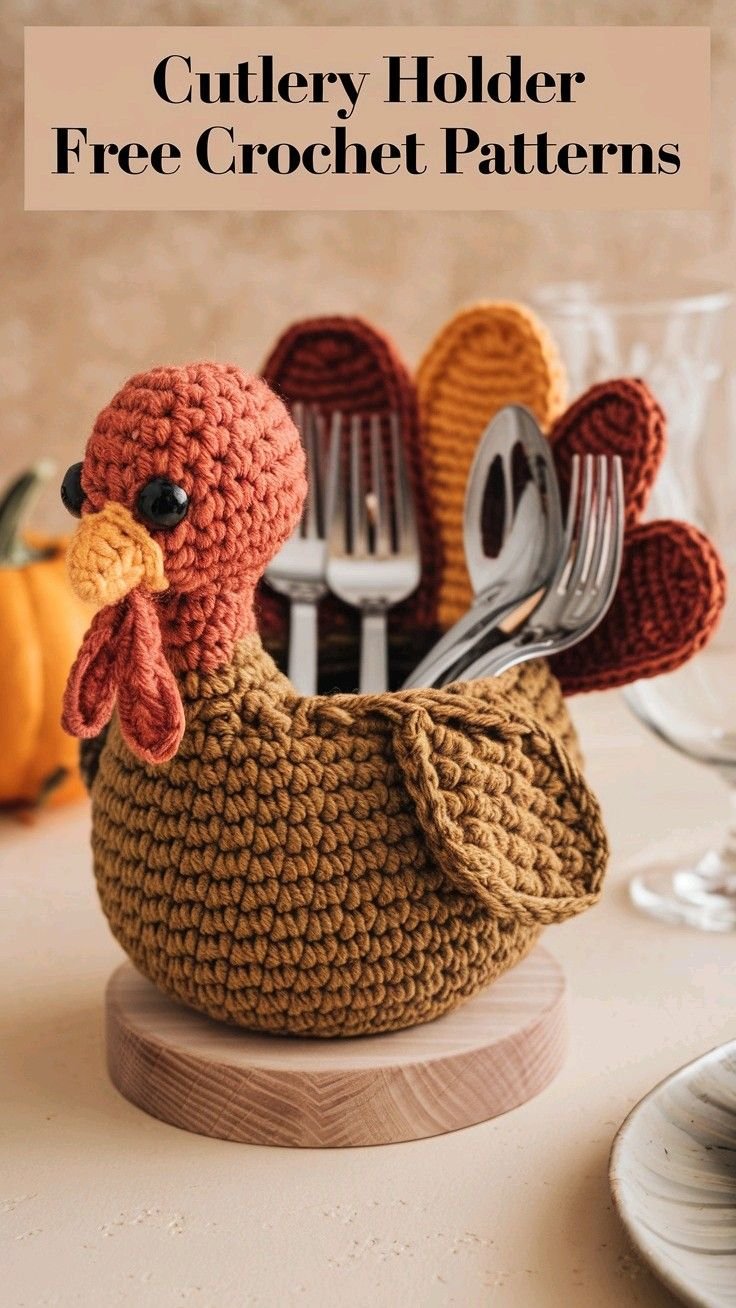
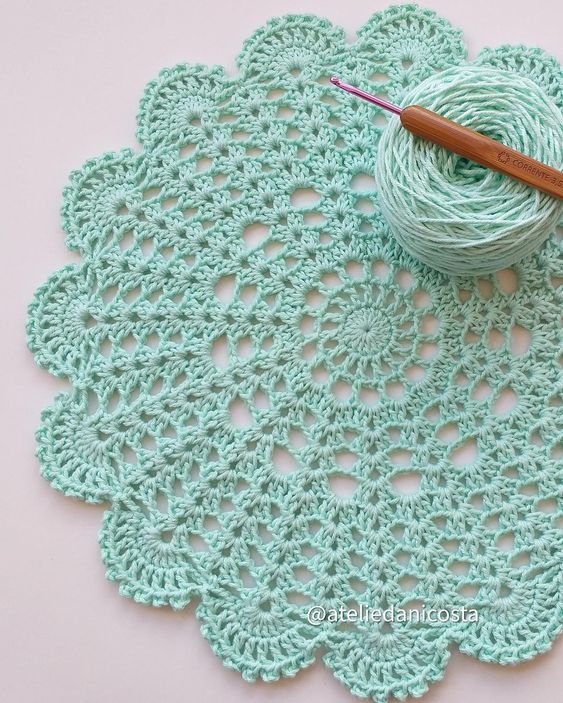
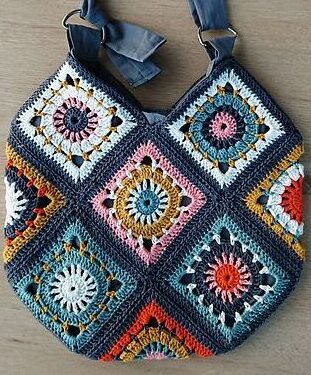
Looking for a unique and practical way to elevate your table setting? This Cutlery Holder Crochet – Pattern is the perfect project to add a handmade touch to your kitchen or dining table. Whether you’re planning a cozy family meal, a festive holiday dinner, or simply want to bring some charm to everyday dining, a crochet cutlery holder is a thoughtful and creative addition.
In this tutorial, you’ll learn how to create a beautiful cutlery holder using basic crochet stitches. It’s a great beginner-friendly pattern that works up quickly and can be customized in countless ways. You can use different colors, add embellishments, or even personalize them for special events like weddings, birthdays, or seasonal gatherings.
With just a small amount of yarn and a crochet hook, this Cutlery Holder Crochet – Pattern will guide you through making something stylish, sustainable, and handmade. Let’s get started!

1. Why Crochet a Cutlery Holder
There are many reasons why the Cutlery Holder Crochet – Pattern is an ideal project for crochet lovers of all skill levels. Not only is it fun to make, but it also serves a practical purpose in everyday life.
DISCOVER MORE FREE PATTERNS HERE!
First, it’s eco-friendly. Unlike disposable paper napkin rings or plastic holders, a crocheted cutlery holder is reusable and sustainable. It supports a greener lifestyle by reducing waste.
Second, it’s customizable. You can make these holders to match your kitchen decor, party theme, or holiday palette. The design can be as simple or as decorative as you like.
Third, it’s an excellent gift idea. Handmade cutlery holders are perfect for housewarmings, bridal showers, or as part of a holiday gift basket.
Fourth, it enhances presentation. Even simple meals feel more special when served with a handmade touch. These holders can instantly elevate your table setting.
Fifth, it’s a great way to use scrap yarn. Because this project doesn’t require much material, it’s a perfect use for leftover yarn from other projects.
Finally, it’s relaxing and satisfying. Crochet is known for its meditative quality. In under an hour, you’ll have a finished piece that’s beautiful and functional.
2. Materials and Tools You’ll Need
Before diving into the Cutlery Holder Crochet – Pattern, gather the following supplies. This project doesn’t require much, making it ideal for beginners or quick gifts.
Materials:
-
Cotton yarn (worsted weight is ideal)
-
Crochet hook (size H/5.0 mm or recommended for your yarn)
-
Yarn needle for weaving in ends
-
Scissors
-
Optional: buttons, ribbons, lace, or appliqué for decoration
Yarn tips:
Cotton yarn is a great choice because it’s durable, machine-washable, and holds its shape well. You can also use a cotton-blend yarn for a softer or more colorful result.
Hook size:
Check the label of your yarn and use a hook that gives you a dense but flexible fabric. You want the holder to have enough structure to hold utensils without being stiff.
Optional additions:
-
Add a snap or button flap for closure
-
Use two colors to make stripes or borders
-
Add a lining with fabric for a more structured finish
3. Step-by-Step Instructions
Let’s begin crafting your cutlery holder using this easy and fun crochet pattern. This is a flat pouch-style holder that folds over to create a pocket for your utensils.
Step 1: Create the base chain
Chain 21 (or adjust to the width you want). This will be the width of your holder.
Step 2: Work the body
Row 1: Single crochet (SC) in the second chain from the hook and across. Chain 1, turn.
Row 2–15: SC across each stitch, ch 1, turn. Repeat until you have a rectangle about 6–7 inches tall.
Step 3: Form the pocket
Fold the bottom part of the rectangle up about 3 inches to form the pocket. Use stitch markers or pins to hold the sides.
Step 4: Seam the sides
Single crochet along each side of the pocket, joining the front and back together. Continue around the top edge for a clean finish.
Step 5: Add edging
You can now add a decorative border by using shell stitches, picot edging, or a contrasting color. This step adds charm and polish to the finished piece.
Step 6: Finishing touches
Weave in all loose ends with a yarn needle. If desired, sew on a button or tie a ribbon around the holder for extra detail.
Now your handmade cutlery holder is ready to use or gift!
4. Creative Variations and Uses
One of the best things about the Cutlery Holder Crochet – Pattern is how adaptable it is. Here are a few ways you can personalize or repurpose this project:
Holiday themes
Use red and green yarn for Christmas, orange and black for Halloween, or pastel shades for Easter brunch. Add seasonal appliqués like snowflakes or pumpkins.
Wedding or event favors
Make a set of elegant holders for guests at a wedding or dinner party. Use neutral colors, tie with a bow, and attach a name tag for place settings.
Child-friendly versions
Use bright, playful yarns and make mini holders for kids’ utensils or craft supplies. This is great for birthday parties or lunch boxes.
Travel cutlery pouches
Add a flap and button to create a portable pouch for reusable utensils. Perfect for eco-conscious eaters who bring their own cutlery to school or work.
Matching table sets
Create matching placemats, coasters, and napkin rings using the same yarn and stitch pattern for a cohesive handmade table set.
Gift packaging
Use the holder as a creative way to package small gifts—slide in chocolates, pens, or even a gift card with some tissue paper.
With just a few tweaks, your crochet cutlery holder can go from simple to spectacular!
FAQ – Cutlery Holder Crochet – Pattern
Is this pattern beginner-friendly?
Yes! The Cutlery Holder Crochet – Pattern uses basic stitches like chain and single crochet, making it a great project for beginners.
What type of yarn is best?
Cotton yarn is recommended because it holds its shape well and is easy to clean—perfect for table use.
Can I machine wash the holder?
Yes, if you use machine-washable yarn like 100% cotton. Always check your yarn label for care instructions.
How long does it take to make one holder?
Most people can complete one in under an hour. It’s a quick and satisfying project—great for last-minute gifts!
Can I sell the holders I make?
Absolutely! These are popular handmade items for craft fairs, Etsy shops, and gift sets. Just be sure the pattern you follow allows for commercial use.
What if my holder turns out too big or too small?
Simply adjust your starting chain and row count. You can easily customize the size to fit your specific needs.
Conclusion
This Cutlery Holder Crochet – Pattern is a beautiful and functional way to bring your crochet skills to the dining table. It’s easy to make, endlessly customizable, and adds a lovely handmade touch to any meal or occasion.
From basic stitches to personal flair, you’ve now learned how to create a practical and stylish piece that makes your home more inviting. Whether you’re making them for yourself, for loved ones, or to sell, these cutlery holders are sure to impress.
Have you tried this pattern? Share your experience, creative variations, or suggestions in the comments below! Your feedback helps inspire other crafters and makes our creative community even stronger. 🧶🍽️✨


