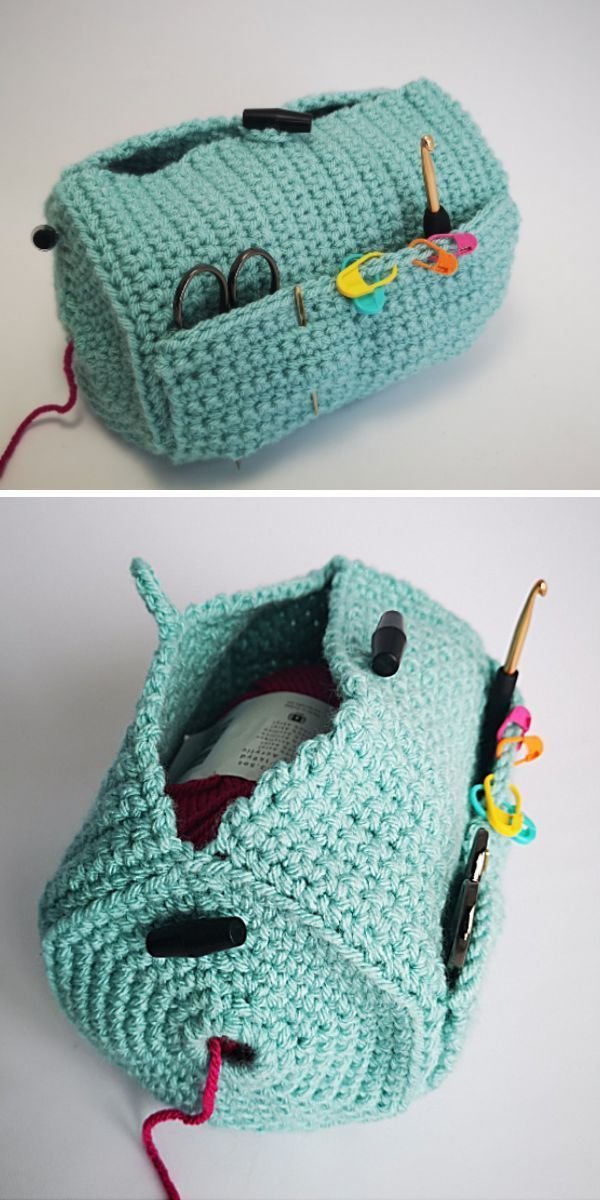
The Yarn Buddy – Crochet Tutorial is an essential guide for every crocheter who wants to keep their yarn organized, clean, and tangle-free during any project. Whether you’re a beginner or an experienced crocheter, creating your own Yarn Buddy is a practical and fun project that improves your crafting experience. By the end of this tutorial, you’ll not only have a functional crochet accessory but also a deeper appreciation for small tools that make a big difference.
This The Yarn Buddy – Crochet Tutorial is perfect for those who love to add a personal touch to their crochet setup. Instead of buying commercial yarn holders, why not make your own with this step-by-step guide? You’ll learn how to create a handy base that holds your yarn in place, allowing it to spin smoothly while you crochet or knit.
Using this The Yarn Buddy – Crochet Tutorial, you’ll also get the opportunity to practice your crochet techniques and improve your stitch consistency. It’s a quick, satisfying project that results in a helpful tool you’ll want to use every time you craft.
1. Materials Needed for the Yarn Buddy
To start off your Yarn Buddy – Crochet Tutorial, gather all the materials required so your project goes smoothly from beginning to end. Most of these are easy to find and may already be in your crafting stash.
DISCOVER MORE FREE PATTERNS HERE!
You’ll need medium-weight yarn for the base and a strong wooden dowel for the center spindle. Choose yarn colors that inspire you—this is your buddy, after all.
Make sure you have a crochet hook that matches the yarn weight. A 4.0 mm or 4.5 mm hook usually works well for this type of project.
You’ll also need a lazy Susan base (optional but highly recommended for rotating yarn smoothly). These are available online or in craft stores.
Don’t forget scissors, a yarn needle for weaving in ends, and a hot glue gun or strong adhesive if attaching pieces permanently.
Having a tape measure or ruler on hand helps you keep the proportions consistent, especially for the base circle of your Yarn Buddy.
2. Crocheting the Base Platform
The base is what supports the spinning mechanism of your Yarn Buddy – Crochet Tutorial, so making it sturdy and even is key to its success.
Begin with a magic ring and work in continuous rounds using single crochet stitches to form a dense, flat circle.
Use stitch markers to track the beginning of each round so you don’t lose count as your base grows.
Increase evenly on each round to keep the base flat. For example, Round 2 could be 2 SC in each stitch, Round 3 might be 1 SC, then 2 SC in the next, and so on.
Stop increasing once the base reaches your desired diameter—typically around 6 to 8 inches.
If you want extra support, you can sandwich a cardboard or wooden circle between two crochet layers and stitch around it.
Finish the base by fastening off and weaving in all ends neatly to maintain a polished look.
3. Adding the Center Spindle
The spindle in your Yarn Buddy – Crochet Tutorial is what holds your yarn cake or ball and allows it to rotate without rolling away.
Measure and mark the center of your base platform using a ruler to ensure it’s balanced.
Use a wooden dowel (about 6 to 10 inches tall) and secure it to the center using glue, screws, or by inserting it into a pre-cut hole.
If you’re crocheting a cover for the dowel, use tight single crochets so it fits snugly and looks neat.
Test the dowel’s firmness before using it—wiggle it to ensure it’s not loose and stands straight.
Optionally, you can decorate the spindle with buttons, felt shapes, or embroidery to give it a cute, custom look.
Once your spindle is secured, place a yarn cake on it and see how it spins—it should rotate smoothly and effortlessly.
4. Tips for Customization and Use
One great thing about The Yarn Buddy – Crochet Tutorial is how easy it is to customize the project to suit your needs and aesthetic.
Try using different yarn textures or colors for the base to match your craft room decor or your project bag.
Add rubber feet or a grippy fabric underneath the base to prevent it from sliding during use.
You can make multiple Yarn Buddies in different sizes if you often work with various yarn weights and cake sizes.
If you’re gifting one, consider adding a crocheted label or tag with a sweet message for fellow crochet lovers.
Use your Yarn Buddy not just for crochet, but also while knitting, winding yarn, or keeping thread organized during embroidery projects.
Cleaning is easy—just remove any yarn fluff and give it a wipe down. If the crochet cover gets dusty, gently hand wash it and let it air dry.
FAQ
What is a Yarn Buddy used for?
A Yarn Buddy is a spinning yarn holder that keeps your yarn in place while you crochet or knit. It helps avoid tangling and makes the yarn feed smoothly.
Can I make a Yarn Buddy if I’m a beginner at crochet?
Yes! This The Yarn Buddy – Crochet Tutorial is beginner-friendly and a great way to practice your basic stitches and project-building skills.
What’s the best yarn for crocheting the Yarn Buddy?
Use medium to bulky weight yarn for a sturdy base. Cotton or acrylic blends are ideal as they offer structure and durability.
Do I need a lazy Susan base for this project?
It’s optional. The Yarn Buddy works well without it, but adding a rotating base makes the spinning smoother and more enjoyable.
How do I clean my Yarn Buddy?
Wipe the wooden parts and hand-wash the crocheted parts if needed. Let the crochet dry fully before reassembling.
Can I use the Yarn Buddy for multiple yarn cakes at once?
It’s best to use one yarn cake at a time to ensure smooth rotation, but you could create a dual-spindle version with some adjustments.
Conclusion
The Yarn Buddy – Crochet Tutorial offers a perfect balance between form and function. It’s a creative, useful project that brings order and joy to your crochet sessions. Whether you’re making it for yourself or as a thoughtful gift, it’s a tool you’ll use again and again. With just a few simple supplies and a bit of time, you’ll have a Yarn Buddy that not only serves a purpose but also reflects your crafting personality.
TUTORIAL VIDEO:
If you followed this tutorial, we’d love to hear your thoughts! Leave a comment with your honest opinion and share any suggestions for improvements or creative customizations.

