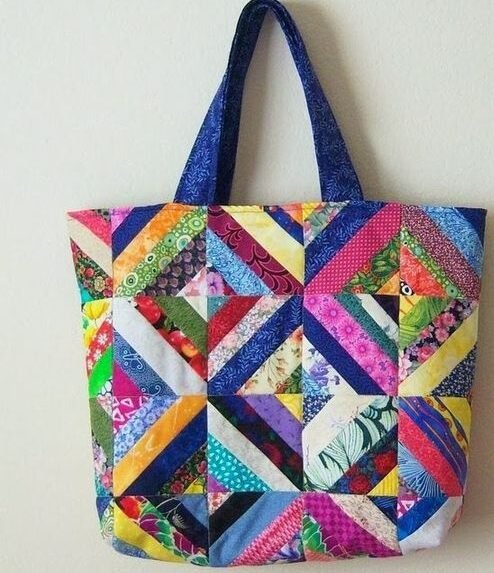
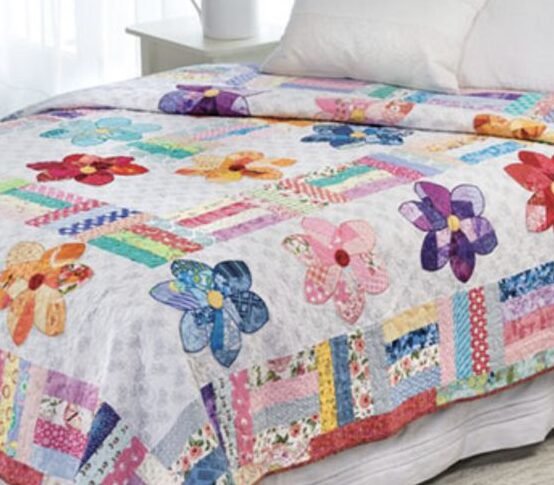
The Anita’s Arrowhead Block is a stunning and versatile design, perfect for quilters of all skill levels.
This pattern creates a dynamic arrowhead motif that adds visual interest to any quilt. Whether you’re making a full quilt or using the block as part of a larger project, it’s a fantastic choice for anyone looking to enhance their quilting skills.
In this tutorial, we’ll walk you through the step-by-step process of making the Anita’s Arrowhead Block, covering all the essential fabric cuts and measurements. Let’s dive into this quilt pattern and create something beautiful together!

Materials and Fabric Cuts for the Anita’s Arrowhead Block
Before you begin quilting, it’s crucial to gather all the necessary materials and cut your fabric to the correct dimensions. This preparation ensures a smooth and enjoyable quilting experience.
- Fabric Choices: For this block, you’ll need two contrasting fabrics—a light and a dark one. Choose fabrics that have a clear contrast to make the arrowhead design stand out. Cotton fabric works best for quilting, as it is easy to sew and manipulate. Fat quarters are ideal for this block, but feel free to use scraps as well.
- Cutting the Fabric: To make one Anita’s Arrowhead Block, you will need two fabric squares, one from each contrasting fabric. Both squares should measure 8 inches by 8 inches. This size creates a block that finishes at approximately 7 inches after piecing and trimming. If you want to make larger blocks, simply increase the size of your squares proportionally.
- Tools You’ll Need: In addition to your fabric, you’ll need a rotary cutter, cutting mat, quilting ruler, sewing machine, and thread. A quarter-inch presser foot for your sewing machine will help you maintain precise seams, which is critical for getting the block to turn out perfectly.
With your fabric cut and tools ready, you’re all set to start piecing your quilt block.
Step 1: Sewing the Diagonals
The key to making the Anita’s Arrowhead Block is its unique method of diagonal piecing. This method may seem unconventional at first, but it creates the arrowhead shape in a clever and efficient way.
- Pair the Fabrics: Start by placing your two fabric squares right sides together. Make sure the edges align perfectly. Pin them in place if necessary to prevent any shifting while sewing.
- Sew the Diagonals: Using your sewing machine, sew a seam ¼ inch away from each diagonal of the square. You’ll be sewing two seams—one along each diagonal of the square. It’s important to sew accurately and keep your seams straight, as this will affect how the block turns out in later steps.
- Cut the Block in Half: Once you’ve sewn the diagonals, it’s time to cut the block in half both vertically and horizontally. Use your rotary cutter and quilting ruler to make two cuts—one from top to bottom and one from side to side. This will give you four smaller squares, each made up of half light and half dark fabric.
With these steps, you’ve completed the initial piecing and are ready to move on to trimming and pressing the fabric.
Step 2: Pressing and Trimming for Precision
Pressing and trimming are essential steps in quilting, especially when working with blocks like the Anita’s Arrowhead Block, where precision is key. Proper pressing will help the seams lay flat, while trimming ensures all your pieces fit together perfectly.
- Press the Seams: After cutting your block into four smaller squares, press the seams toward the darker fabric. This will help the block lay flat and make it easier to sew in later steps. Be careful not to distort the fabric while pressing—use a gentle touch and avoid dragging the iron across the fabric.
- Trimming the Blocks: Now that the seams are pressed, it’s time to trim the blocks to ensure they are square. Using your quilting ruler, trim each of the four squares down to 3½ inches. Make sure to line up the ruler carefully to maintain even, square blocks. Trimming is crucial for keeping your quilt blocks consistent in size, so take your time with this step.
- Check for Accuracy: After trimming, double-check the size of each square. They should all measure 3½ inches on each side. Accurate trimming ensures that your final quilt block will fit together properly and result in sharp, crisp arrowhead points.
With your blocks trimmed and pressed, you’re ready to assemble the final Anita’s Arrowhead Block.
SEE OTHER FACE PATTERNS HERE!
Step 3: Assembling the Anita’s Arrowhead Block
Now comes the fun part—assembling your arrowhead block! At this stage, you’ll begin to see the striking arrowhead design come together. Careful assembly will ensure that the points of the arrowheads are sharp and aligned.
- Arrange the Squares: Take your four trimmed squares and arrange them so that the fabrics alternate. The dark fabric should form an arrowhead shape pointing in one direction, while the light fabric should create a contrasting background. This layout is what gives the Anita’s Arrowhead Block its unique and striking appearance.
- Sew the Rows Together: Start by sewing the top two squares together and then the bottom two squares together, using a ¼-inch seam allowance. Press the seams open to reduce bulk and help the block lay flat. Once you have your two rows, sew them together to complete the block.
- Final Pressing: After the rows are sewn together, give the block a final pressing. Make sure the seams are flat, and the block is square. If necessary, trim the edges slightly to ensure the block measures exactly 7 inches by 7 inches.
Congratulations! You’ve just completed your Anita’s Arrowhead Block. You can now use this block to create a full quilt or combine it with other blocks for a unique and dynamic design.
Tips for Customizing Your Anita’s Arrowhead Quilt
One of the best things about the Anita’s Arrowhead Block is its versatility. With a few small tweaks, you can easily customize this block to suit your style and preferences. Whether you want to play with color, size, or layout, the possibilities are endless.
- Experiment with Color: Try using more than two colors in your block for a multi-colored arrowhead design. You can create a gradient effect or use scrappy fabrics for a more eclectic look. Using different prints and solids together can add depth and texture to your quilt.
- Adjust the Size: While this tutorial uses 8-inch fabric squares to create a 7-inch block, you can easily adjust the size by using larger or smaller squares. Larger squares will result in a bigger block, perfect for a bold statement quilt, while smaller squares will give you a more intricate design.
- Create a Unique Layout: Once you’ve made several Anita’s Arrowhead Blocks, you can experiment with different layouts to create a truly one-of-a-kind quilt. Try rotating the blocks to create a zigzag pattern or alternate the direction of the arrowheads for a dynamic and modern quilt design.
By experimenting with these customizations, you can make a quilt that is truly unique and tailored to your personal style.
🌟 Join our exclusive Quilt broadcast list on Messenger! Receive the best patterns, tips, and updates directly in your inbox. Our team is ready to send you delightful content that will inspire your projects. Don’t miss this opportunity to stay updated and create amazing pieces. Join now and be part of this passionate quilt community! ✨📩
Final Thoughts on Anita’s Arrowhead Quilt Block
The Anita’s Arrowhead Block is a wonderful addition to any quilter’s repertoire. It’s simple to make yet offers endless opportunities for creativity and customization. Whether you’re a beginner looking to try something new or an experienced quilter searching for a fresh design, this block is a fantastic choice.
By following this step-by-step tutorial, you’ll be able to create stunning arrowhead blocks that can be used in a variety of quilt patterns. The clean lines and sharp angles make this block perfect for modern quilts, but it can also work beautifully in traditional designs.
So gather your fabric, grab your quilting tools, and get started on your own Anita’s Arrowhead Block today. Happy quilting!
This tutorial provides a clear, step-by-step guide to making the Anita’s Arrowhead Block while incorporating essential SEO techniques to improve search engine visibility for terms like “quilt” and “quilt patterns.” Enjoy your quilting journey!


