Butterfly Bow Quilt – Tutorial is a charming and creative quilting project that brings elegance, softness, and a playful touch to handmade décor and accessories. Inspired by the delicate shape of butterfly wings combined with the structure of a bow, this quilt pattern is perfect for quilters who enjoy projects that stand out visually while remaining enjoyable to sew. From nursery décor to gift embellishments and decorative accents, the Butterfly Bow Quilt – Tutorial offers endless possibilities for personalization and creative expression.
One of the reasons the Butterfly Bow Quilt – Tutorial has gained popularity is its versatility. It can be adapted into wall hangings, pillows, table décor, appliqué blocks, or even standalone quilt blocks for larger projects. Quilters love how this pattern allows them to play with fabric contrast, symmetry, and soft curves while still maintaining clean construction techniques.
In this article, you will explore everything you need to know about the Butterfly Bow Quilt – Tutorial, including the inspiration behind the design, materials and preparation, construction steps, and creative customization ideas. Whether you are a beginner looking to expand your skills or an experienced quilter seeking a delightful new pattern, this tutorial will guide you with clarity and confidence.
1. Understanding the Butterfly Bow Quilt – Tutorial Design
The Butterfly Bow Quilt – Tutorial is built around a visually balanced shape that resembles butterfly wings tied together like a bow. This design creates movement and softness while still fitting neatly into traditional quilting layouts.
DISCOVER MORE FREE PATTERNS HERE!
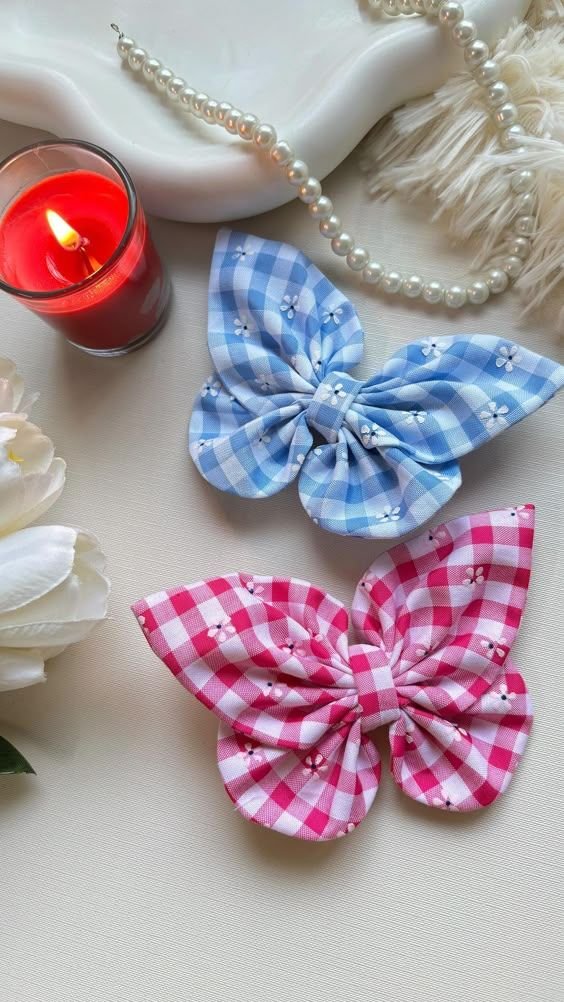
At its core, the butterfly bow shape is symmetrical, making it visually pleasing and easy to incorporate into quilt blocks. The wings typically flare outward, while the center bow knot anchors the design and draws the eye inward.
This quilt pattern is ideal for showcasing contrasting fabrics. Light and dark tones, prints and solids, or bold and subtle colors all work beautifully within the Butterfly Bow Quilt – Tutorial structure.
Many quilters appreciate that the design feels decorative without being overly complex. While it looks intricate, the construction relies on familiar quilting techniques such as piecing, appliqué, or curved seams, depending on the variation used.
The Butterfly Bow Quilt – Tutorial can be scaled up or down. Smaller versions work well as accents or appliqués, while larger versions make stunning focal points for pillows or wall hangings.
Overall, this pattern blends whimsy and elegance, making it suitable for a wide range of projects and age groups.
2. Materials and Preparation for Butterfly Bow Quilt – Tutorial
Choosing the right materials is essential for a successful Butterfly Bow Quilt – Tutorial. Quilting cotton is the most popular choice because it is easy to work with and holds its shape well during piecing and quilting.
Fabric selection plays a major role in highlighting the butterfly bow shape. Using two coordinating fabrics for the wings and a contrasting fabric for the center bow knot helps define the design clearly.
Batting choice depends on the final use of your quilted piece. Lightweight batting works well for wall hangings and decorative accents, while medium-weight batting provides structure for pillows or functional items.
Backing fabric should complement the front design without overpowering it. Simple prints or solid colors often work best to let the butterfly bow take center stage.
Basic quilting tools such as a rotary cutter, ruler, cutting mat, pins, and a sewing machine are all you need to complete the Butterfly Bow Quilt – Tutorial. Precision tools help ensure clean edges and smooth curves.
Before sewing, it’s helpful to press all fabrics and organize pieces according to the pattern layout. Preparation saves time and improves accuracy throughout the project.
3. Step-by-Step Construction of Butterfly Bow Quilt – Tutorial
The construction process of the Butterfly Bow Quilt – Tutorial begins with cutting the fabric pieces according to the pattern. Accurate cutting ensures symmetry, which is essential for the butterfly bow shape.
Next, the wing sections are assembled. Depending on the tutorial style, this may involve piecing geometric sections or attaching curved fabric pieces to form soft, wing-like shapes.
Once the wings are complete, the center bow knot is created. This piece visually ties the entire design together and should be securely stitched for durability and definition.
After assembling the main design, the quilt top is layered with batting and backing fabric. Quilting stitches are then added to secure all layers and enhance texture.
Quilting designs can be simple or decorative. Straight-line quilting emphasizes structure, while free-motion quilting adds softness and movement to the butterfly wings.
Finally, the edges are finished using binding or facing, depending on the project type. A clean finish ensures your Butterfly Bow Quilt – Tutorial looks polished and professional.
4. Creative Customization and Project Ideas
One of the most enjoyable aspects of the Butterfly Bow Quilt – Tutorial is customization. Fabric choices alone can completely change the look and feel of the final piece.
Pastel fabrics create a soft, nursery-friendly aesthetic, while bold prints and high-contrast colors make the butterfly bow pop in modern décor.
You can personalize your project by adding embroidery, initials, or decorative stitching to the center bow knot. These small details add charm and uniqueness.
The butterfly bow design works beautifully as part of a larger quilt. Repeating the block in different color combinations creates a cohesive yet dynamic quilt top.
This pattern is also perfect for seasonal themes. Floral fabrics suit spring projects, while rich tones work well for autumn-inspired décor.
Beyond quilts, the Butterfly Bow Quilt – Tutorial can be adapted for pillows, table runners, tote bags, and wall art, making it a versatile addition to your quilting repertoire.
FAQ – Butterfly Bow Quilt – Tutorial
Is the Butterfly Bow Quilt – Tutorial suitable for beginners?
Yes, confident beginners can successfully complete this project with careful cutting and basic quilting skills.
Does the pattern require curved seams?
Some versions include gentle curves, but many tutorials offer simplified options using straight seams.
What size can the butterfly bow be?
The design is highly adaptable and can be resized depending on the project.
Can I use scraps for this quilt?
Absolutely. Scraps work well, especially for creating colorful and unique wings.
What quilting style works best?
Both straight-line and free-motion quilting complement the butterfly bow design beautifully.
Is this pattern suitable for gifts?
Yes, it’s ideal for baby gifts, home décor, and personalized handmade presents.
Conclusion
The Butterfly Bow Quilt – Tutorial is a delightful blend of elegance, creativity, and versatility. Throughout this article, you learned about the design concept, material selection, construction steps, and creative ways to personalize your project.
PATTERN VIDEO:
This pattern encourages quilters to explore symmetry, color contrast, and decorative quilting while creating something truly special. If you enjoyed this tutorial, please leave your honest opinion and share your suggestions—your feedback helps inspire future quilting projects and creative ideas.

