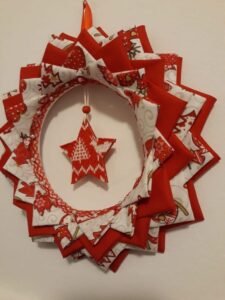
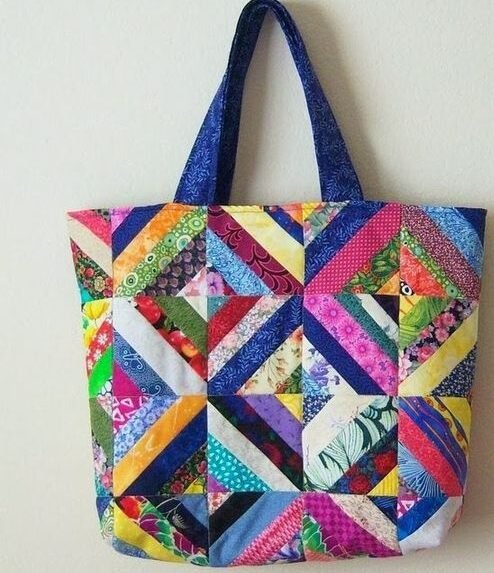
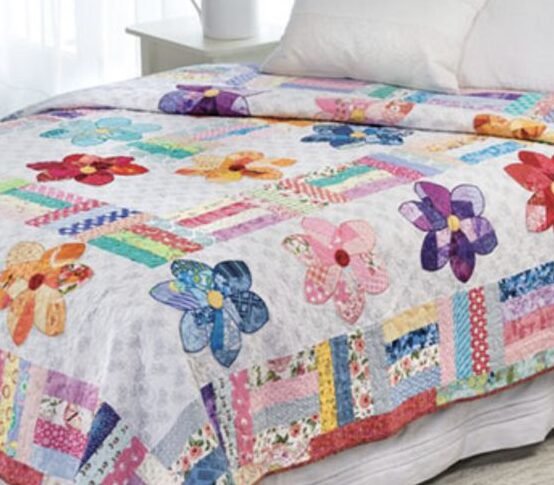
The Quilted Christmas Wreath is a festive project that brings the spirit of the holidays into your home.
This charming quilt pattern is perfect for both beginners and experienced quilters, offering a joyful design that looks beautiful as a wall hanging, table centerpiece, or even a door decoration.
In this tutorial, we’ll go over each step of creating a Quilted Christmas Wreath, from fabric selection to final assembly. Follow along and make this holiday season extra special with a personalized, handmade quilted wreath.

Choosing Your Fabric and Materials
The first step in any quilting project is selecting the right fabric. For a Quilted Christmas Wreath, green fabric for the wreath itself and red fabric for the berries or ribbon are popular choices. Using different shades of green adds depth and a more realistic look to the quilt pattern. Additionally, a background fabric, often in white or cream, will help your wreath stand out beautifully.
SEE OTHER FACE PATTERNS HERE!
For this project, you’ll need about ½ yard each of two green fabrics, ¼ yard of red fabric, and ½ yard of background fabric. If you’d like to add a border, consider using a festive holiday print or a contrasting color to frame your wreath. This project is also a great opportunity to use scraps of holiday-themed fabric for a more patchwork style.
Aside from fabric, gather essential quilting tools like a rotary cutter, quilting ruler, pins, and a sewing machine. To achieve a finished look, you’ll also need batting and backing fabric. Once your materials are ready, you’re set to start creating a delightful holiday quilt pattern.
Cutting Your Fabric – Measurements and Preparations
Precision in cutting is crucial for a well-aligned quilt pattern. For the wreath sections, start by cutting the following pieces:
- Green Fabric (Two Shades): Cut 20 squares measuring 4 x 4 inches from each shade. These squares will form the wreath shape.
- Red Fabric: Cut five 2.5-inch circles to represent the berries or bow detail.
- Background Fabric: Cut 30 squares measuring 4 x 4 inches to fill in around the wreath.
If you’re planning to add a border, cut strips of 2.5 inches by the length of each side of the quilt top. This will help frame the wreath and give it a polished, finished look.
Organizing your pieces before starting the assembly process will make it easier to sew accurately. Lay out each square according to the design, alternating between greens for a more dynamic look. Taking time with the preparation step can make the sewing process smoother and ensure that each piece lines up perfectly.
Arranging Your Wreath Design
Once your fabric is cut, begin arranging your squares on a flat surface, such as a large table or the floor. Lay out the green squares in a circular or oval shape to form the wreath. For a balanced look, alternate between the two shades of green. Arrange the background squares around the green wreath to define its shape.
Next, add the red circles in various spots on the wreath to represent berries or small decorations. You can position them symmetrically or in a more random pattern, depending on the look you want to achieve. If you plan to add a bow detail, consider placing it at the bottom center of the wreath.
Once you’re satisfied with the arrangement, take a photo of the layout. This can be a helpful reference as you move on to sewing the pieces together, ensuring that you maintain the same design throughout the process. The layout stage is crucial in giving your quilted wreath a cohesive and visually appealing appearance.
Sewing the Wreath Squares Together
Now it’s time to start sewing. Begin by piecing together each row of squares, following your arrangement. Use a ¼-inch seam allowance for each seam, and remember to press the seams after each row. Pressing will keep the fabric flat and help maintain alignment as you assemble the quilt top.
After completing each row, join the rows together to form the larger wreath shape. Pay special attention to matching the seams between rows to create a clean and professional look. Press each seam as you go along to keep the quilt top smooth and prevent any fabric from bunching up.
With each row joined, you’ll see your wreath taking shape, bringing the festive holiday design to life. The green squares should resemble a continuous wreath, with the red accents providing pops of color that mimic berries or decorations. This step requires patience and precision, but the result will be a beautiful holiday quilt pattern.
Adding the Red Berry Accents and Bow
With the wreath base complete, it’s time to add the red fabric circles. Place each red circle onto the green squares as per your design. Use a small amount of fabric glue or pins to hold each piece in place before sewing. If desired, you can stitch around each circle with a zigzag or blanket stitch to secure them to the wreath.
To create a bow detail, you can cut additional red fabric into two rectangles measuring 2 x 4 inches. Fold each piece in half, sew the edges, and turn them right-side out. Attach these pieces at the bottom of the wreath to represent a bow, or use a larger pre-made bow for an added holiday touch.
Adding these small details brings dimension and interest to your quilted wreath. The red accents provide a festive feel, while the bow adds a classic touch. These elements make the quilt pattern truly unique and add a handmade quality that is perfect for holiday decor.
🌟 Join our exclusive Quilt broadcast list on Messenger! Receive the best patterns, tips, and updates directly in your inbox. Our team is ready to send you delightful content that will inspire your projects. Don’t miss this opportunity to stay updated and create amazing pieces. Join now and be part of this passionate quilt community! ✨📩
Quilting and Adding the Border
With the wreath top complete, consider adding a border to frame your quilt. A border not only enhances the design but also makes the wreath stand out more. Cut 2.5-inch strips of your border fabric and sew them to each side of the quilt top, pressing the seams outward as you go.
Once the border is attached, layer the quilt top with batting and backing fabric. You can secure these layers together with pins or basting spray to prevent shifting while quilting. For quilting, consider using a simple stitch-in-the-ditch technique around each square to emphasize the wreath pattern, or try free-motion quilting for a more decorative touch.
The quilting stage adds texture and dimension to your quilted wreath. A well-chosen quilting pattern can enhance the design and add durability, ensuring that your holiday quilt lasts for many seasons to come.
Binding and Finishing the Quilt
After quilting, it’s time to add the binding to finish the edges. Cut binding strips to 2.5 inches in width and long enough to cover each side of the quilt. Fold each strip in half lengthwise, press, and then sew it to the edges of the quilt, mitering the corners for a clean finish.
Once the binding is attached, fold it over the edge and hand-stitch it to the back for a polished look. Binding your quilt not only gives it a professional finish but also protects the edges, making it more durable. Choose a binding color that complements the border or the wreath itself to tie the whole design together.
This final step brings all your hard work together, creating a completed Quilted Christmas Wreath ready to display. Your quilted wreath is now a festive and functional piece of art, perfect for decorating your home or gifting to someone special.
Displaying and Caring for Your Quilted Christmas Wreath
Once completed, your Quilted Christmas Wreath can be displayed in various ways to showcase its beauty. Hang it on a wall, drape it over a couch, or place it on a table as a centerpiece. Wherever you display it, this quilted wreath will add a cozy, festive touch to your holiday decor.
To keep your quilt in excellent condition, store it carefully when not in use. If you plan to wash it, use a gentle cycle and cold water to maintain the fabric’s color and structure. Air drying is recommended to avoid any shrinking or damage from the dryer.
Creating a Quilted Christmas Wreath is a rewarding project that brings together the joy of quilting and the holiday spirit. This quilt pattern offers endless possibilities for customization, allowing you to add your own personal touch to each part of the design. Enjoy the process, and let your creativity shine this holiday season!


