Are you tired of digging through piles of fabric, tangled threads, and scattered tools every time you want to start a project? This Sewing Organize – TUTORIAL is designed to help you transform your chaotic sewing space into a streamlined, functional, and inspiring creative zone.
A well-organized sewing setup isn’t just about aesthetics—it enhances productivity, reduces frustration, and helps you stay focused on the joy of creating. Whether you have a full craft room or a corner of the dining table, organizing your sewing tools and materials will change the way you work.
In this Sewing Organize – TUTORIAL, you’ll learn how to organize your sewing space with practical tips, clever DIY storage ideas, and budget-friendly solutions. Let’s create a space that sparks creativity and keeps everything within easy reach.
1. Declutter Before You Organize
Before diving into bins and labels, it’s crucial to declutter your sewing supplies. Organizing starts with removing what you no longer need or use.
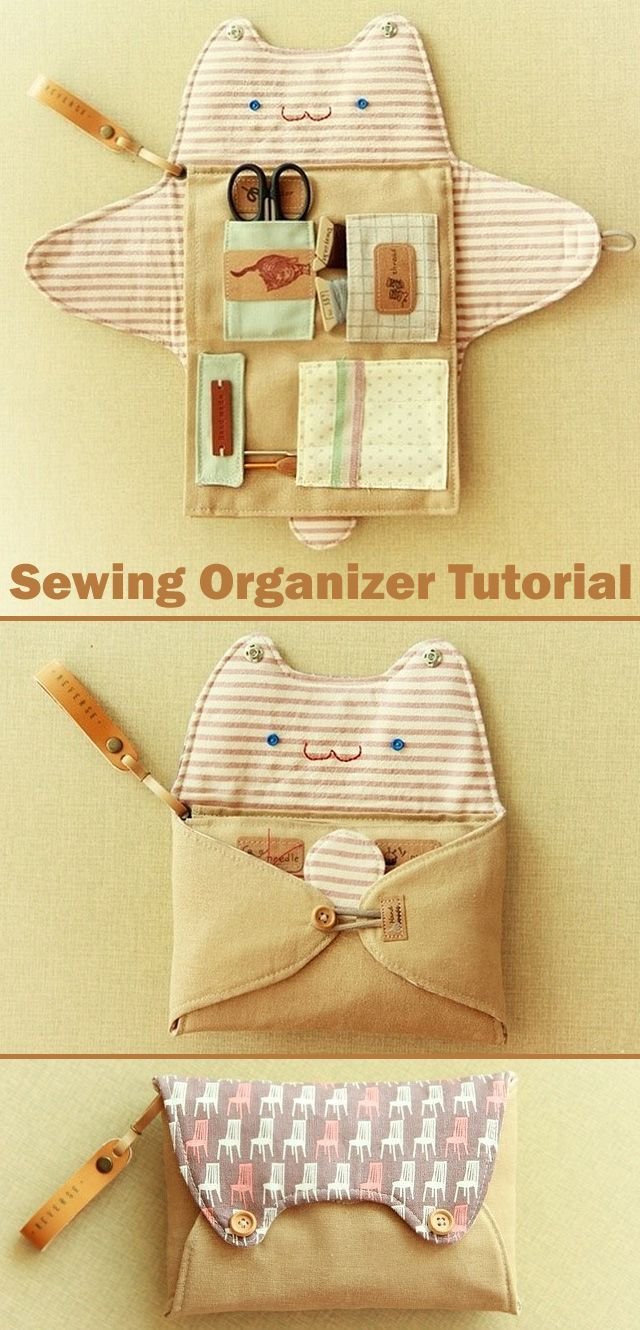
SEE OTHER FACE PATTERNS HERE!
Start by taking everything out of drawers, bins, and shelves. Lay it all out so you can see exactly what you have. This step may seem overwhelming, but it’s necessary to make informed decisions about what stays and what goes.
Sort your items into categories: fabric, thread, needles, scissors, patterns, trims, and tools. This will give you a better idea of how much storage space you’ll need for each type.
Be honest about what you use. If you haven’t touched a particular fabric or tool in a year or more, consider donating it to a local school, craft group, or charity.
Throw away broken items that can’t be fixed. Dull scissors, dried-up glue, or tangled bobbins won’t help you. Let them go.
Once you’ve pared down your collection, wipe down surfaces and storage containers so everything starts fresh and clean.
Now that you’re left with only useful and loved items, you’re ready to start organizing your sewing space efficiently and beautifully.
2. Smart Storage Solutions for Every Tool
To master Sewing Organize, you’ll need smart storage systems for every essential item in your workspace. The goal is to keep things visible, accessible, and tidy.
Fabric should be stored in a way that prevents wrinkles and makes patterns easy to see. Fold your fabric and store it vertically in clear bins, magazine holders, or cubbies sorted by color or type.
Use a pegboard on the wall to hang scissors, rotary cutters, and rulers. This saves drawer space and keeps your most-used tools at your fingertips.
Thread spools can be organized on a wall-mounted thread rack or in a drawer using dividers. Sort them by color for a visually pleasing and practical system.
Store patterns in labeled binders with plastic sleeves, or in hanging folders within a file cabinet. This prevents creases and makes it easy to find what you’re looking for.
Small items like pins, bobbins, buttons, and seam rippers can be stored in multi-compartment containers, craft boxes, or spice jars with labels on top.
Don’t forget vertical space! Install shelves above your workspace for infrequently used items, and use stackable storage to save floor space.
3. DIY Projects to Enhance Your Sewing Space
This Sewing Organize – TUTORIAL wouldn’t be complete without a few creative DIYs to personalize your setup and add a handmade touch to your organization system.
Make a hanging tool caddy using fabric pockets sewn onto a canvas or quilted base. Hang it on the wall to keep scissors, rulers, and pens easily accessible.
Create a fabric basket or rope bowl to hold loose threads, scraps, or current projects. These containers are both functional and decorative.
Sew a pincushion wristband or a pincushion attached to a jar lid. This gives you a spot for pins while also doubling as storage for small notions.
Repurpose old tins, jars, or mugs into charming storage for your measuring tape, chalk, clips, and marking tools. Add a crocheted or quilted cover for extra flair.
Turn a lazy Susan into a rotating organizer for thread, glue, and small tools. Attach small containers around the edges to keep everything secure.
If you have a rolling cart, turn it into a portable sewing station. Each tier can hold fabric, tools, or a project in progress—perfect if you need to move your setup around the house.
4. Maintaining a Tidy and Productive Space
Once your sewing area is neat and beautiful, the challenge becomes keeping it that way. Consistency is key in maintaining Sewing Organize success.
Start by cleaning up after every project. Don’t let materials pile up—return them to their designated spots as soon as you’re done working.
Set aside a few minutes each week to tidy your space. Dust surfaces, refold fabric, and check if anything needs restocking or replacing.
Label everything. Even if you think you’ll remember what’s in a bin or basket, clear labels help maintain order and save time.
Create a project board or planner to track your current and upcoming creations. This helps reduce clutter and avoids duplicated materials.
Avoid “just in case” shopping. Buy only what you need for each project or store extras in a designated overflow bin to prevent buildup.
Treat your sewing space with respect—it’s your creative sanctuary. When everything has a place, you’ll find more joy and ease in every stitch.
🌟Join our exclusive Quilt broadcast list on Messenger! Receive the best patterns, tips, and updates directly in your inbox. Our team is ready to send you delightful content that will inspire your projects. Don’t miss this opportunity to stay updated and create amazing pieces. Join now and be part of this passionate quilt community!✨📩
FAQ – Sewing Organize
Why is sewing organization important?
Staying organized increases your efficiency, saves time, reduces stress, and makes sewing more enjoyable. A tidy space also inspires creativity and better focus.
What’s the best way to store fabric?
Fold fabric and store it vertically in clear bins, cubbies, or file holders. Sorting by color or material type helps you find what you need quickly.
How can I organize sewing tools in a small space?
Use wall space for pegboards and hanging organizers. A rolling cart or under-table drawers can help maximize limited room efficiently.
What should I do with scraps?
Keep a bin or box labeled for fabric scraps. You can use them for patchwork, stuffing, appliqué, or small accessories like pincushions or keychains.
How do I keep my sewing area clean?
Clean up after each session, return tools to their proper places, and schedule a weekly 10-minute tidy-up. A clean workspace encourages regular use.
Is it worth lining drawers or bins?
Yes! Lined containers protect tools and fabric, prevent snags, and add a polished look. Use felt or cotton fabric for a smooth interior finish.
Conclusion
This Sewing Organize – TUTORIAL has walked you through decluttering your space, selecting smart storage systems, crafting your own DIY organization projects, and maintaining a neat and productive sewing environment. Whether you’re a casual stitcher or a dedicated crafter, creating an organized sewing space will elevate your hobby to the next level.
From fabric to thread, tools to patterns, every piece has its place—and when you know where everything is, your creativity can flow freely. So take the first step today and start transforming your sewing corner into the inspiring, efficient space you deserve.
If you found this tutorial helpful, we’d love to hear from you! Please leave a sincere opinion below and feel free to share your ideas, suggestions, or even photos of your organized sewing space. Let’s keep the creative energy going together!


