Looking for the perfect way to keep your sewing space clean, efficient, and beautiful? The Sewing Tool Organizers – TUTORIAL is exactly what you need in 2025! Whether you’re just beginning your quilting journey or are a seasoned fabric artist, staying organized is key to maintaining creativity. This practical and aesthetic project will help you store your needles, thread, scissors, rotary cutters, and more — all while adding charm to your sewing station.
The Sewing Tool Organizers – TUTORIAL is designed with accessibility in mind, offering a solution that is not only stylish but also functional. These organizers can be created using fabric scraps or coordinated fat quarters, making them a favorite among eco-conscious quilters. Plus, it’s a satisfying project you can complete over a weekend or even during a relaxing afternoon.
In this article, we’ll walk you through inspiration, material ideas, design options, and tips to personalize your own organizer. So grab your pins and let’s get stitching with this brilliant quilt project that every sewing enthusiast will adore!
1. Why a Sewing Tool Organizer is a Must-Have for Quilters
Every quilter knows the chaos that comes with scattered tools and supplies. From tangled threads to misplaced snips, a disorganized workstation can make even a simple quilt project overwhelming. That’s where the Sewing Tool Organizers – TUTORIAL steps in to save the day.
SEE OTHER FACE PATTERNS HERE!
First, these tool organizers streamline your space. With dedicated compartments for all your tools, you’ll spend less time searching and more time creating. The customizable design also allows you to tailor the number and size of pockets based on your unique needs.
Second, making your own organizer helps you develop essential quilting skills. You’ll practice precise cutting, seam alignment, and perhaps some quilting or embellishment techniques. It’s both a functional and educational experience.
Third, it promotes sustainability. Instead of buying plastic organizers or bins, using leftover fabrics or upcycled textiles makes your craft space eco-friendly and budget-conscious.
Fourth, an organizer enhances your decor. Whether you like vintage florals or modern minimalism, you can create a piece that reflects your personality and brightens your studio.
Fifth, they are highly portable. You can design organizers that roll up or fold into compact kits, perfect for traveling to quilting classes or retreats.
Sixth, they make great handmade gifts! Other sewing lovers will appreciate the thoughtfulness of a hand-sewn organizer. Add their initials or favorite colors for a personal touch.
2. What You Need to Make a Fabric Sewing Tool Organizer
Getting started with the Sewing Tool Organizers – TUTORIAL doesn’t require a fancy setup. Most likely, you already have many of the materials needed in your sewing room.
Start with fabric. Choose two or three coordinating cotton prints — one for the exterior, one for the lining, and another for the pockets. You can also use denim or canvas for durability.
Next, gather interfacing. Fusible interfacing adds structure and helps your organizer stand up and hold tools better. Choose a medium weight for best results.
Then, grab your basic quilting tools: rotary cutter, cutting mat, quilting ruler, pins or clips, fabric marking pen, and a sewing machine.
Add closures or accessories depending on your design. Consider Velcro, buttons, zippers, elastic loops, or even magnetic snaps to hold items in place.
Don’t forget batting! A thin layer of batting will cushion your tools and help the organizer keep its shape. It’s optional but recommended for a more quilted feel.
Lastly, gather embellishments. If you’d like to personalize your project further, add appliqué, embroidery, or even patchwork piecing to your fabric.
3. Design Ideas to Inspire Your Sewing Tool Organizer
The best part about the Sewing Tool Organizers – TUTORIAL is that it can be completely tailored to your needs. Here are some creative design inspirations to guide your next project.
The Roll-Up Organizer: This design is perfect for portability. Roll it up like a burrito and tie it with a ribbon or button. It’s great for storing marking tools, crochet hooks, or pencils.
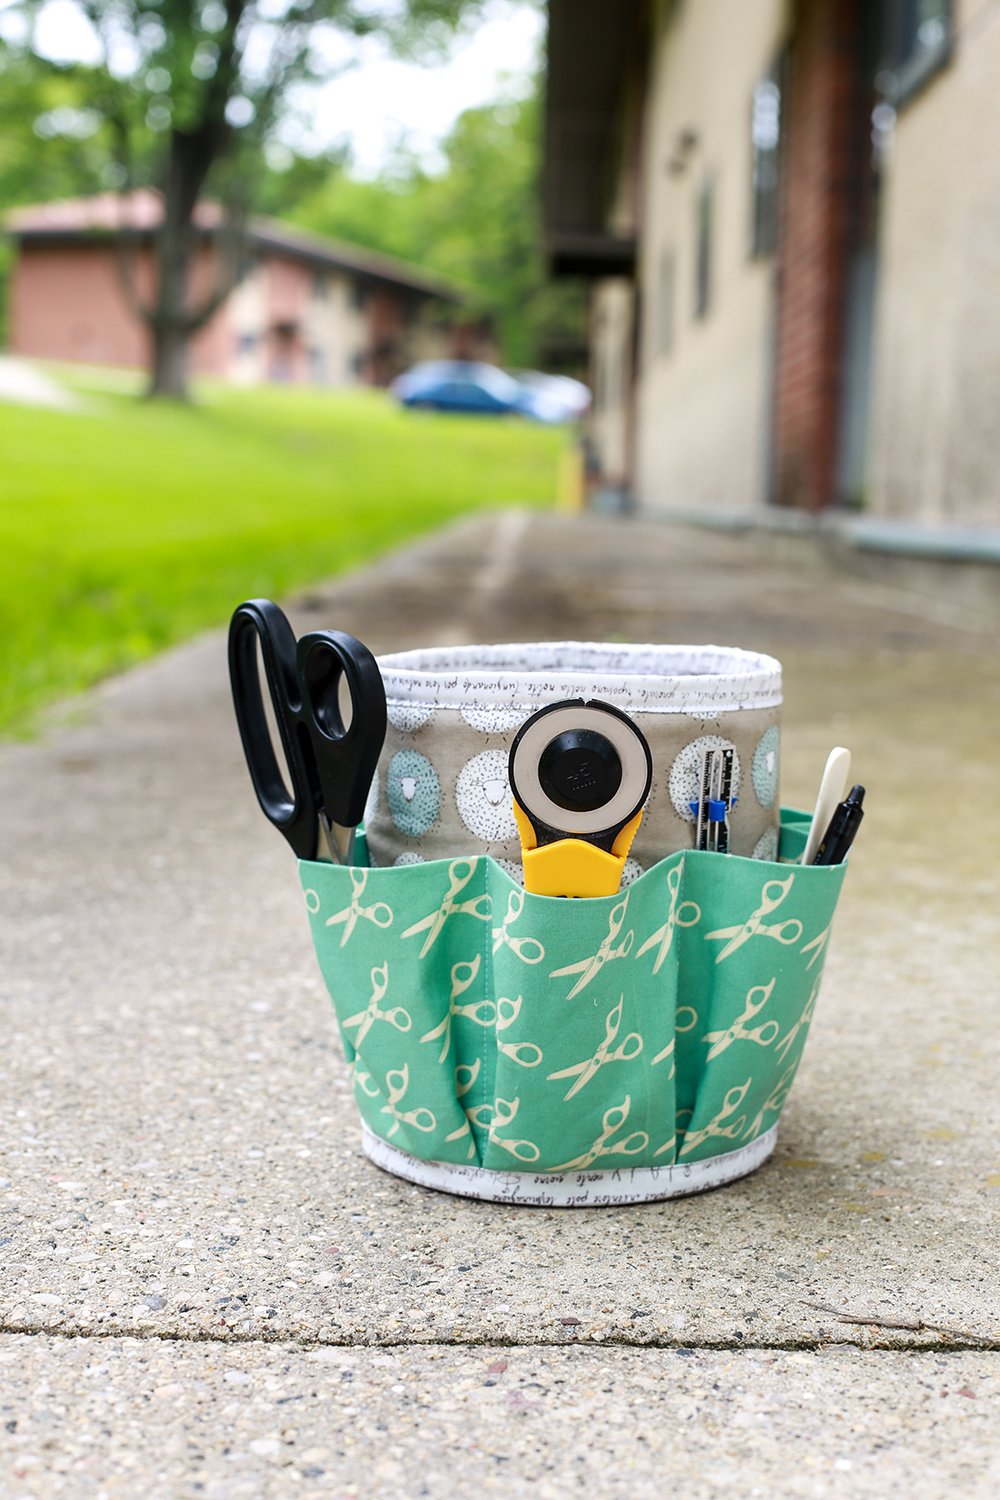
The Standing Caddy: For those who prefer desktop storage, create a box-style caddy with divided pockets. Add handles for easy moving, and quilt the sides for a sturdy structure.
The Wall-Hanging Organizer: Save table space by hanging your organizer on the wall near your sewing machine. Include labeled pockets and hooks for scissors and rotary cutters.
The Book-Style Organizer: Like a quiet book for adults, this version opens like a binder and has “pages” of tool holders. Great for traveling quilters!
The Apron Organizer: Turn your sewing apron into an organizing powerhouse! Sew on multiple pockets to keep tools literally at your fingertips as you quilt.
The Combo Kit: Design an organizer that holds both sewing tools and patterns. Include a zippered pouch for small parts, clear vinyl pockets for visibility, and a large sleeve for A4 pattern sheets.
4. Tips to Personalize and Improve Your Tool Organizer
Once you understand the basic construction of the Sewing Tool Organizers – TUTORIAL, the real fun begins — personalizing it! Here are some pro tips to make it truly yours.
Color-coordinate by purpose. For instance, blue pockets for cutting tools, red for needles and thread, and green for marking supplies. It adds visual interest and functionality.
Add name tags or labels to your pockets. This not only keeps things organized but helps teach younger sewists what each tool is for.
Use see-through vinyl or mesh for some of the pockets. You’ll easily spot your favorite thimble or seam ripper without digging.
Include a pincushion. Stitch a mini stuffed section to hold pins and needles. Add a felt strip nearby for hand needles.
Reinforce high-use areas. Use extra interfacing or bar-tack stitches at the corners of your pockets to prevent tearing with frequent use.
Don’t forget your style! Whether your look is cottagecore, retro, minimalist, or bold and modern, there’s no wrong way to make a beautiful tool organizer.
FAQ: Common Questions About Sewing Tool Organizers – TUTORIAL
Q1: Is this project suitable for beginners?
Absolutely! The Sewing Tool Organizers – TUTORIAL is beginner-friendly. Simple straight stitches and basic quilting skills are all you need.
Q2: Can I use fat quarters for this project?
Yes, this project is perfect for fat quarters or fabric scraps. It’s a great stash-busting idea.
Q3: How do I make the organizer more durable?
Use heavier fabrics like denim or canvas, include interfacing or batting, and reinforce stress points with extra stitching.
Q4: Can I wash the organizer?
Yes, if you use cotton fabrics and prewash them beforehand. Avoid embellishments that may be damaged in the wash.
Q5: What size should I make the organizer?
It depends on your needs. Most organizers are around 12″x18″, but you can scale up or down based on your tools.
Q6: Are there no-sew versions of this project?
While this tutorial is sewing-based, you can explore no-sew ideas using fabric glue and ready-made pouches as a creative alternative.
Conclusion
The Sewing Tool Organizers – TUTORIAL is a fantastic way to combine functionality, creativity, and style in one satisfying project. With endless customization options and practical benefits, it’s an ideal make for any quilting or sewing enthusiast. Whether you’re making one for yourself or as a thoughtful handmade gift, this project is sure to become a favorite.
We’d love to hear from you! Have you made your own fabric organizer? Share your experience in the comments and let us know your tips, favorite fabrics, or suggestions for improvement. Happy quilting!

