Crochet Granny Bag Tutorial is a wonderful project for anyone who loves handmade fashion, colorful designs, and practical accessories. Creating your own granny bag is a fun and rewarding crochet experience that combines traditional granny square techniques with modern style. It is a perfect project for both beginners and experienced crocheters who want to make something beautiful and useful.
A handmade Crochet Granny Bag Tutorial allows you to create a stylish bag for daily use while exploring different color combinations, yarn textures, and creative finishing details. Whether used for shopping, casual outings, beach days, or as a thoughtful handmade gift, a granny bag is always a charming and functional choice.
In this complete guide, you will learn everything about the Crochet Granny Bag Tutorial, from understanding the basic structure to choosing the best yarn, assembling the granny squares, and adding finishing touches. We will also include a detailed FAQ section and a final conclusion to help you confidently start your own crochet project.
1. Understanding the Crochet Granny Bag Tutorial
The Crochet Granny Bag Tutorial is based on the classic granny square technique, one of the most loved and recognizable crochet patterns in the world. Granny squares are small square motifs created with simple stitches and joined together to form larger projects.
DISCOVER MORE FREE PATTERNS HERE!
This type of bag usually consists of several granny squares connected to create the front, back, sides, and sometimes even the base of the bag. The result is a stylish accessory that feels both vintage and modern at the same time.
One of the biggest advantages of this project is its flexibility. You can create small handbags, shopping totes, shoulder bags, or beach bags simply by adjusting the number and size of the granny squares.
The design also allows endless creativity with colors. Some people prefer bright rainbow combinations, while others choose neutral shades for a more elegant and minimalist style.
Understanding the final shape and how the squares will be joined is very important before starting. Planning the layout first helps avoid mistakes and ensures a balanced finished piece.
Studying the full Crochet Granny Bag Tutorial before beginning makes the process smoother and helps you feel more confident throughout the project.
2. Choosing the Best Yarn and Crochet Supplies
Selecting the right materials for your Crochet Granny Bag Tutorial is essential because the bag needs both beauty and durability. The right yarn helps create a stronger structure and improves the final appearance.
Cotton yarn is one of the best choices for granny bags because it is durable, breathable, and holds shape well. It is perfect for bags that will be used regularly for shopping or daily activities.
Acrylic yarn can also be used, especially for decorative or lightweight bags. It offers a wide variety of colors and is often more affordable for larger projects.
For a stronger and more structured bag, many crocheters prefer blended yarns that combine cotton with other fibers for added durability and flexibility.
You will also need the correct crochet hook size recommended for your yarn, along with scissors, stitch markers, a yarn needle for weaving ends, and optional lining fabric for extra support.
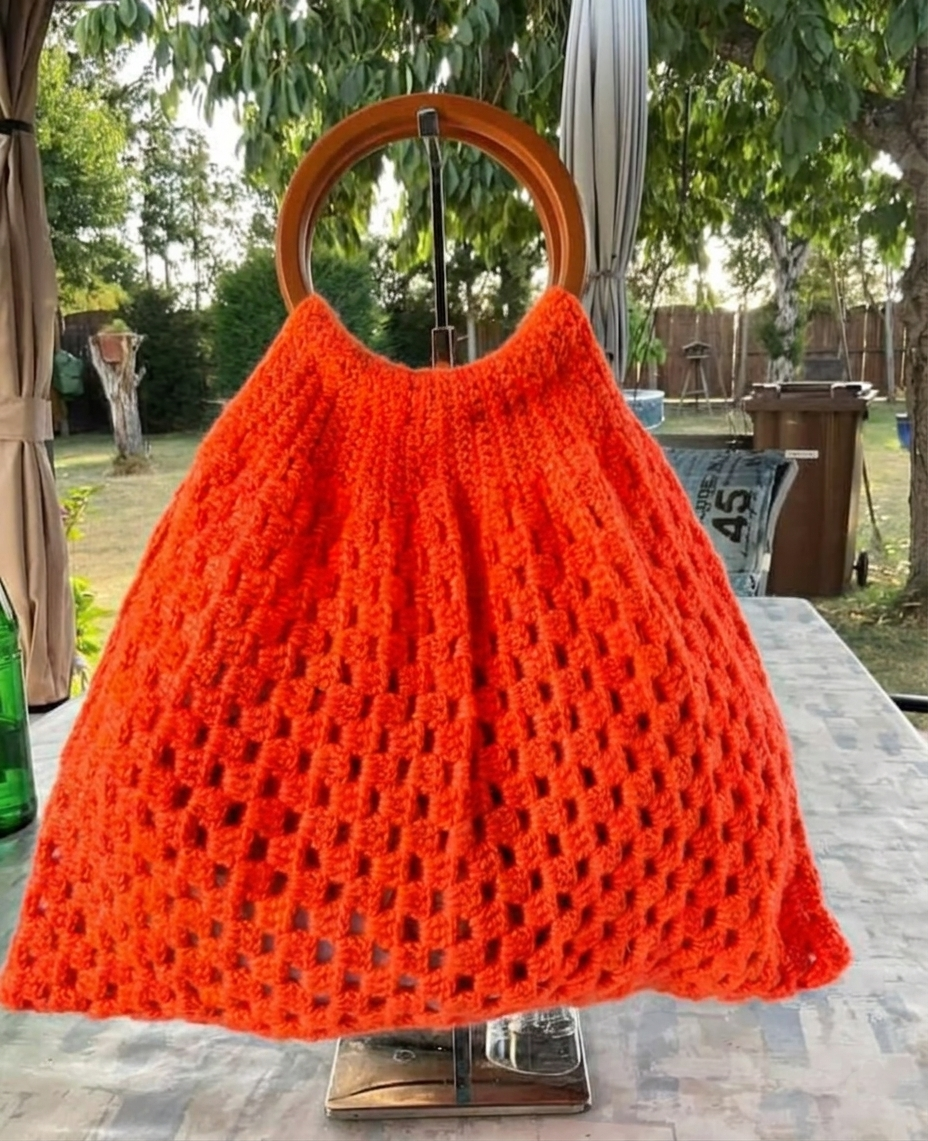
Handles are another important detail. You can create crochet straps, use bamboo handles, wooden rings, or ready-made leather straps depending on the desired final style.
3. Step-by-Step Crochet Process
Start your Crochet Granny Bag Tutorial by choosing the number of granny squares needed for your desired bag size. Planning the measurements early helps keep the project organized.
Begin each granny square with a magic ring or chain circle and work the classic groups of double crochet stitches separated by chain spaces. This creates the traditional granny square design.
Continue building rounds until each square reaches the desired size. Keep the tension even so all squares remain consistent and easy to join later.
After completing all the squares, block them if necessary. This helps straighten the shape and makes joining much cleaner and more professional-looking.
Join the granny squares using your preferred method, such as slip stitch, whip stitch, or single crochet joining. The joining technique can also become a decorative part of the bag.
Finish by crocheting the top border, handles, and optional base reinforcement. If desired, add a fabric lining inside the bag for extra strength and durability.
4. Finishing Touches and Creative Customization
The final details can transform a simple Crochet Granny Bag Tutorial into a truly special handmade accessory full of personality and charm.
Adding a fabric lining helps the bag maintain its shape and prevents smaller items from slipping through the crochet spaces. It also increases durability for everyday use.
Buttons, magnetic snaps, or zipper closures can improve functionality and make the bag safer for carrying personal belongings like phones, wallets, and keys.
Decorative tassels, pom-poms, beads, or crochet flowers add playful and unique details that make the granny bag even more attractive.
Using contrasting handles or combining modern hardware with vintage granny squares creates a stylish balance between classic crochet and contemporary fashion.
You can also create matching accessories such as wallets, keychains, or small pouches using the same granny square style for a complete handmade set.
FAQ About Crochet Granny Bag Tutorial
Is the Crochet Granny Bag Tutorial beginner-friendly?
Yes, this project is excellent for beginners because granny squares use simple stitches like chains and double crochet. It is a great way to practice basic crochet skills while making something useful.
What is the best yarn for a granny bag?
Cotton yarn is usually the best option because it is strong, durable, and holds shape well. It is ideal for bags that will be used often.
How many granny squares do I need?
The number depends on the size and style of the bag. Small handbags may need only 8 to 12 squares, while larger tote bags may require 20 or more.
Should I add a lining to the bag?
A lining is not required, but it is highly recommended for extra durability and better functionality, especially if you plan to carry small or heavy items.
Can I wash a crochet granny bag?
Yes, most cotton and acrylic yarn bags can be gently hand washed. Always check the yarn label for the best care instructions.
Can I sell granny bags made from this tutorial?
In most cases, yes. Handmade granny bags are very popular for craft markets and online shops, especially when you create your own unique color combinations and style.
Conclusion
The Crochet Granny Bag Tutorial is a creative and enjoyable project that combines traditional crochet techniques with practical everyday fashion. From understanding granny square construction to choosing strong yarn, joining the pieces, and adding beautiful finishing details, every step helps create a unique handmade bag.
This project is perfect for personal use, thoughtful handmade gifts, or even starting a small crochet business. With patience, creativity, and the right materials, anyone can create a stylish and durable granny bag.
PATTERN VIDEO
Now that you have learned everything about the Crochet Granny Bag Tutorial, we would love to hear from you. Leave your honest opinion, share your crochet experience, and send your suggestions—your feedback helps inspire even more beautiful crochet projects for the future!