
The Cat Pillow Pattern is a delightful sewing project that combines the charm of handmade animal decorations with the comfort of a soft, cozy cushion. Featuring adorable pointed ears, a sweet embroidered face, beautiful patchwork fabrics, and a rounded body, this handmade cat pillow is perfect for adding personality to bedrooms, living rooms, sewing spaces, and cozy reading corners.
One of the most attractive features of this Quilted Cat Pillow is its versatility. You can create a classic cat-shaped cushion using neutral fabrics or experiment with colorful patchwork pieces for a more playful appearance. Delicate floral prints, vintage cotton fabrics, pastel shades, and denim scraps can all be transformed into a beautiful decorative pillow.
This sewing project is also an excellent opportunity to practice essential quilting and sewing techniques. From cutting fabric pieces and assembling patchwork panels to quilting the surface, sewing curved edges, and adding embroidered details, every stage helps develop useful creative skills. The finished pillow can be displayed on a sofa, bed, armchair, or decorative shelf.
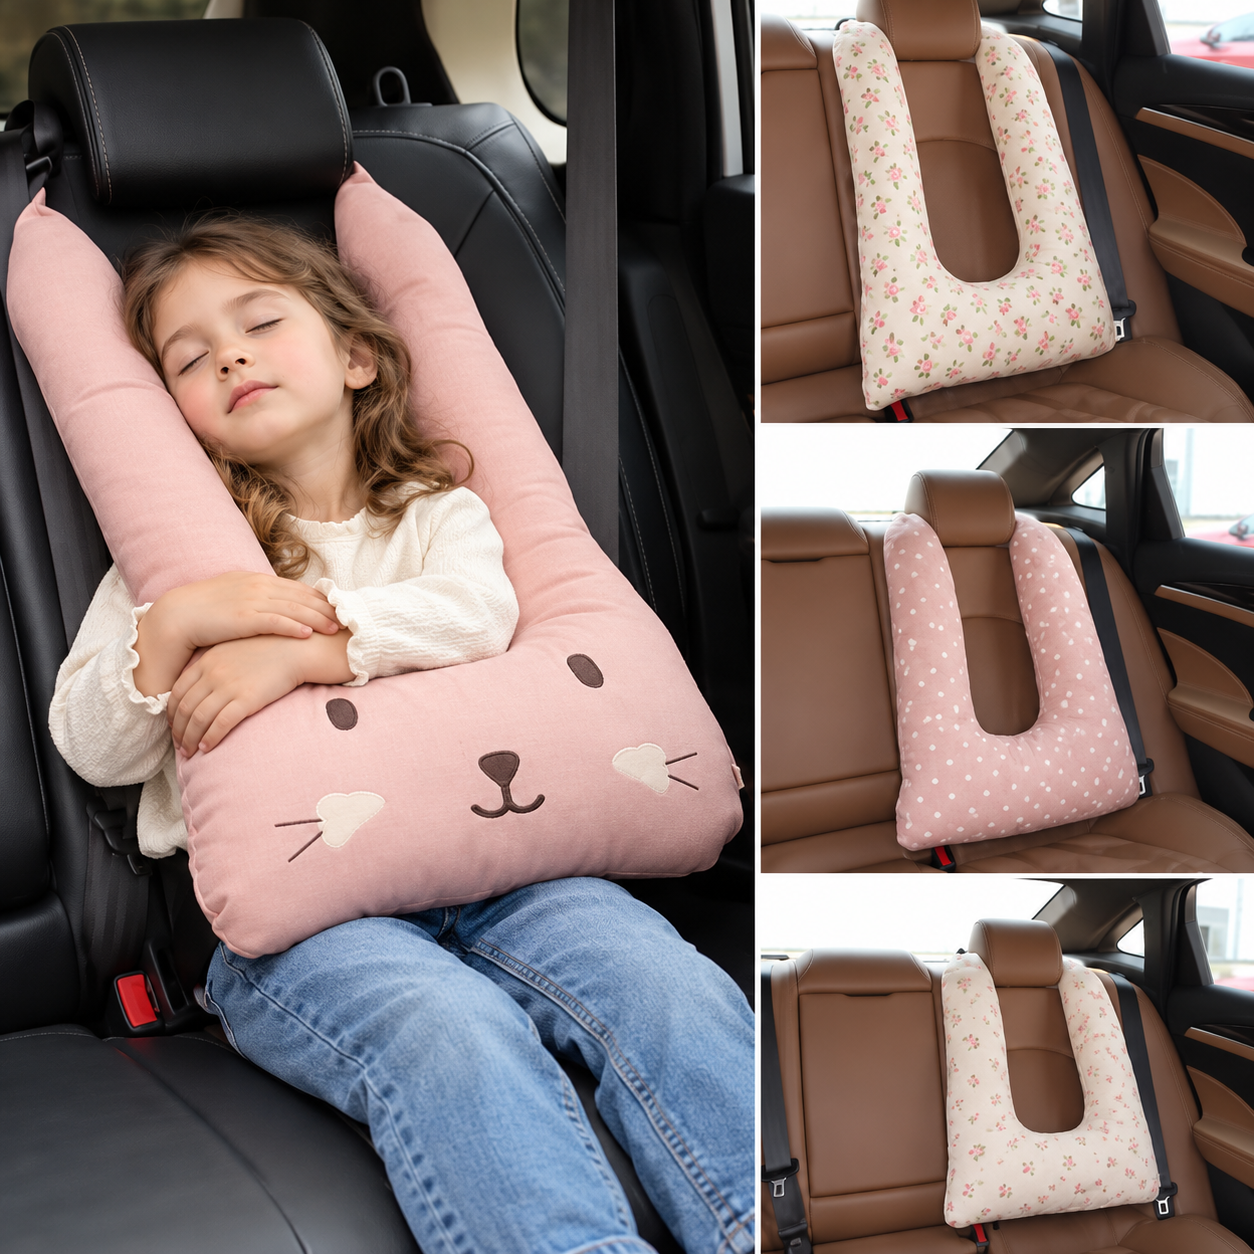
In this complete Cat Pillow Pattern Tutorial, you will learn how to choose fabrics, prepare measurements, create a cat-shaped template, sew the quilted front panel, assemble the cushion, add soft stuffing, and finish the project with professional details. The instructions are suitable for confident beginners and can be adjusted to create pillows in different sizes and styles.
DISCOVER MORE FREE PATTERNS HERE!
Materials, Fabric Measurements, and Cutting Instructions for the Cat Pillow Pattern
Before beginning your Cat Pillow Sewing Pattern, choosing the right materials is important for achieving a beautiful and durable result.
Quilting cotton is one of the best choices because it is easy to cut, sew, and combine with other fabrics. Its lightweight structure also makes it ideal for creating decorative patchwork designs.
For a soft and cozy appearance, consider combining cotton fabric with linen, flannel, or lightweight denim. These materials create interesting textures while maintaining the comfortable feel of a handmade cushion.
The sample project uses a cat-shaped pillow with a finished size of approximately 16 inches wide and 18 inches tall, including the ears.
Materials needed
- ½ yard of quilting cotton for the main front panel.
- ½ yard of coordinating fabric for the back panel.
- Assorted cotton fabric scraps for patchwork.
- One piece of low-loft quilt batting measuring approximately 20 × 22 inches.
- One piece of lightweight backing cotton or muslin for the quilt sandwich.
- Approximately 12–16 ounces of polyester fiberfill, depending on the desired firmness.
- Small fabric scraps for the nose, cheeks, and optional appliqué details.
- Black or dark brown embroidery floss.
- Coordinating sewing thread.
- Sewing machine.
- Fabric scissors or rotary cutter.
- Cutting mat and quilting ruler.
- Fabric marking pencil.
- Pins or sewing clips.
- Hand-sewing needle.
- Iron and ironing board.
- Paper for creating the cat pillow template.
Suggested finished measurements
| Pillow Size | Finished Width | Finished Height |
|---|---|---|
| Small | 10 in (25.5 cm) | 12 in (30.5 cm) |
| Medium | 14 in (35.5 cm) | 16 in (40.5 cm) |
| Large | 16 in (40.5 cm) | 18 in (45.5 cm) |
| Extra Large | 20 in (51 cm) | 22 in (56 cm) |
The measurements include the cat’s ears.
For this tutorial, we will use the large size.
Cutting guide for the large cat pillow
| Fabric Piece | Quantity | Cutting Measurement |
|---|---|---|
| Front patchwork squares | 30 | 4 × 4 inches each |
| Back fabric | 1 | 20 × 22 inches |
| Quilt batting | 1 | 20 × 22 inches |
| Muslin backing for quilting | 1 | 20 × 22 inches |
| Inner ear appliqués | 2 | Approximately 2½ × 3 inches |
| Nose appliqué | 1 | Approximately 1 × ¾ inch |
The 30 patchwork squares will be arranged in five columns and six rows.
Using a ¼-inch seam allowance, this creates an unfinished patchwork panel measuring approximately 18 × 21½ inches.
The cat silhouette will be cut from this panel after quilting.
Recommended fabric combinations
Vintage Floral Cat: Dusty rose, ivory, sage green, and delicate floral prints.
Classic Gray Cat: Light gray, charcoal, white, and soft pink accents.
Rustic Denim Cat: Different shades of recycled denim with cream embroidery.
Pastel Patchwork Cat: Lavender, baby blue, pale yellow, and blush pink.
Autumn Cat: Mustard yellow, burnt orange, caramel brown, and cream.
Elegant Neutral Cat: Beige, taupe, warm white, and natural linen.
Step-by-Step Cat Pillow Pattern: Creating the Patchwork Body and Cat Face
The first stage of this Cat Pillow Quilt Tutorial involves creating the patchwork front panel and preparing the cat-shaped design.
The front panel is the most decorative part of the pillow, so take your time choosing fabric combinations that work beautifully together.
Step 1: Prepare the patchwork fabric squares
Cut 30 fabric squares measuring 4 × 4 inches.
Arrange the squares on a flat surface in five columns and six rows.
Alternate different prints and colors to create a balanced design.
For a vintage appearance, combine small floral prints with gingham, polka dots, and solid cotton fabrics.
Avoid placing too many identical prints next to one another.
Take a photograph of your arrangement before sewing so you can remember the original layout.
Step 2: Sew the patchwork rows
Begin with the first row of five squares.
Place the first two squares right sides together.
Sew along one edge using a ¼-inch seam allowance.
Continue adding squares until the row contains five pieces.
Repeat for the remaining five rows.
Press the seam allowances in alternating directions.
For example, press the seams in the first row toward the right and those in the second row toward the left.
This helps the seams nest neatly when the rows are joined.
Step 3: Join the patchwork rows
Place the first two rows right sides together.
Align the vertical seams carefully.
Pin at the seam intersections.
Sew along the long edge using a ¼-inch seam allowance.
Continue joining the remaining rows.
Press the completed patchwork panel.
Check that the fabric lies flat and that the seams are secure.
The panel should measure approximately 18 × 21½ inches before quilting.
Step 4: Create the quilt sandwich
Place the muslin backing fabric wrong side up.
Position the quilt batting over it.
Place the patchwork panel right side up on top.
Smooth the layers carefully.
Secure them with quilting pins or temporary basting stitches.
Make sure there are no wrinkles between the layers.
The quilt sandwich is now ready for decorative stitching.
Step 5: Quilt the front panel
Choose a simple quilting pattern that complements the patchwork design.
Straight diagonal lines are an excellent option for beginners.
You can also quilt approximately ¼ inch away from the patchwork seams.
Sew slowly through all three layers.
Remove the pins as you work.
The quilting stitches help stabilize the fabric and give the pillow a soft, textured appearance.
After quilting, press the panel gently.
Step 6: Create the cat-shaped template
Fold a large sheet of paper vertically.
Draw half of a rounded cat silhouette along the fold.
For the large pillow, the complete cutting outline should measure approximately 17 inches wide and 19 inches tall.
Include two pointed ears at the top.
The widest section should be around the lower half of the cat’s body.
Cut the template while the paper remains folded.
Open it to reveal a symmetrical cat silhouette.
The cutting outline includes a ½-inch seam allowance, producing a finished pillow approximately 16 × 18 inches.
How to Sew the Cat Pillow: Appliqué, Assembly, Stuffing, and Finishing
Once the quilted front panel is complete, you can begin creating the cat’s facial features and assembling the cushion.
This stage transforms a simple patchwork panel into an adorable decorative cat pillow.
Step 1: Cut the cat silhouette
Place the paper template over the quilted patchwork panel.
Make sure the template fits completely within the quilted area.
Trace around the outline using a removable fabric marker.
Cut carefully along the marked line.
Place the same template over the backing fabric.
Cut one matching cat-shaped piece.
You should now have one quilted front piece and one plain backing piece.
Step 2: Create the inner ears
Cut two small triangular pieces from contrasting fabric.
Soft pink, cream, or floral cotton works beautifully.
Position the triangles inside the pointed ears on the quilted front panel.
Leave approximately ½ inch between each appliqué and the outer cutting edge.
Use fusible web to hold the appliqués in place if desired.
Sew around the edges using a narrow zigzag stitch.
Repeat for the second ear.
Step 3: Embroider the cat’s face
Position the eyes, nose, mouth, and whiskers on the front panel.
Use a removable fabric marker to sketch the facial details.
For the eyes, embroider two small curved lines to create a peaceful, sleepy expression.
Cut a small rounded triangle from pink or brown fabric for the nose.
Attach it with a narrow zigzag stitch or hand appliqué.
Embroider a small curved mouth below the nose.
Add three whiskers on each side using dark embroidery floss.
Keep all facial details at least ¾ inch away from the outer cutting edge so they remain visible after sewing.
Step 4: Assemble the pillow pieces
Place the quilted front panel and backing panel right sides together.
Align the ears, sides, and lower curves.
Pin carefully around the entire silhouette.
Using a ½-inch seam allowance, sew around the pillow.
Leave an opening approximately 4–5 inches long along the lower edge.
Backstitch at both ends of the opening.
Sew slowly around the curved sections and pointed ears.
This helps maintain the shape of the cat.
Step 5: Trim and turn the pillow
Trim the seam allowance slightly around the curved edges, leaving enough fabric to maintain strong seams.
Clip the seam allowance along inward curves without cutting through the stitching.
Carefully trim excess fabric near the ear points.
Turn the pillow right side out through the opening.
Use a blunt turning tool to gently shape the ears.
Avoid pushing too hard against the fabric.
Press the outer seams carefully.
Step 6: Stuff and close the pillow
Begin adding small amounts of polyester fiberfill.
Fill the ears first.
Use a blunt tool to distribute the stuffing into the pointed sections.
Continue filling the head and body.
Add stuffing gradually to avoid lumps.
The pillow should feel soft and comfortable rather than overly firm.
Fold the seam allowances at the opening inward.
Close the opening using a ladder stitch.
Secure the thread and hide the knot inside the pillow.
Your handmade cat cushion is now complete.
Creative Cat Pillow Designs, Decorative Details, and Professional Sewing Tips
The Cat Pillow Pattern offers endless possibilities for customization.
You can create a simple minimalist cat, a colorful patchwork kitten, or an elegant vintage-inspired cushion.
Small decorative details can make the finished project even more special.
Step 1: Add a decorative fabric bow
Cut a fabric rectangle measuring approximately 6 × 4 inches.
Fold it right sides together.
Sew around the edges, leaving a small turning opening.
Turn the fabric right side out and press.
Gather the center to form a bow.
Wrap a narrow fabric strip around the middle.
Hand-sew the bow securely near one ear or around the cat’s neck.
Step 2: Create a patchwork tail
For an optional decorative tail, draw a gently curved tail shape approximately 8 inches long and 2½ inches wide.
Cut two matching pieces from coordinating fabric.
Place them right sides together.
Sew around the curved edge, leaving the base open.
Turn the tail right side out.
Add a small amount of stuffing.
Attach the tail securely to the back of the pillow using reinforced hand stitches.
For a pillow intended for a young child, omit projecting accessories that could be pulled loose.
Step 3: Add embroidered flowers
Small embroidered flowers can make the cat pillow look especially charming.
Use embroidery floss in soft pink, lavender, yellow, or white.
Create simple flowers using lazy daisy stitches.
Add small French knots for the flower centers.
Position the flowers near the ears, cheeks, or lower body.
Keep the embroidery balanced so the cat’s facial features remain the focal point.
Step 4: Create a denim patchwork cat
For a rustic design, replace the quilting cotton squares with lightweight denim scraps.
Combine light blue, medium blue, and dark indigo fabrics.
Use a denim needle and a slightly longer stitch length if necessary.
Avoid thick seams and bulky intersections.
Quilt the panel with contrasting cream or golden thread.
The finished pillow will have a beautiful recycled-fabric appearance.
Step 5: Add decorative quilting stitches
You can personalize the pillow with additional quilting details.
Try wavy lines, small hearts, stars, or free-motion swirls.
Use thread colors that coordinate with the fabric.
For a delicate appearance, choose thread that blends into the background.
For a bold modern design, use contrasting thread.
Keep the quilting density reasonably consistent across the front panel.
Step 6: Give the pillow a professional finish
Inspect the outer seams carefully.
Make sure the ears are symmetrical and properly shaped.
Check that the stuffing is evenly distributed.
Remove any visible marking lines according to the fabric marker’s instructions.
Trim loose threads.
Gently reshape the pillow with your hands.
The finished cushion should have smooth curves, defined ears, and a comfortable rounded body.
Beautiful Color Combinations for the Cat Pillow Pattern
Dusty Rose and Cream: A romantic vintage combination that creates a delicate and feminine decorative pillow.
Sage Green and Ivory: A peaceful botanical palette that looks beautiful in cozy bedrooms and modern farmhouse interiors.
Lavender and Soft Gray: A charming combination that adds elegance and softness to the cat design.
Denim Blue and White: A timeless pairing that works wonderfully with recycled jeans and patchwork fabrics.
Caramel Brown and Beige: A warm neutral palette inspired by classic teddy bears and rustic handmade decorations.
Blush Pink and Floral Prints: A sweet combination that is especially attractive for nursery decorations and handmade gifts.
Helpful Tips for Sewing a Beautiful Cat Pillow
Use accurate seam allowances. Consistent stitching helps the cat silhouette remain symmetrical.
Press the patchwork seams carefully. Flat seams improve the appearance of the quilted front panel.
Choose soft, durable fabrics. Quilting cotton and lightweight linen are excellent options for decorative cushions.
Avoid overstuffing the ears. Too much stuffing can distort their shape.
Use embroidered facial features. Embroidery creates a neat finish without the need for loose plastic accessories.
Take your time with curves. Slow sewing and careful clipping help produce smooth, professional-looking edges.
Frequently Asked Questions About the Cat Pillow Pattern
1. Is the Cat Pillow Pattern suitable for beginners?
Yes. Confident beginners can complete this project using basic patchwork, quilting, and sewing techniques.
2. What fabric is best for a quilted cat pillow?
Quilting cotton is an excellent choice because it is easy to sew, durable, and available in many beautiful prints.
3. Can I make the pillow without patchwork?
Yes. You can use one solid piece of fabric for the front instead of assembling patchwork squares.
4. What is the best stuffing for a cat cushion?
Polyester fiberfill is a practical option because it is lightweight, soft, and easy to distribute.
5. Can I make the cat pillow larger?
Absolutely. Enlarge the paper template and adjust the amount of fabric and stuffing accordingly.
6. Can I use recycled denim?
Yes. Lightweight denim scraps are perfect for creating a rustic patchwork cat pillow.
7. How do I make the ears stand upright?
Fill the ear tips gently and distribute the stuffing evenly. Avoid excessive stuffing that may distort the shape.
8. Can I add a zipper?
Yes. A zipper can be incorporated into the backing if you prefer a removable cover and separate pillow insert.
9. How do I prevent the pillow from becoming lumpy?
Add small amounts of fiberfill gradually and distribute them evenly throughout the body.
10. Can I embroider the cat’s face by hand?
Yes. Hand embroidery is one of the easiest ways to create attractive eyes, whiskers, and mouth details.
11. Is this pillow suitable for a nursery?
It can be used as nursery decoration, but pillows should be kept out of infant sleep spaces. Avoid loose decorations on items intended for young children.
12. Can I wash the finished pillow?
Washability depends on the fabrics, batting, embroidery, and stuffing used. Prewashing the fabrics and following their care instructions can help.
13. Can I use different fabric prints?
Yes. Mixing floral prints, gingham, polka dots, and solid fabrics creates a beautiful patchwork effect.
14. Can I make matching cat pillows?
Absolutely. You can create a coordinated set using different sizes and complementary fabrics.
15. Can I sell handmade cat pillows made from this pattern?
Handmade items created from your own pattern interpretation can generally be sold, subject to applicable pattern terms, product safety requirements, and local regulations.
Conclusion
The Cat Pillow Pattern is a wonderful sewing project that combines adorable animal-inspired design with the beauty of traditional patchwork quilting. Its soft shape, charming ears, and embroidered facial details make it a delightful addition to handmade home décor.
One of the greatest advantages of this project is the freedom to personalize every detail. From selecting colorful fabrics to designing the cat’s expression, each decision helps create a cushion with its own unique personality.
The patchwork construction also provides an excellent opportunity to use leftover fabric scraps. Instead of discarding small pieces of cotton or denim, you can transform them into a beautiful decorative accessory.
For sewing enthusiasts who enjoy handmade gifts, the Quilted Cat Pillow is a thoughtful and creative choice. It can be customized with favorite colors, embroidered details, and decorative accessories to suit different tastes.
Whether you prefer a delicate floral cat, a rustic denim kitten, or a modern neutral design, this pattern offers many possibilities for creative expression.
With careful cutting, accurate stitching, and attention to the finishing details, your Handmade Cat Pillow can become a cozy, charming, and memorable piece that brings warmth and personality to any room.