
Classic Fabric Slipper Pattern is one of the most rewarding sewing projects for anyone who enjoys creating practical, comfortable, and beautiful handmade accessories. A well-made pair of Classic Fabric Slippers combines comfort, durability, and timeless style, making them perfect for everyday use or as thoughtful handmade gifts. Whether you are an experienced quilter or just beginning your sewing journey, this project offers an enjoyable opportunity to practice quilting techniques while producing something you will actually use.
One of the reasons the Classic Fabric Slipper Pattern remains popular is its versatility. You can personalize every detail, from fabric combinations and quilting designs to sole materials and decorative finishes. Soft florals, modern geometric prints, elegant solids, seasonal fabrics, or playful novelty prints all create completely different looks while following the same basic construction process. This flexibility allows sewists to create slippers that perfectly match their personal style or home décor.
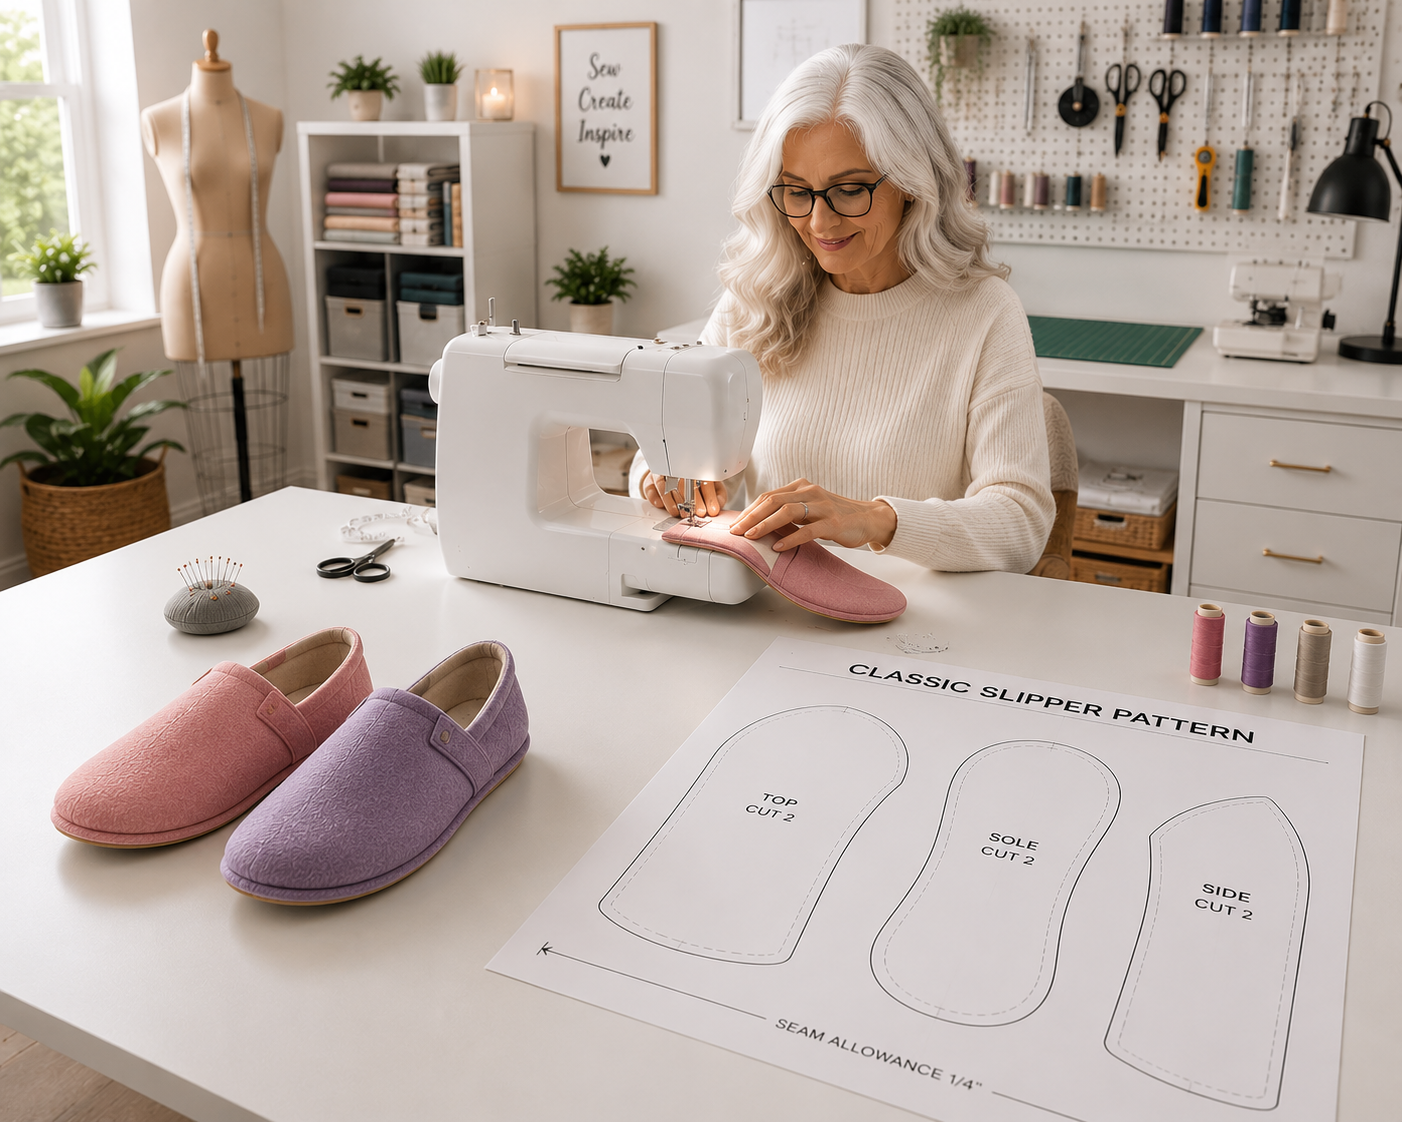
This tutorial explains how to recreate the elegant slippers shown in the image using quilting and sewing techniques. Throughout this guide, you will learn how to prepare your fabrics, cut accurate pattern pieces, quilt the layers, assemble the upper and sole, and finish your slippers professionally. Every step is designed to be beginner-friendly while including useful tips that more experienced makers will also appreciate.
Choosing Materials for a Beautiful Classic Fabric Slipper Pattern
Selecting quality materials is one of the most important steps when making a successful Classic Fabric Slipper Pattern.
DISCOVER MORE FREE PATTERNS HERE!
Begin by choosing quilting cotton or lightweight home décor fabric for the exterior. These fabrics provide enough structure while remaining comfortable to wear. Coordinating cotton fabric works well for the lining, creating a soft interior against your feet.
For the padding, use cotton batting, foam stabilizer, or soft fusible fleece. These materials give the slippers their cozy feel while maintaining shape after repeated use.
The sole benefits from additional reinforcement. Non-slip fabric, cork fabric, suede, canvas, or specialized slipper sole material helps improve durability and safety when walking on smooth floors.
Use high-quality polyester thread because it resists wear and handles the stress placed on slippers better than standard cotton thread.
Finally, prepare your sewing tools, including rotary cutter, quilting ruler, fabric clips, pins, sewing machine, scissors, walking foot if available, and an iron for pressing every seam throughout construction.
Cutting and Preparing the Classic Fabric Slipper Pattern
Accurate cutting makes the assembly process much easier and produces slippers that fit comfortably.
Start by printing or tracing the Classic Fabric Slipper Pattern in your desired size. Always verify the pattern scale before cutting fabric.
Cut two upper pieces, two lining pieces, two sole pieces, two insole pieces, and two batting layers for each slipper.
Transfer any alignment marks from the pattern to the fabric using washable fabric markers or tailor’s chalk. These markings help position the upper correctly during assembly.
Layer the exterior fabric with batting and lightly quilt the pieces before construction. Simple straight-line quilting, gentle curves, or echo quilting all provide stability while adding attractive texture.
Trim all quilted pieces carefully back to the original pattern size after quilting to maintain accurate dimensions.
Press every piece thoroughly. Well-pressed fabric results in smoother seams and a more professional-looking final project.
Sewing the Upper and Sole Together
Once all pieces are prepared, construction becomes straightforward.
Begin by sewing the upper exterior to the upper lining with right sides together. Leave the bottom edge open for turning.
Clip the curves carefully before turning the upper right side out. This allows the rounded edges to sit smoothly without bulky fabric inside.
Press the upper thoroughly before topstitching around the curved edge. Topstitching not only adds decoration but also helps the upper maintain its shape.
Next, quilt or stabilize the sole layers. The sole should feel supportive but still flexible enough for comfortable walking.
Pin or clip the upper to the sole, matching all notches and center markings. Sew slowly around the curved edges to maintain even seam allowances.
If using a separate lining, repeat the process before joining the interior and exterior sections together with a clean finish.
Finishing the Classic Fabric Slipper Pattern Like a Professional
Professional finishing techniques transform homemade slippers into boutique-quality accessories.
Bind the raw edges using coordinating bias binding or fold the seam allowance inward before topstitching neatly around the opening.
Add additional rows of topstitching around the upper if you want extra durability and decorative detail.
For greater comfort, insert removable foam insoles before closing the final opening, allowing them to be replaced later if needed.
Apply non-slip fabric, silicone grip dots, or textured sole material underneath the slippers to improve traction on hardwood or tile floors.
Decorative options include embroidered initials, fabric flowers, quilting motifs, decorative piping, contrasting thread, lace trim, or simple fabric labels sewn into the side seam.
After completing both slippers, give them a final press using appropriate heat for your fabric. A gentle steam press helps every seam lie flat while enhancing the finished appearance.
FAQ About Classic Fabric Slipper Pattern
Is the Classic Fabric Slipper Pattern suitable for beginners?
Yes. Beginners with basic sewing experience can complete this project by working carefully through each step and pressing frequently during construction.
Which fabrics work best?
Quilting cotton, linen blends, canvas, lightweight upholstery fabric, and soft home décor fabrics are excellent choices for the exterior.
Can I wash fabric slippers?
Absolutely. Wash them on a gentle cycle using cold water and allow them to air dry to preserve their shape and quilting.
What can I use for a non-slip sole?
Suede, cork fabric, specialized anti-slip fabric, textured canvas, or silicone grip fabric all work very well.
How do I make the slippers warmer?
Add extra batting, fleece interfacing, sherpa lining, or insulated batting between the layers.
Can I customize the size?
Yes. Most slipper patterns include multiple sizes, and you can easily adjust the length or width for a better personalized fit.
Should I quilt the pieces before assembly?
Yes. Quilting first stabilizes the fabric, adds durability, and gives the slippers a beautiful finished texture.
Are these slippers good as gifts?
Definitely. Handmade Classic Fabric Slippers make thoughtful gifts for birthdays, holidays, Mother’s Day, Christmas, housewarmings, or anyone who appreciates handmade creations.
Conclusion
The Classic Fabric Slipper Pattern is a practical quilting project that combines creativity, comfort, and everyday usefulness into one enjoyable sewing experience. Throughout this tutorial, you learned how to select the right materials, prepare and quilt the fabric pieces, cut the pattern accurately, assemble the upper and sole, reinforce the slippers for durability, and apply professional finishing techniques for a polished result.
With just a few quality materials and careful sewing, you can create comfortable slippers that are both beautiful and long-lasting. Once you master the basic construction, experimenting with different fabrics, quilting motifs, colors, and decorative details becomes easy, allowing every new pair to have its own unique personality.
PATTERN VIDEO
I hope this guide has helped you feel confident about creating your own Classic Fabric Slipper Pattern. If you enjoyed this tutorial, please leave your honest opinion about the project and share your suggestions or ideas. Your feedback is always valuable and helps inspire even more creative sewing projects for everyone who loves quilting and handmade crafts.