
Pet Bed Pattern is the perfect sewing project for anyone who loves creating comfortable, durable, and stylish accessories for their furry companions. A handmade Pet Bed Pattern allows you to customize the size, shape, fabric, and filling to match your pet’s personality while complementing your home décor. Whether you are sewing for a playful kitten, a senior cat, a small dog, or even several pets, this project combines quilting techniques with practical sewing skills to create a cozy resting place your pet will enjoy every day.
One of the biggest advantages of making a Pet Bed Pattern yourself is the ability to choose high-quality materials that provide comfort and durability. Unlike many store-bought beds, a handmade version can include removable covers, washable fabrics, reinforced seams, and soft quilting that withstands everyday use. It is also an excellent way to use leftover quilting fabrics, cotton prints, denim, canvas, fleece, or home décor textiles, transforming fabric scraps into a beautiful and functional project.
This complete tutorial will guide you through every step of creating your own Pet Bed Pattern, from selecting fabrics and stabilizers to cutting, quilting, assembling the side walls, inserting the cushion, and adding professional finishing details. Whether you are a beginner looking for a rewarding sewing project or an experienced quilter searching for a practical handmade gift, this guide will help you achieve beautiful results while improving your sewing skills.
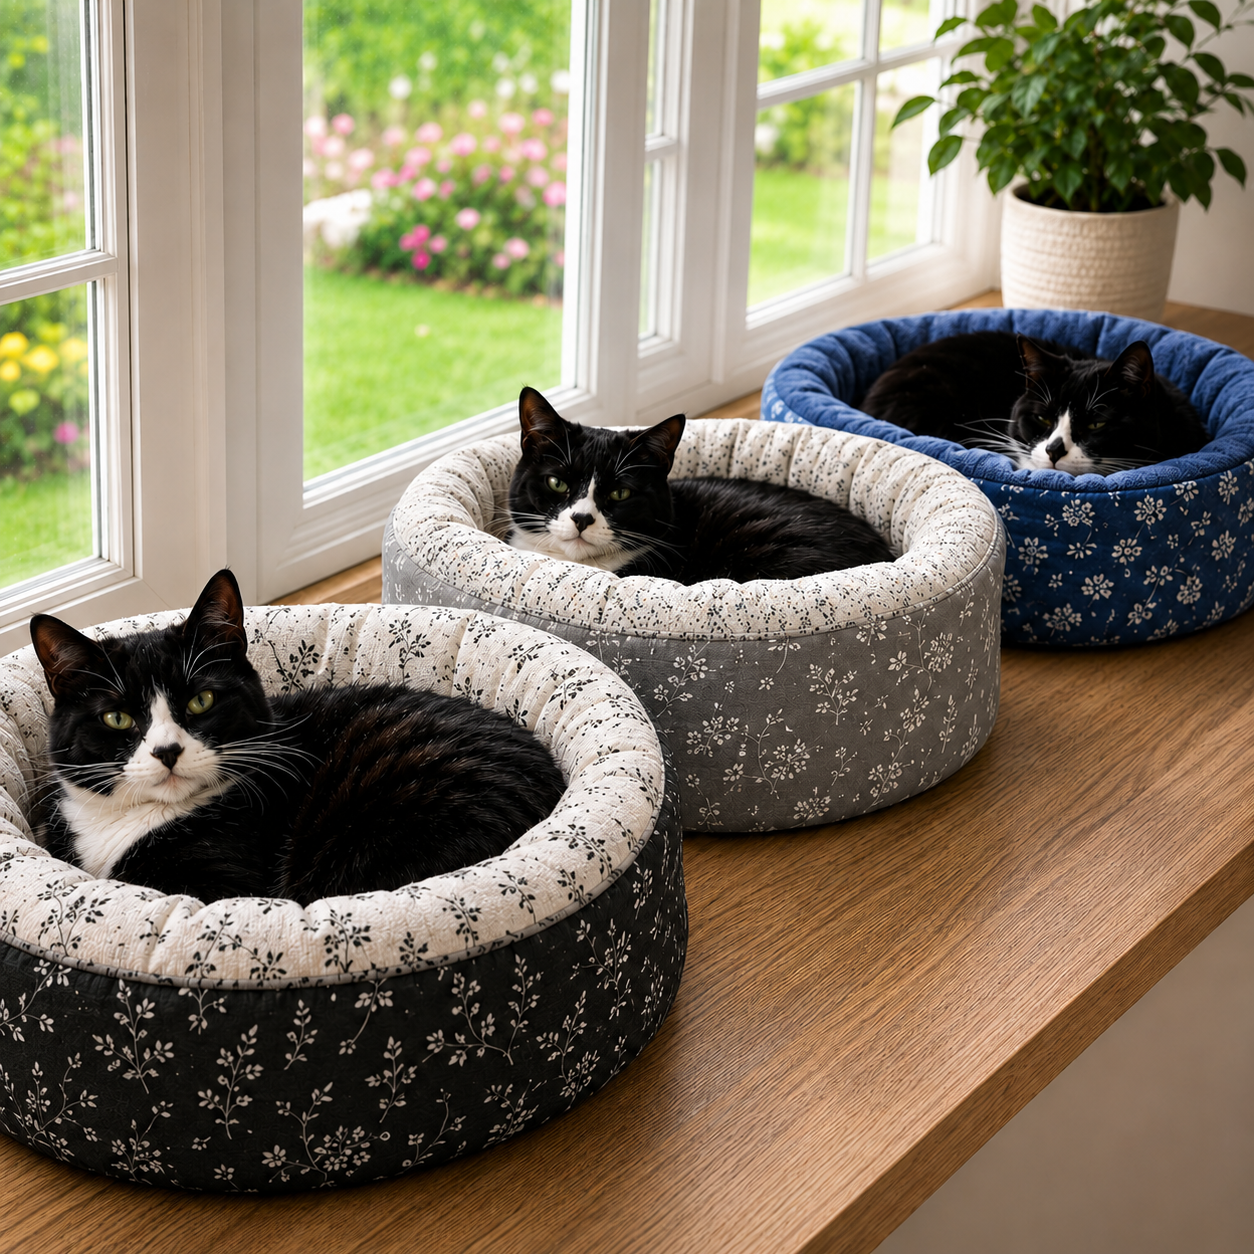
Choosing Fabrics and Materials for the Pet Bed Pattern
Choosing the right fabric is essential for a durable and comfortable Pet Bed Pattern. Since pet beds receive daily use, medium-weight cotton quilting fabric, canvas, denim, upholstery cotton, or cotton duck are excellent options for the exterior.
DISCOVER MORE FREE PATTERNS HERE!
For the inside cushion, soft fleece, plush fabric, flannel, or quilted cotton creates a warm and inviting sleeping surface. These fabrics remain comfortable throughout the year and are gentle on your pet’s fur.
High-loft polyester fiberfill, shredded foam, memory foam inserts, or washable batting can be used for filling. Select a filling that offers support while maintaining softness and shape after repeated use.
Gather your sewing supplies before beginning. You will need fabric scissors, rotary cutter, quilting ruler, cutting mat, coordinating thread, sewing clips, measuring tape, fabric marker, sewing machine, zipper or hook-and-loop tape if making a removable cover, and an iron.
Fusible fleece or foam stabilizer may be added between the exterior fabric and lining to provide additional structure for the side walls of the bed, helping it retain its shape over time.
Always prewash cotton fabrics before cutting to remove shrinkage and ensure your finished Pet Bed Pattern remains the correct size after future laundering.
Cutting and Preparing the Pattern Pieces
Begin by tracing or printing your Pet Bed Pattern and transferring all markings accurately. Include center marks, seam allowances, corner notches, and alignment points for precise construction.
Cut the exterior fabric, lining, batting, and stabilizer according to the pattern instructions. Keep all pieces organized before beginning assembly to simplify the sewing process.
If you are quilting the exterior fabric, baste the fabric, batting, and backing together first. Straight-line quilting, diamond quilting, echo quilting, or free-motion quilting all provide decorative texture while strengthening the fabric.
Prepare the base panel first since it serves as the foundation of the entire bed. Ensure the shape remains perfectly symmetrical before attaching the side walls.
Mark the placement lines for the side panels using washable fabric markers or tailor’s chalk. Accurate markings make assembly significantly easier and improve the final appearance.
If creating a removable cushion insert, cut separate top and bottom panels and prepare any zipper opening before joining the remaining seams.
Sewing the Pet Bed Pattern
Start by sewing the side panels together using a consistent ¼-inch seam allowance. Press all seams open or toward one side to reduce bulk and create a smoother finish.
Attach the completed side ring to the base panel slowly, matching notches carefully as you sew around curves. Sewing clips often provide better control than pins when working with thick quilted layers.
Construct the lining using the same method. Leave a turning opening if the pattern requires turning the project right side out after assembly.
Place the exterior and lining together with right sides facing. Stitch around the upper edge while carefully aligning all seams. Turn the bed through the opening and press the upper edge neatly.
Insert the prepared cushion or filling gradually, distributing it evenly to eliminate lumps. Take extra time to shape the side walls so they remain smooth and supportive.
Finish the project with a decorative topstitch around the upper edge. This final stitching strengthens the seams while giving your Pet Bed Pattern a clean, professional appearance.
Finishing and Personalizing Your Pet Bed Pattern
One of the most enjoyable parts of making a Pet Bed Pattern is personalizing it for your pet. Add embroidered names, appliqué paw prints, quilt blocks, decorative piping, or coordinating fabric combinations that match your home décor.
Consider creating reversible beds by using different fabrics on each side. One side may feature playful seasonal prints while the opposite side displays neutral colors suitable for year-round use.
Removable covers make cleaning much easier. Adding a hidden zipper or hook-and-loop closure allows the cover to be washed regularly while protecting the filling.
For larger dogs or senior pets, consider inserting orthopedic foam beneath the cushion layer. This provides additional support while maintaining the comfort of the quilted fabric.
Matching accessories such as toy baskets, feeding mats, storage bins, or pet blankets can be sewn using the same fabrics to create a coordinated handmade collection.
Your finished Pet Bed Pattern will provide years of comfort while showcasing your quilting and sewing skills through a project that is both beautiful and practical.
FAQ
Is the Pet Bed Pattern suitable for beginners?
Yes. Sewists with basic sewing experience can complete this project by following the construction steps carefully.
Which fabrics work best?
Canvas, quilting cotton, denim, cotton duck, upholstery fabric, fleece, and flannel are all excellent choices.
What filling should I use?
Polyester fiberfill, memory foam, shredded foam, or washable batting all work well depending on your desired firmness.
Can I make the cover removable?
Absolutely. Adding a zipper or hook-and-loop closure makes cleaning much easier.
How often should the bed be washed?
The removable cover can be washed regularly depending on your pet’s needs. Always follow the care instructions for your chosen fabrics.
Can I resize the pattern?
Yes. The Pet Bed Pattern can easily be enlarged or reduced to fit cats, puppies, or larger dogs.
Is quilting necessary?
No. Quilting is optional but adds durability, texture, and a beautiful decorative finish.
Can I personalize the bed?
Yes. Embroidery, appliqué, decorative quilting, piping, and personalized labels all make your handmade pet bed unique.
Conclusion
The Pet Bed Pattern is a rewarding quilting project that combines comfort, durability, and creativity in one practical design. Throughout this tutorial, you learned how to select durable fabrics, prepare accurate pattern pieces, quilt the exterior, assemble supportive side walls, insert comfortable filling, and finish the project with professional sewing techniques. These methods can easily be adapted to create beds for cats, small dogs, or larger pets while allowing endless opportunities for customization.
One of the greatest advantages of sewing your own Pet Bed Pattern is the ability to personalize every detail. From selecting soft interior fabrics and decorative prints to adding removable covers and custom embroidery, every finished bed becomes a unique handmade creation designed specifically for your beloved pet. It is also an excellent way to use quilting skills while creating something that will be appreciated every single day.
We hope this Pet Bed Pattern tutorial has inspired you to start your next sewing project with confidence. If you enjoyed this guide, we would truly appreciate hearing your honest opinion. Please share your experience, tell us which fabrics and quilting designs you selected, and leave your suggestions for future quilt patterns and sewing tutorials. Your feedback helps inspire new creative ideas and supports our growing community of passionate makers.