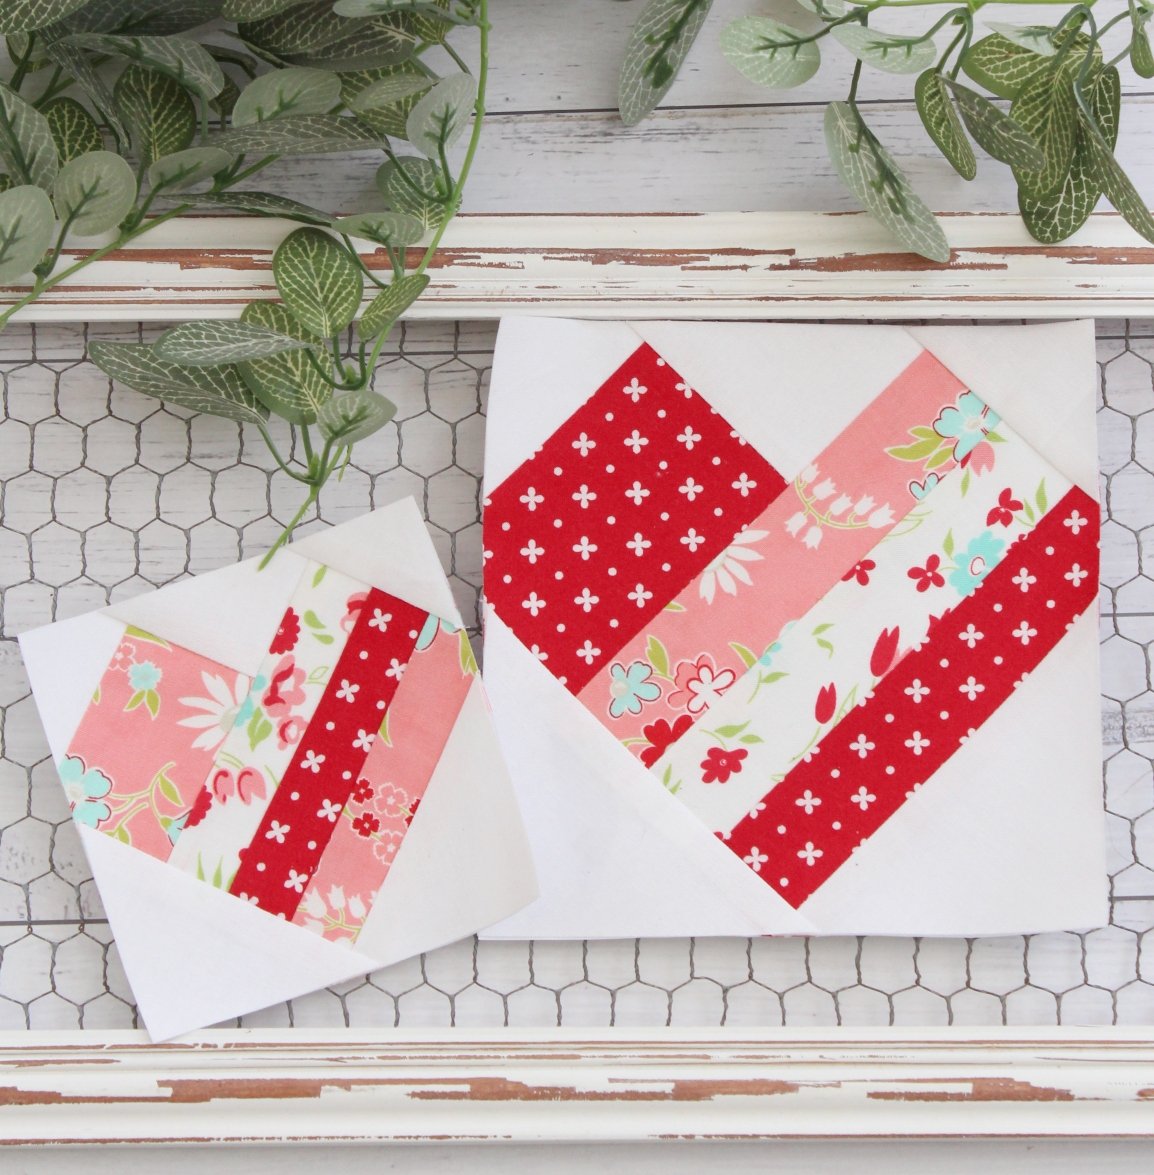
Heart Quilt Block Tutorial is a timeless and heartfelt quilting project that lets you create sweet, romantic blocks perfect for love-themed quilts, Valentine’s Day decor, baby quilts, or thoughtful handmade gifts. This heart quilt block tutorial walks you through every step of piecing an accurate, classic heart shape using simple half-square triangles, squares, and rectangles—no templates or paper piecing required.
Heart blocks remain one of the most beloved motifs in quilting because they combine straightforward construction with endless possibilities for color play and layout variation. Whether you make a single block for a pillow or repeat them across a full quilt, the heart quilt block delivers emotional impact with clean lines and satisfying symmetry.
In this beginner-friendly heart quilt block tutorial, you’ll learn how to choose fabrics that pop, cut pieces precisely, assemble the signature heart curves, square up the finished block, and explore layout ideas to turn individual hearts into a stunning quilt top. Using basic rotary cutting and straight-line sewing, you’ll have charming heart quilt blocks ready to sew together in no time. Let’s start piecing love into fabric!
1. Gathering Your Materials for the Heart Block
100% cotton quilting fabrics in contrasting colors form the foundation of any beautiful heart quilt block, with a solid or tone-on-tone background letting the heart shape stand out clearly. Choose a bold red, pink, or patterned print for the heart against a neutral white, cream, or light gray background.
DISCOVER MORE FREE PATTERNS HERE!
A rotary cutter, self-healing cutting mat, and clear acrylic rulers (at least 6.5-inch and 12.5-inch squares) ensure accurate cuts for crisp points and smooth curves in your heart quilt block. Precision here prevents puckering later.
Basic sewing supplies like pins, seam ripper, iron, starch spray, and neutral thread keep seams flat and pressed. A quarter-inch presser foot helps maintain consistent seam allowances throughout the heart quilt block tutorial.
Optional fabric marking pen or pencil for drawing sewing lines on half-square triangles. Removable marks guide accurate stitching without leaving permanent lines on your finished heart quilt block.
Prepare a design wall, flannel board, or large table to audition fabric combinations and test block layouts. Visual planning early makes color placement more intentional in your heart quilt blocks.
Finally, have a square ruler ready for trimming the block to its unfinished size (commonly 6.5-inch or 12.5-inch square). Squaring up is key to seamless joining when assembling multiple heart quilt blocks into a quilt.
2. Cutting the Pieces for the Heart Shape
Cut two large squares from heart fabric and two from background fabric for half-square triangle (HST) units that form the top curves of the heart. For a 6-inch finished block, start with 3.5-inch squares; for 12-inch finished, use 6.5-inch squares.
Cut one rectangle from heart fabric for the bottom point section and smaller background rectangles or squares to frame it. These pieces create the tapered lower half of the classic heart quilt block.
Prepare four small background squares that will become the inner corners above the heart lobes. These HST companions ensure sharp definition where the curves meet the background.
Mark diagonal lines on the wrong side of each background square destined for HSTs using a pencil or Hera marker. These lines guide stitching and guarantee perfect triangles for smooth heart curves.
Cut any additional background pieces needed for the side setting triangles or framing strips if following a specific heart quilt block variation. Accurate cutting sets up success in every step of assembly.
Double-check measurements before cutting extras—small differences multiply when repeating blocks. Consistent sizing across all heart quilt blocks ensures they fit together flawlessly later.
3. Assembling the Heart Quilt Block
Create four HST units by placing a heart square and background square right sides together, stitching ¼ inch on both sides of the marked diagonal line, then cutting between the stitches. Press seams open or toward the darker fabric for flat heart quilt block construction.
Arrange the HSTs so the heart color forms the top rounded lobes, with background triangles pointing outward. This orientation creates the classic symmetrical heart shape in your block.
Sew a small background square to the top inner corner of each lower heart piece to form the indented center. These tiny units define the classic dip between heart lobes for authentic heart quilt block charm.
Piece the bottom section by attaching the pointed heart rectangle to its background framing pieces, then join the upper HST rows to this base. Chain piecing speeds up repetitive steps when making multiple blocks.
Press all seams carefully—most quilters press toward the background to reduce bulk where seams meet. Well-pressed units lead to flatter, more accurate heart quilt blocks ready for final assembly.
Trim the completed block to its unfinished size using a square ruler, trimming evenly from all sides. Squaring up removes dog ears and ensures every heart quilt block measures identically for perfect quilt construction.
4. Finishing and Using Your Heart Blocks
Audition multiple finished heart quilt blocks on a design wall, rotating some for secondary patterns or alternating with plain squares for sashing. Popular layouts include all hearts facing the same direction, checkerboard orientation, or heart borders framing a central motif.
Add sashing strips or cornerstones between blocks to separate hearts and highlight their shape. Narrow sashing keeps focus on the hearts, while wider borders create a framed, polished look for your heart quilt.
Layer the quilt top with batting and backing, then quilt around each heart outline or use simple straight-line designs to emphasize the motif without overwhelming it. Echo quilting inside hearts adds extra definition and texture.
Bind the edges with double-fold strips in a coordinating color, mitering corners neatly for a professional finish. Hand or machine binding completes your heart quilt with lasting durability.
Label the back with your name, date, and any special message—especially meaningful for gift quilts featuring heart quilt blocks. A personal touch makes the project even more heartfelt.
Display, gift, or cuddle under your finished creation. The universal language of hearts makes this block endlessly versatile for every season and occasion.
FAQ
What finished block size is easiest for beginners in a heart quilt block tutorial? A 6-inch or 12-inch finished block offers a good balance—large enough for accurate piecing but not overwhelming. Start with 12-inch if you prefer fewer blocks for a quicker quilt.
Do I need templates or paper piecing for heart quilt blocks? No—this tutorial uses only rotary-cut squares, rectangles, and HSTs. Straight seams and simple assembly keep it beginner-friendly without special tools.
How many heart blocks do I need for a baby quilt? A typical baby quilt (36×48 inches) uses about 12 to 20 blocks (depending on sashing and borders). A 4×5 layout with 12-inch blocks plus borders works beautifully.
What fabrics make the heart shape stand out best? High-contrast combinations—dark or bright heart fabric against light background—create the sharpest definition. Avoid low-contrast pairs to prevent the heart from blending into the background.
Can I make scrappy heart quilt blocks? Absolutely! Use different reds, pinks, and patterns for each heart while keeping backgrounds consistent. Scrappy versions add charm and use up stash fabrics effectively.
How do I avoid blunt points on the heart curves? Accurate ¼-inch seams and careful pressing prevent blunt tips. When joining HSTs, match seams precisely and stitch slowly over intersection points for crisp heart quilt block points.
Is hand appliqué an option instead of pieced hearts? Yes, if you prefer smoother curves. Fusible or needle-turn appliqué creates rounded hearts, though piecing is faster and more durable for quilts with heavy use.
How long does one heart quilt block take to make? With practice, a single block takes 20–40 minutes including cutting, piecing, and squaring up. Batch-making multiple blocks speeds up the overall process significantly.
In this heart quilt block tutorial, we covered selecting contrasting fabrics, cutting precise pieces, piecing classic half-square triangles and rectangles into a perfect heart shape, squaring up blocks, and planning layouts for full quilts. You now have the skills to create meaningful, eye-catching heart quilt blocks that bring warmth and love to any project.
PATTERN VIDEO:
Give this block a try and share your honest feedback in the comments below. Did the curves come out smooth? What colors or layouts would you recommend? Your experiences help other quilters and keep this tutorial improving. Happy piecing and enjoy spreading love through your beautiful heart quilts!

